This post may contain affiliate links. Please read our disclosure policy.
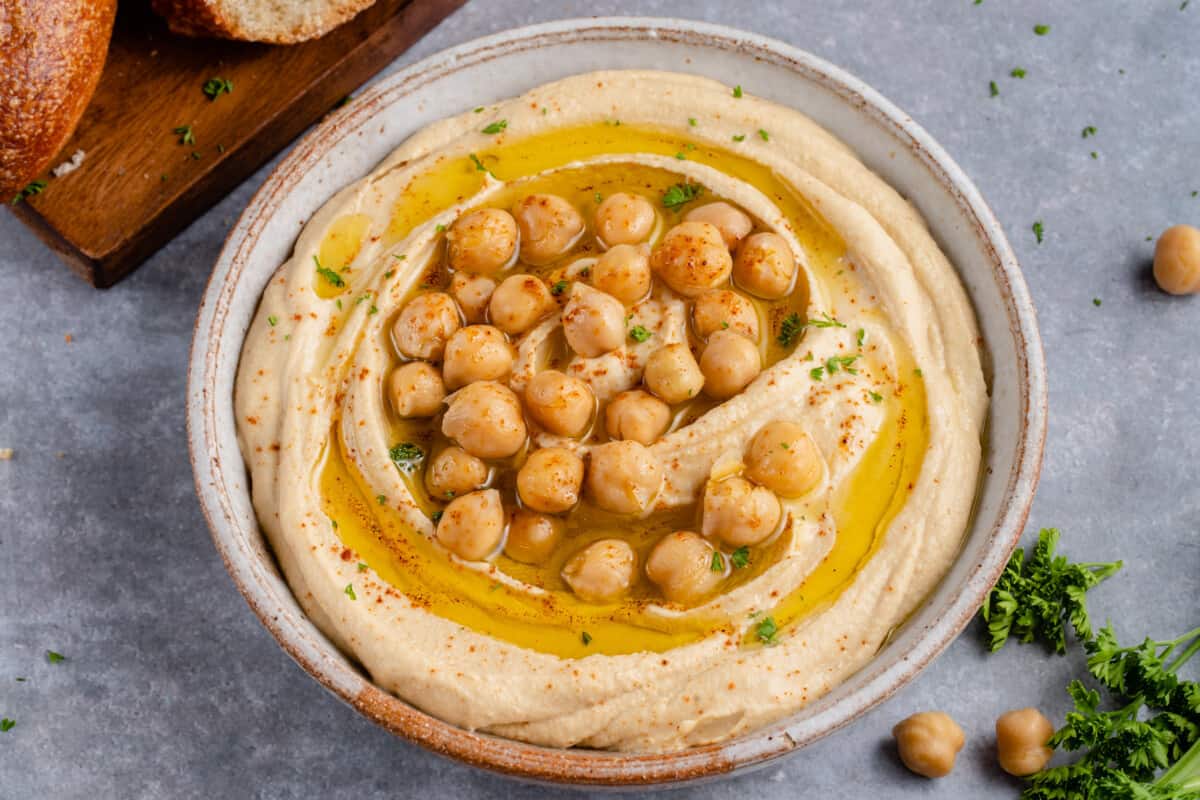
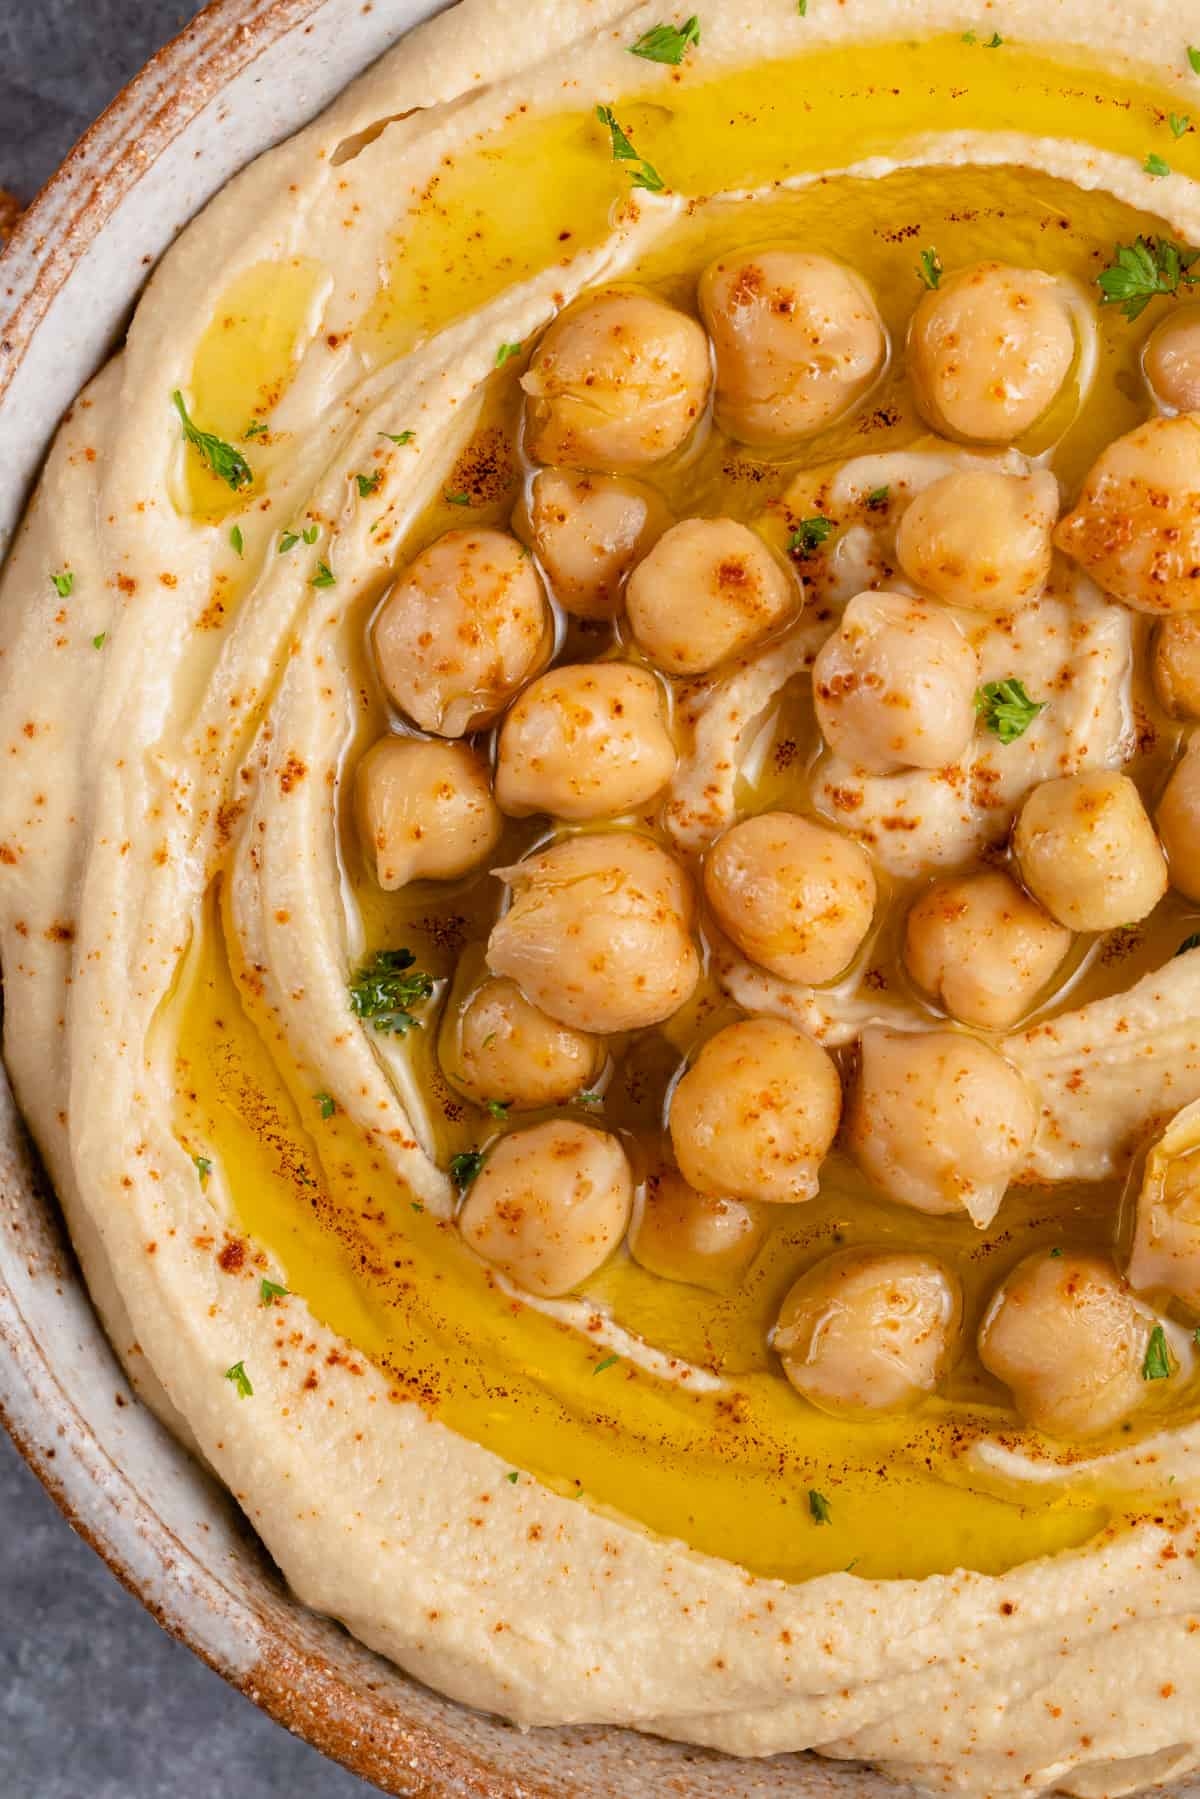
If you’re wondering how to make hummus at home using simple ingredients, you’ve come to the right place! We’re ready to teach you our top tips and tricks to achieve the softest, fluffiest, creamiest hummus dip ever. Drizzle with olive oil, smoked paprika, za’atar, then dig in with warm pita bread!
Once you learn how to make hummus, you’ll never want to go back to store-bought hummus again.
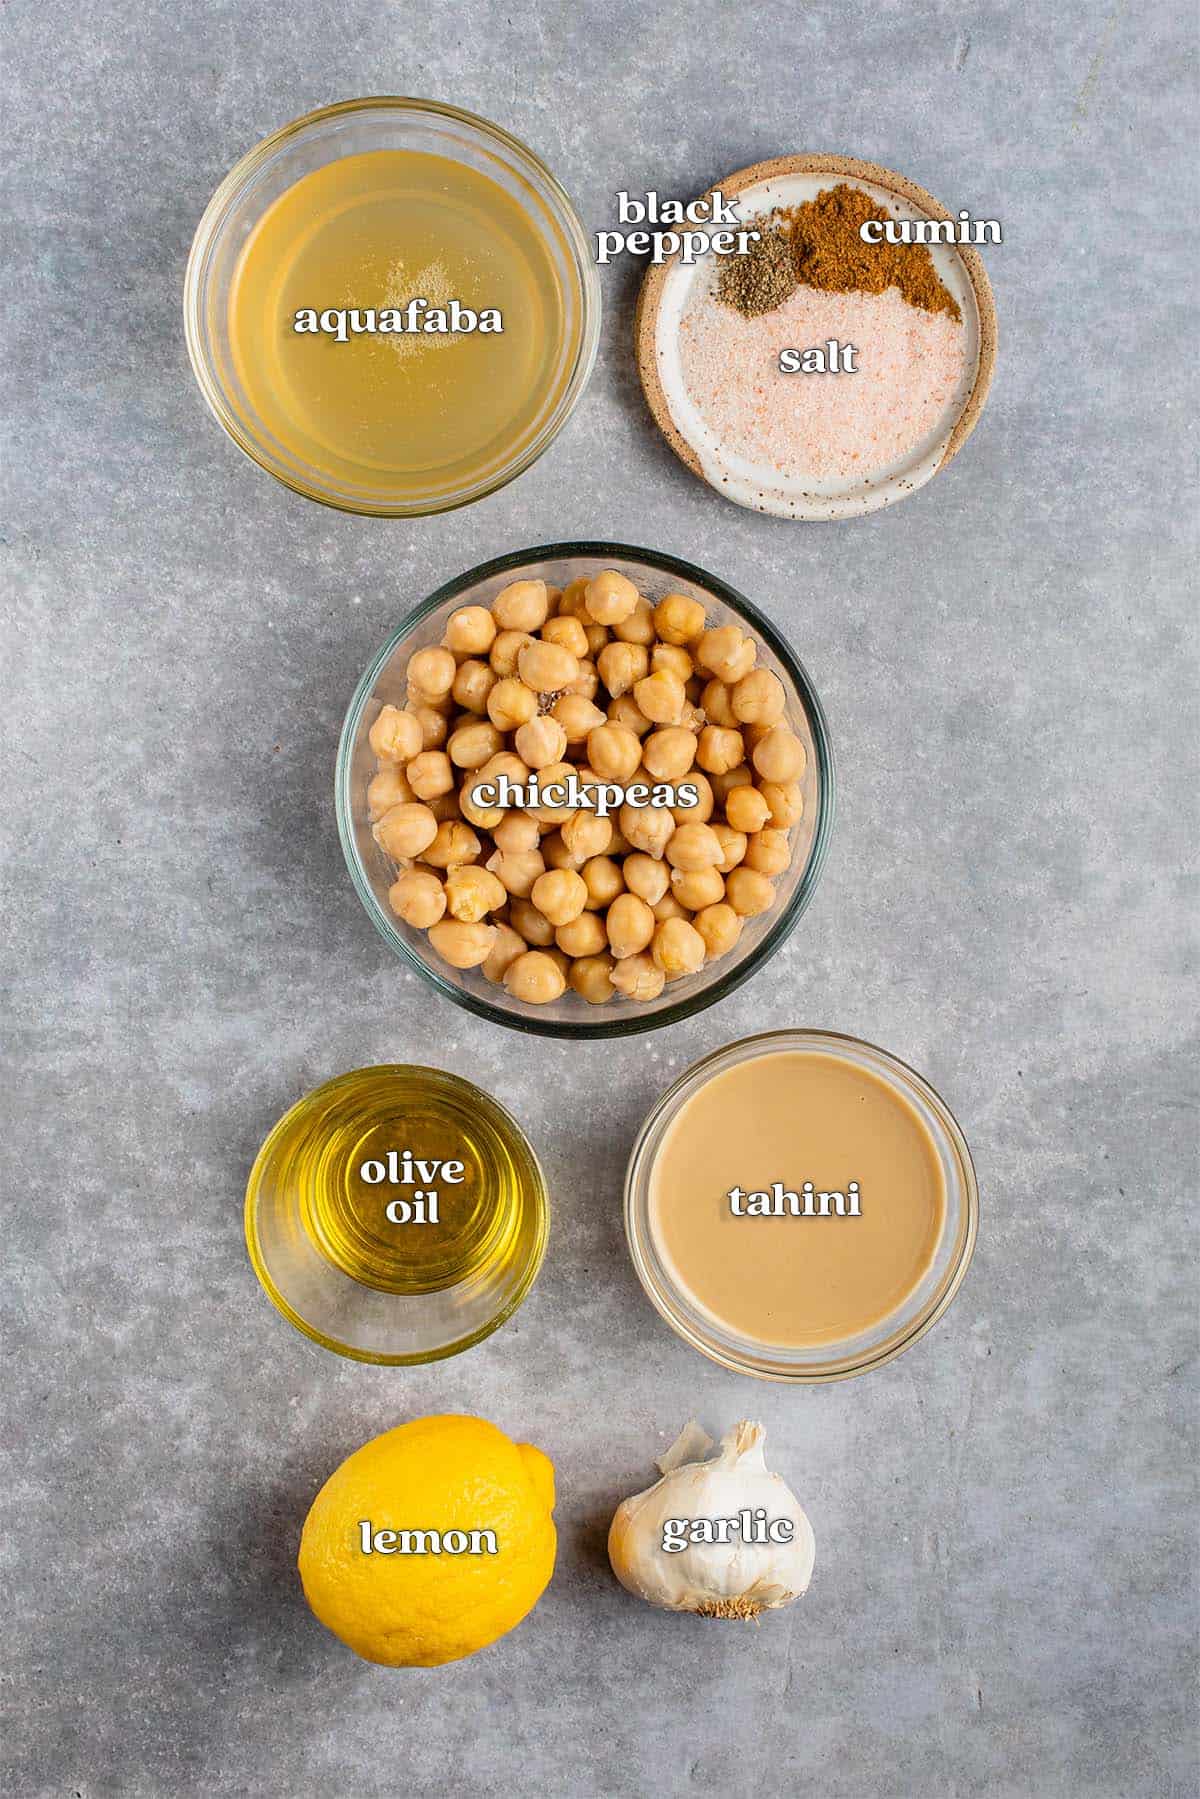
Ingredients You’ll Need
- Chickpeas: Chickpeas or garbanzo beans are essential for making your own hummus. They’re typically found in the grocery store near the canned beans or in the bulk section, but can also be ordered online if needed. You can cook your own from dried or buy precooked canned chickpeas.
- Aquafaba: Also known as the liquid left behind from cooking chickpeas or the liquid in a can of chickpeas. Chickpea liquid is a popular ingredient used in vegan baking to replace eggs, but also makes an excellent water substitute when making a smooth hummus at home.
- Garlic: This isn’t the recipe to skimp on garlic. We highly recommend using roasted garlic and lots of it. Garlic powder just simply won’t create the same results.
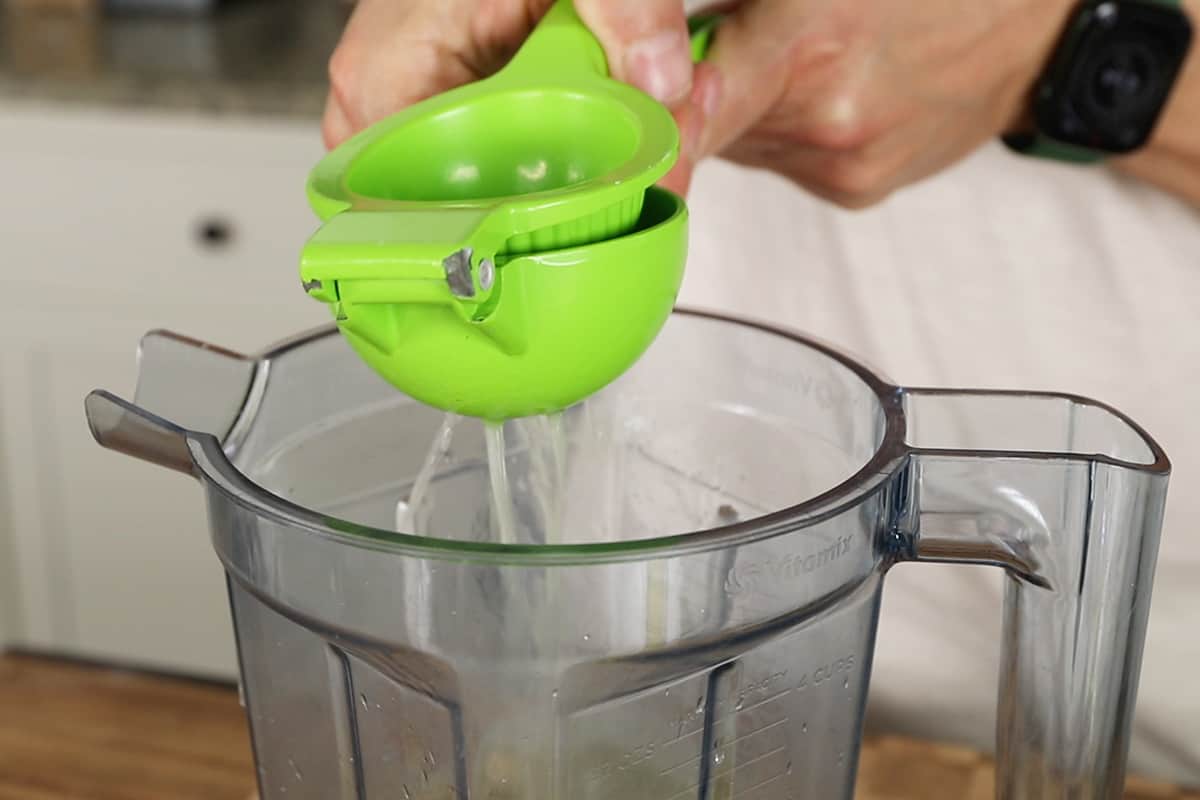
- Lemon juice: Fresh lemon juice is key to hehlp balance the overall flavor. It adds tanginess, creaminess, and helps preserve the hummus for at least 3 days.
- Tahini: This creamy seed butter is made from ground sesame seeds and is a staple ingredient in homemade hummus and Mediterranean cuisine. It adds creaminess, a mild nutty flavor, and adds a source of healthy plant-based fats.
Equipment Needed
- Large bowl
- Instant Pot or pressure cooker
- Aluminum foil
- Food processor
- Airtight container (for storage)
How to Make Hummus
- Roast the garlic. Remove the flaky outer skin of the garlic head, then cut the top off, exposing the inner garlic cloves. Place the garlic head on a sheet of tin foil, drizzle the garlic with olive oil, then loosely wrap the foil around the garlic. Bake for 1 hour, or until sufficiently roasted, then cool the garlic until easy to handle.
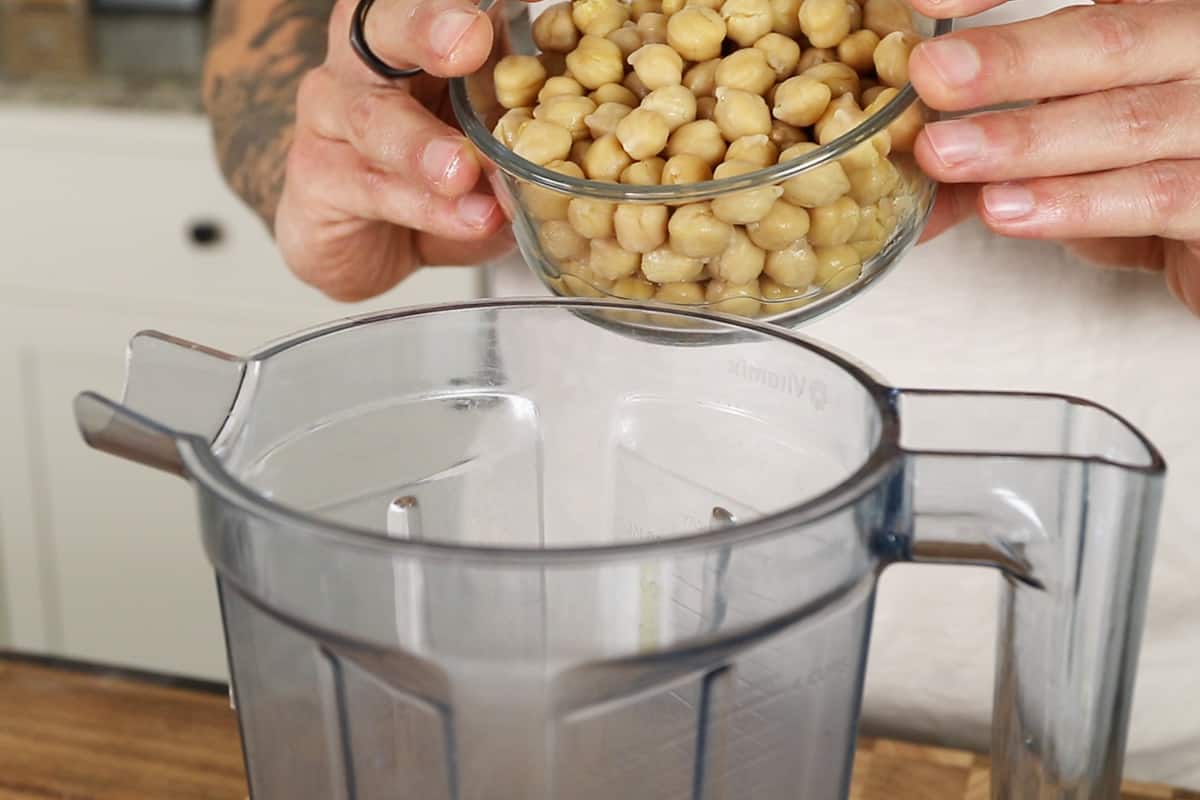
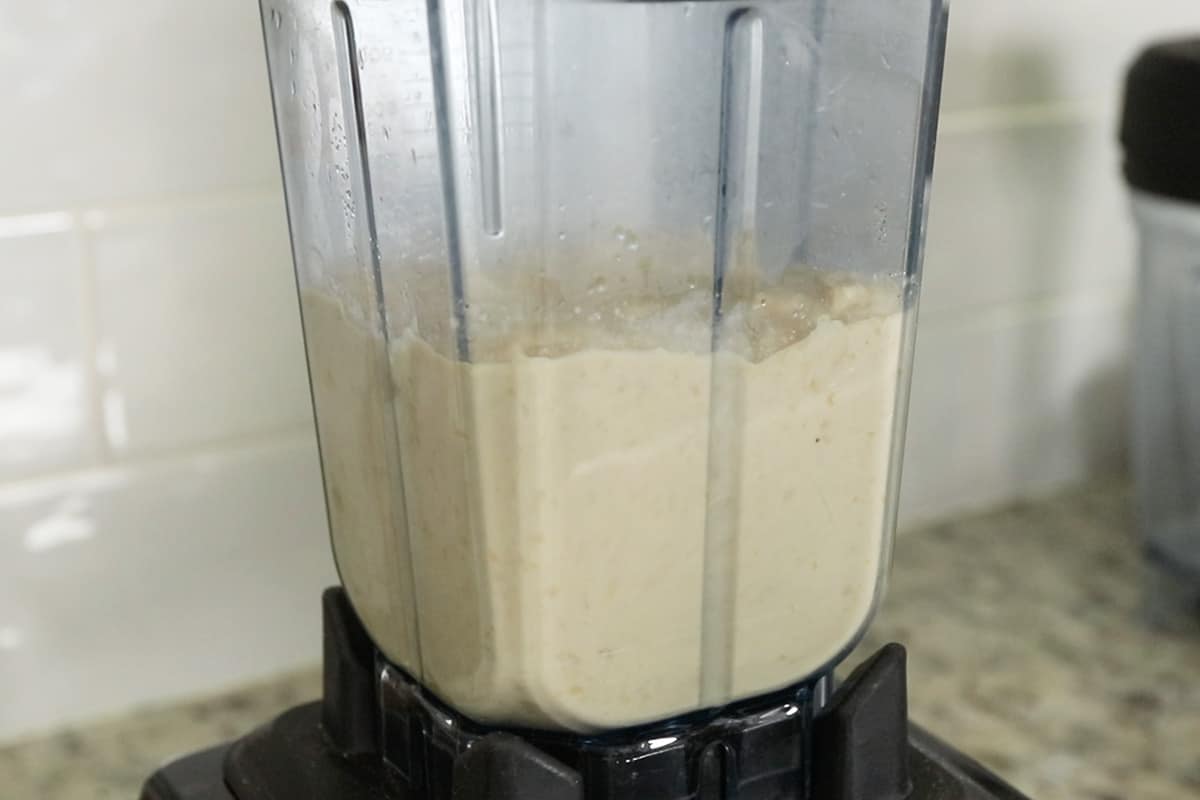
- Add ingredients to a food processor or blender. Place the cooked chickpeas in the bowl of a food processor or high-speed blender, along with garlic, tahini lemon juice, 1/2 cup of cooking liquid, and sea salt. Process until a smooth and creamy texture begins to form.
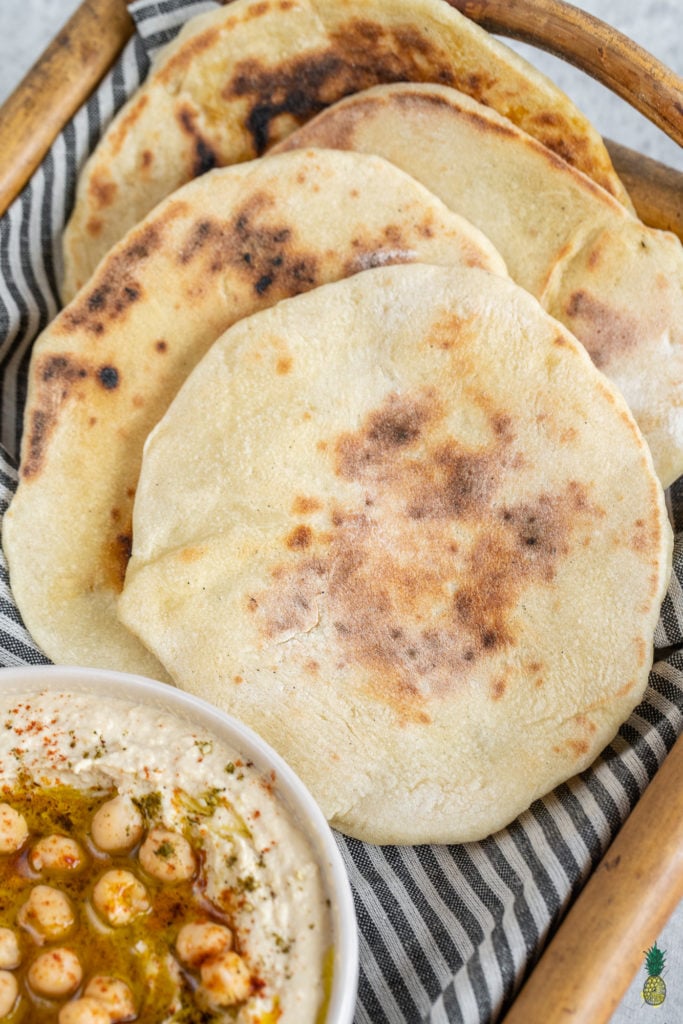
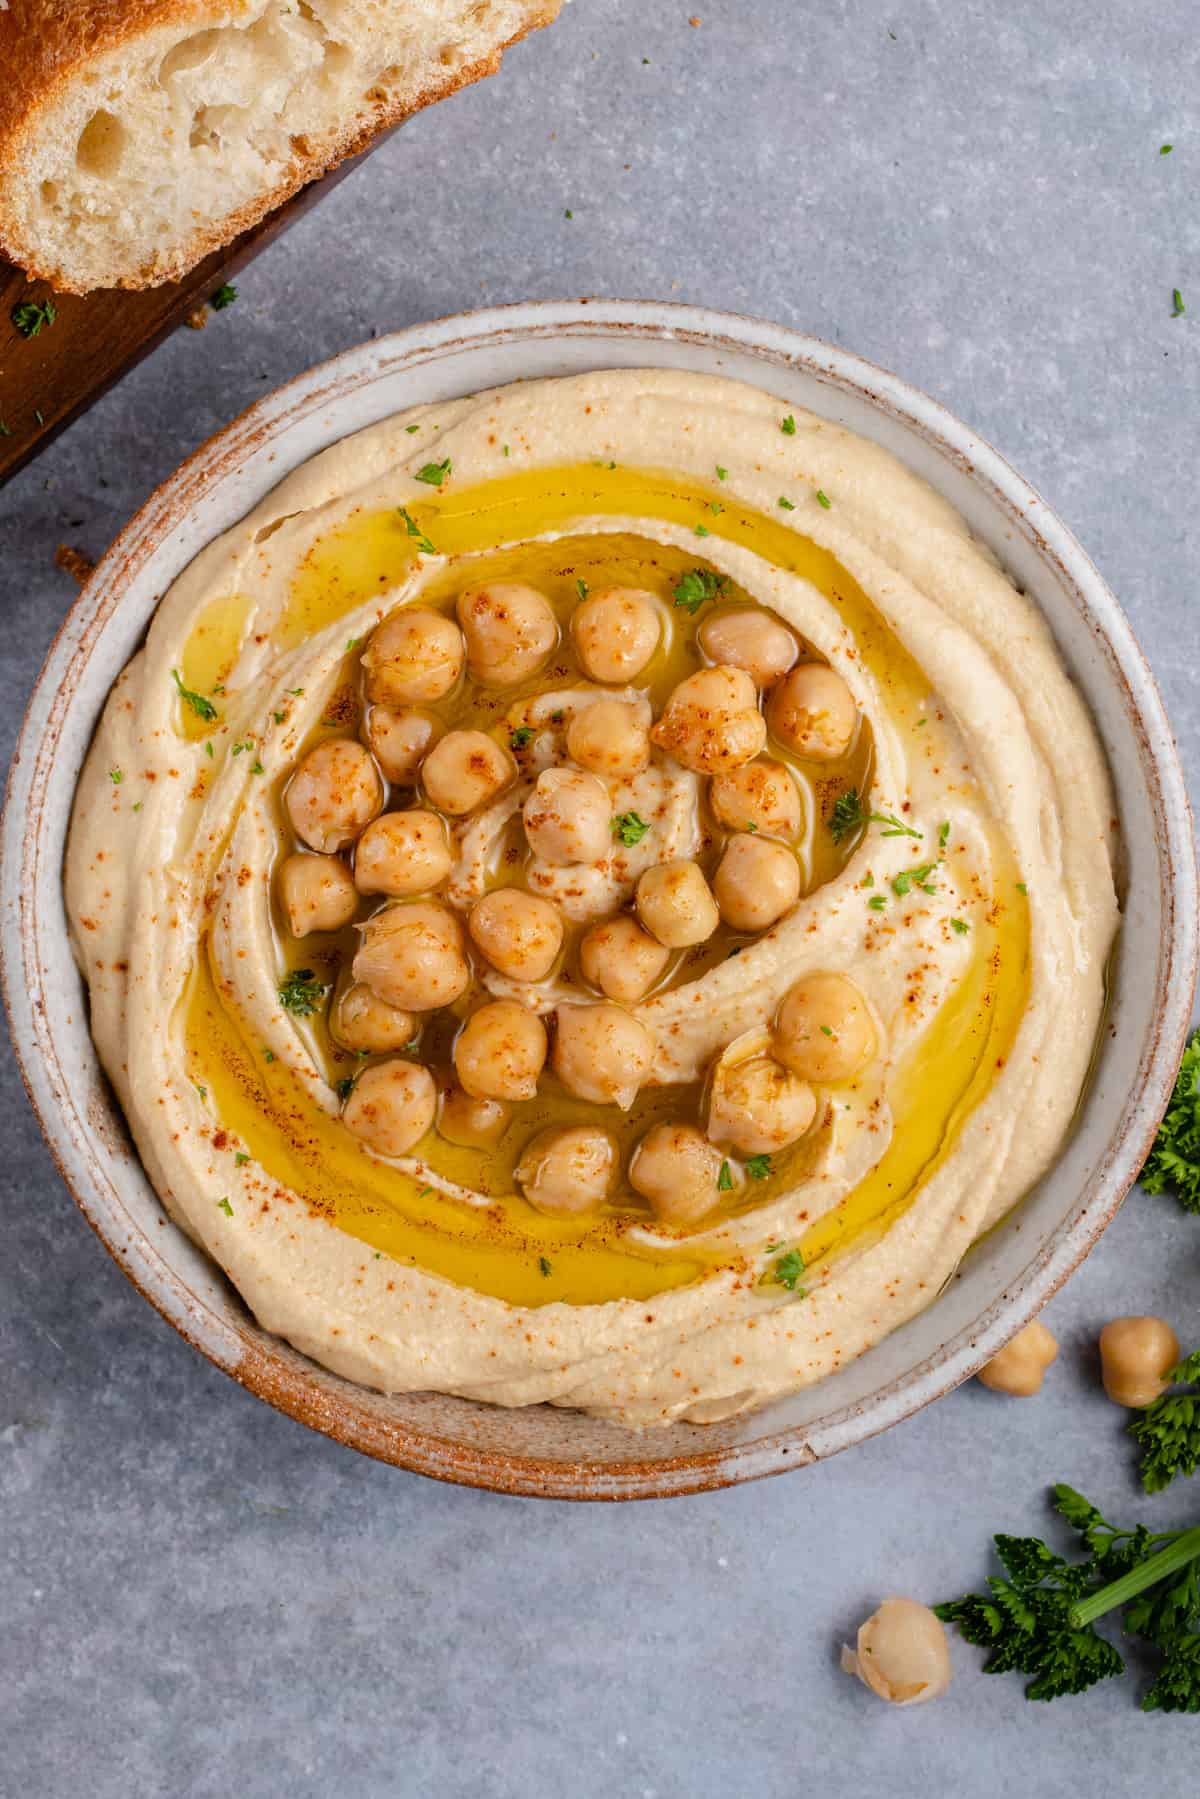
- Serve. Transfer the homemade hummus to a wide bowl then top with remaining chickpeas and toppings of choice before digging in!
Serving Suggestions
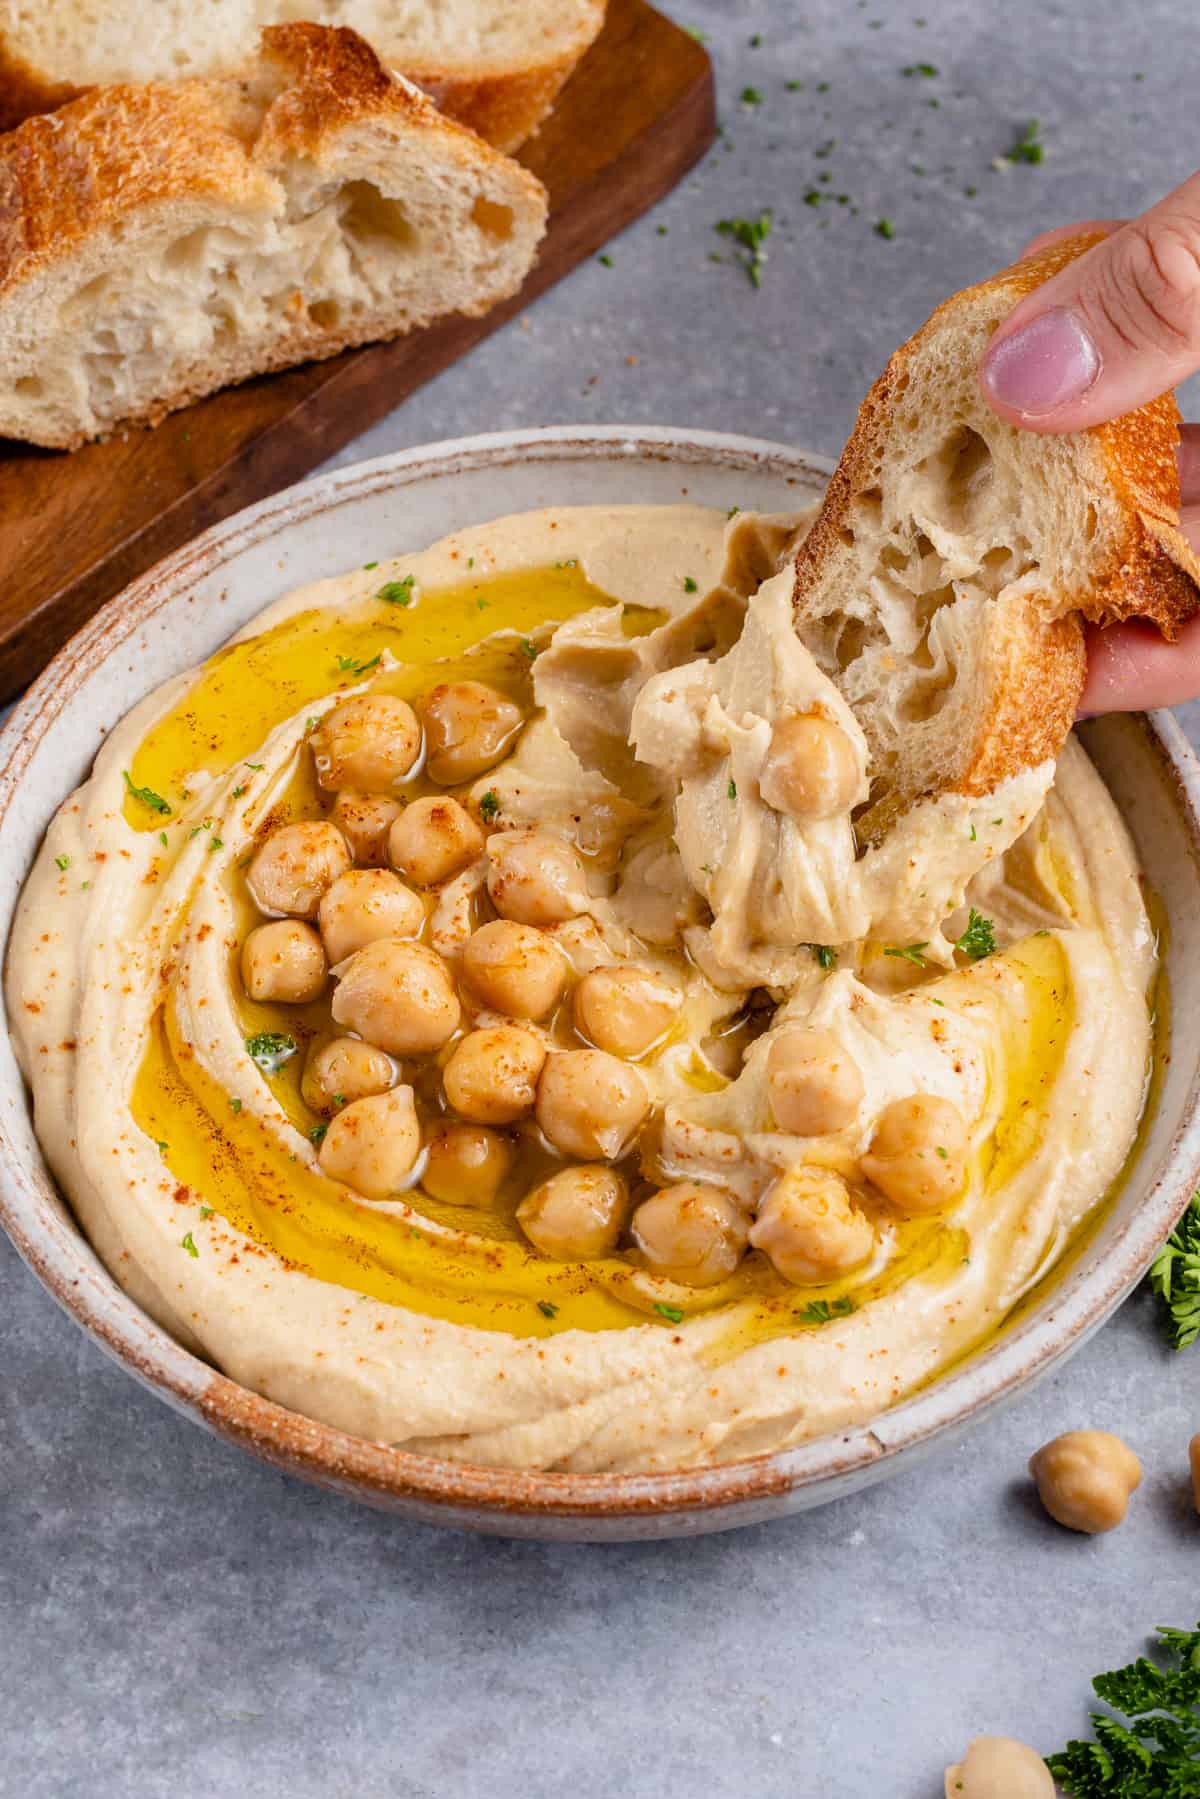
What is delicious hummus without ideas for serving? There are tons of ways to enjoy hummus from making a mezze platter, to using it as a spread in your favorite vegan sandwiches and wraps, and a Middle Eastern dip for your favorite dippers. Below we’ve listed a few of our favorite ways to indulge in authentic hummus, but don’t be afraid to get creative!
- Serve with bread or crackers. Lucky for you we’ve got one of the best Homemade Pita Bread recipes on the blog that can be used as a dipper or a pita pocket sandwich bread. Or, try pita chips or these nutrition packed Oven-Baked Chia Veggie Crackers.
- Enjoy with falafel. Try our Easy Baked Falafel Recipe on it’s own or turn it into a Mediterranean Buddha Bowl complete with tabbouleh, roasted chickpeas, a dollop of hummus and kalamata olives. Or, give our Easy Pumpkin Chickpea Fritters a try for a fall twist!
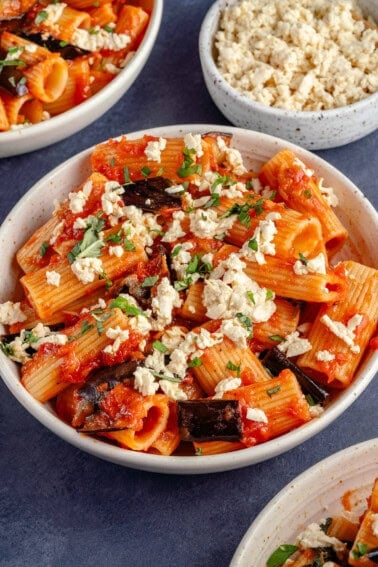
- Use it as a pasta sauce. We personally love it on our One Pot 5-Ingredient Hummus Pasta.
- Serve with raw vegetables. If you’re looking for a light appetizer or afternoon snack idea, pair this hummus with your favorite fresh vegetables like bell peppers, carrot sticks, celery sticks, or even broccoli florets.
- Add it to a sandwich. Swap the classic vegan mayonnaise or mustard for this classic hummus in sandwich recipes like this Homemade TTLA Sandwich, Oyster Mushroom Sandwich, Baked Tofu and Pesto Sandwich or this Rainbow Pesto Hummus Sandwich.
- Add it to a wrap. Creamy hummus would be delicious in this Chickpea Salad Lunch Wrap, these Rainbow Quinoa Collard Wraps or this Vegan Mushroom Caesar Salad Wrap.
Storage Instructions
Once made, this homemade hummus will keep for up to 3 days in an airtight container in the fridge. In order to keep the hummus as moist and fresh as possible, it can help to drizzle a light layer of extra virgin olive oil over the top of the dip. This will prevent the hummus from being exposed to air, preventing it from oxidizing.
Homemade hummus can also be frozen. To freeze, transfer the hummus to a freezer-safe container such as a mason jar and freeze for up to 2 months. When ready to eat, thaw in the refrigerator until soft and creamy again. If any separation has occurred, simply stir it back together or blitz it in the food processor until combined and fluffy again.
Recipe FAQs
Aside from cooking the legumes for a longer length of time, try adding a teaspoon of baking soda when soaking the chickpeas in water. The baking soda will help break down the pectin in the beans, yielding a softer creamier end result. It can also help aid digestion, too!
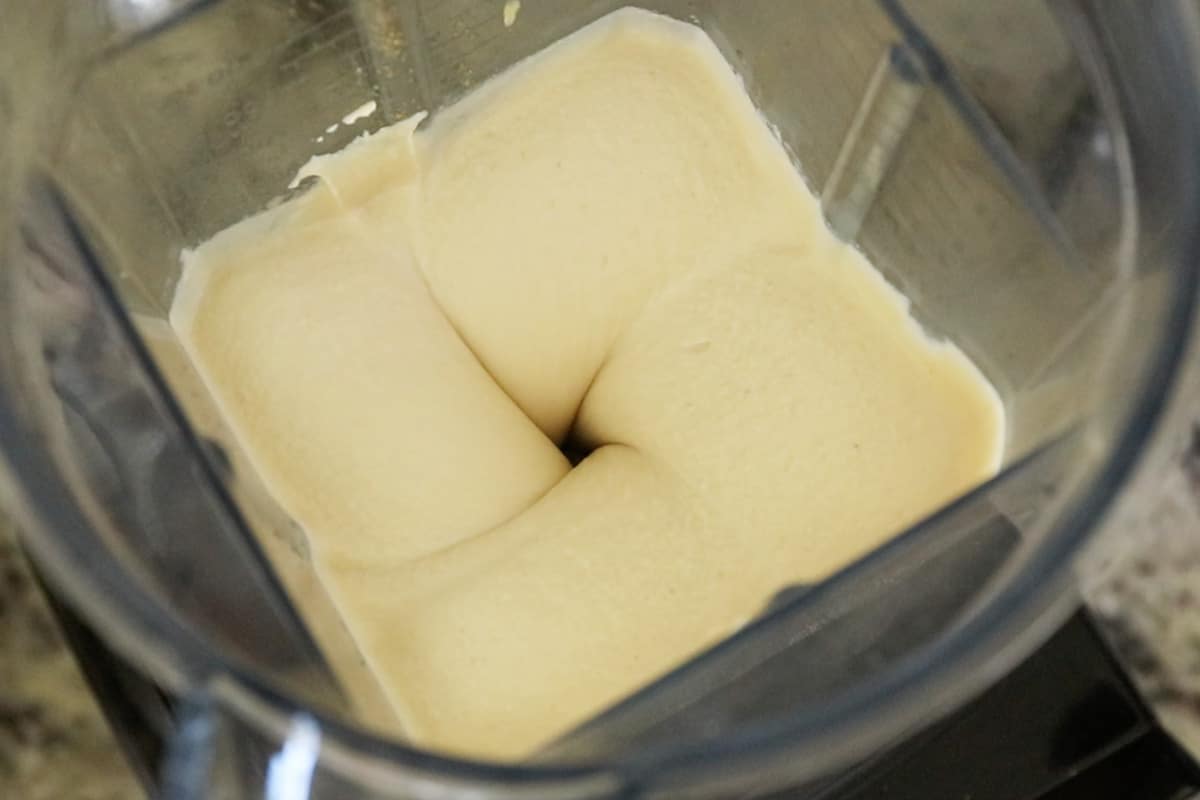
The nice thing about a food processor is it helps whip air into the hummus while it processes. This helps make it lighter and fluffier. A blender will work and make the hummus equally as creamy, but it may not be as light and fluffy.
Some hummus recipes recommend peeling the chickpea skins before blending. We’ve tested both ways and found the difference in texture was not worth the extra labor. If you prefer to peel the skins feel free to but know it’s not required for making a delicious, creamy dip.
Secret Tips for Making the Best Hummus
- Chickpeas cooked from dry are better than canned. While canned chickpeas will work in a pinch, if you want to learn how to make the best hummus from scratch, we recommend to cook your own chickpeas from scratch. It will create a better flavor and a lighter, smoother texture.
- Blend with aquafaba, not water. This is another step that helps yield a creamier texture and elevates the flavor.
- Ice-cold ingredients are essential. Trust us – it makes a HUGE difference in consistency. You simply can’t achieve the same fluffiness with room-temperature ingredients.
- Choose quality tahini. While homemade hummus recipes will vary, anyone who teaches you how to make hummus will agree that the tahini will make or break your hummus recipe. Cheap tahini is known for being bitter tasting and is less than ideal when making a flavorful, creamy dip.
- Don’t shorten the processing time. Process for the full 3 minutes for best results.
More Hummus Recipes You May Enjoy:
This recipe teaches you how to make a classic batch of hummus, but if you’re looking for different flavors to try, you might enjoy these variations of this delicious hummus dip:
As always, if you use this recipe to learn how to make hummus, let us know what you think in the comments below! + If you post any photos on Instagram, make sure you tag us @sweetsimplevegan and @consciouschris so that we don’t miss it, we love seeing your photos!
Print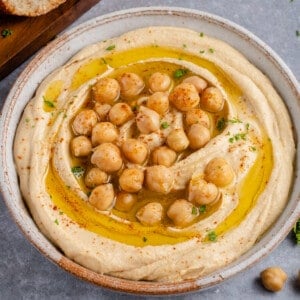
How To Make The Best Hummus
- Total Time: 20 minutes
- Yield: About 2 cups 1x
- Diet: Vegan
Description
If you’re wondering how to make hummus at home using simple ingredients, you’ve come to the right place! We’re ready to teach you our top tips and tricks to achieve the softest, fluffiest, creamiest hummus dip ever. Drizzle with olive oil, smoked paprika, za’atar, then dig in with warm pita bread!
Ingredients
- 1 head of garlic
- 3 cups cooked chickpeas (or 2 cans)
- 3/4 cup reserved chickpea liquid (aquafaba)
- 1/3 cup tahini
- 1/3 cup fresh lemon juice
- 1 1/4 teaspoons salt
- Optional: 1/4 teaspoon ground cumin
- Optional: black pepper, to taste
- Pita bread, to serve
Top with:
- Additional chickpeas
- Good-quality olive oil
- Paprika
- Za’atar
Instructions
- Preheat oven to 400°F. Remove the flaky outer skin off of the garlic head and then cut the top off of a head of garlic. Place it into a sheet of foil with a drizzle of olive oil and a sprinle of salt and pepper. Wrap it up loosely and then place it into the oven (directly on the rack) at for 1 hour and cool until easy to handle. Alternatively, you can place it in a small oven safe pot with a lid, like this cocotte.
- Reserve about 3/4 cup of the chickpea liquid (aquafaba) and discard the remaining.
- Place the cooked chickpeas into a high-speed blender or a food processor, along with the roasted garlic (squeeze the cooked cloves out and discard the skin), tahini, lemon juice, 1/2 cup aquafaba, salt, and any other seasonings you’d like. Blend until smooth and fluffy, about 2-3 minutes.
- Add more of the aquafaba if you feel the hummus is too thick and adjust the seasonings and tahini to taste.
- Serve the hummus in a wide bowl and top it with a drizzle of good olive oil. We also added a sprinkle of paprika and za’atar.
- Store the hummus in an airtight container in the fridge for up to 3 days.
Notes
- Keep in mind the hummus will get thicker in the fridge as it sits.
- A high-speed blender is recommended for this, but a food processor works as well. Keep in mind that with a food processor, it may not be as smooth and you will need to blend it for about 1 to 1 1/2 minutes.
- How To Cook Chickpeas:
- Place dried chickpeas in a large bowl and cover with water. Soak at room temperature overnight, or for at least 8 hours.
- Drain the soaked chickpeas and place them in an Instant Pot or similar pressure cooker. Cover the chickpeas with 3-4 inches of water. Cook for 25 minutes on manual high pressure, then cool the chickpeas to room temperature.
- Drain the chickpeas while reserving 3/4 cup of the cooking liquid (aquafaba). Rinse the chickpeas well, then place them along with the reserved liquid in the freeze for 1 hour, or until sufficiently chilled.
- Prep Time: 20 minutes
- Category: Dip, Side
- Method: Blender
Disclaimer: This page may contain affiliate links, which simply means that we earn a commission if you purchase through those links, but your price remains the same. Thank you for supporting Sweet Simple Vegan!


I’ve made this a half dozen times over the last few months with both dried and canned chickpeas and it always comes out great.
This came out amazing! I used raw garlic the first couple times because I forgot to plan ahead, but roasting the garlic was life-changing. I made a half batch in my 32oz Vitamix container.
So what is a good brand of Tahiti to use? Looking forward to trying this recipe. Did not know ingredients should be ice cold! I’ve made hummus before, but can’t wait to try your recipe!
We like soon brand tahini! Hope you love the recipe 🙂
Do you mean Soom brand? I’d really like to try your recipe, and want to use the same Tahini. Thank you for sharing.
Yes, sorry, that was a typo!
THE BEST hummus I have ever made!!! WOW! Both my husband and I love this. Thank you!
Hands down the best hummus I’ve ever made in my entire life! The aquafaba really does make all the difference when it comes to texture and flavor. I had roasted garlic a couple of days before finding this recipe so I figured I would use it here too! Great recipe, thank you guys! <3