This post may contain affiliate links. Please read our disclosure policy.
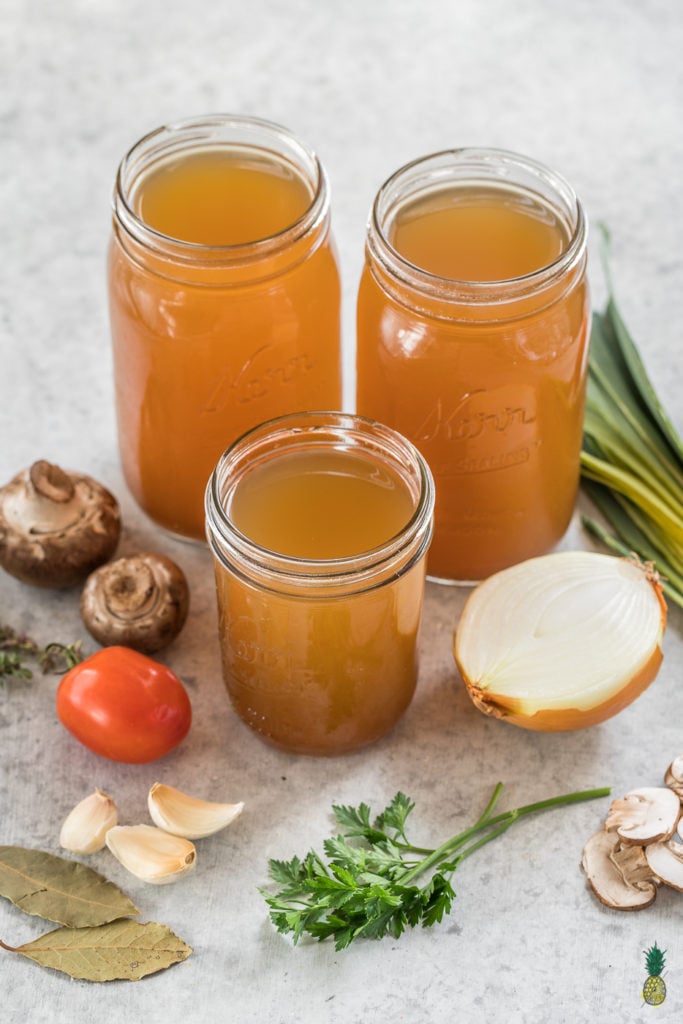
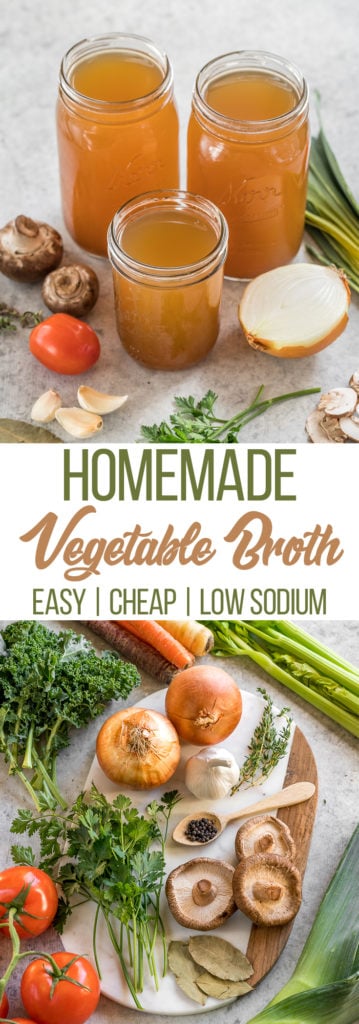
There is no need to buy vegetable broth from the store any longer. Today we are sharing with you our flavorful homemade vegetable broth recipe that will soon become a staple in your home! This recipe is easy to make, requires 1 pot and basic ingredients you likely have at home!
All you need to do is chop up some vegetables (or save vegetable scraps), pop them into a large pot, cover them with water, and simmer for about 45-60 minutes– that’s it! You can even opt to make your homemade vegetable broth in a slow or pressure cooker, too.
Why make your own broth?
There are a number of different reasons why we recommend you make your own broth at home!
- Money saver: You won’t have to opt for store-bought vegetable broth or stock any longer!
- Ingredients: your broth will be made from the best of the best ingredients and with love :p
- Decreases waste and get more for your money: Not only will you be able to use up those vegetable scraps that would otherwise be tossed or composted, or the vegetables that you just aren’t able to get to before going bad, you will also no longer have to purchase a carton of broth that you will later have to toss into the waste bin.
- Flavor control: You can experiment with different flavor combinations, pack your homemade vegetable broth full of your favorite vegetables and herbs, etc. Plus, we have found that our homemade broth is always so much more flavorful than st0re-bought and it brings our recipes to the next level!
- Sodium content: A lot of vegetable broths are chock-full of sodium and although there are low-sodium options, we like that we are able to adjust our broth to our liking or even leave out the additional salt altogether.
You can make vegetable broth solely from your scraps. This is what we usually do as we have so much that accumulates in our freezer, but for the sake of this blog post and for those just starting out that may not have scraps saved, we purchased produce and put together this recipe. There are vegetables that we do and do not recommend be saved for scraps, and to help you our we have included a list below along with tips for storage!
Storing Your Scraps
- If you are going to make your vegetable broth within about a week of saving your scraps, you can save it in n airtight container in the refrigerator until ready to use.
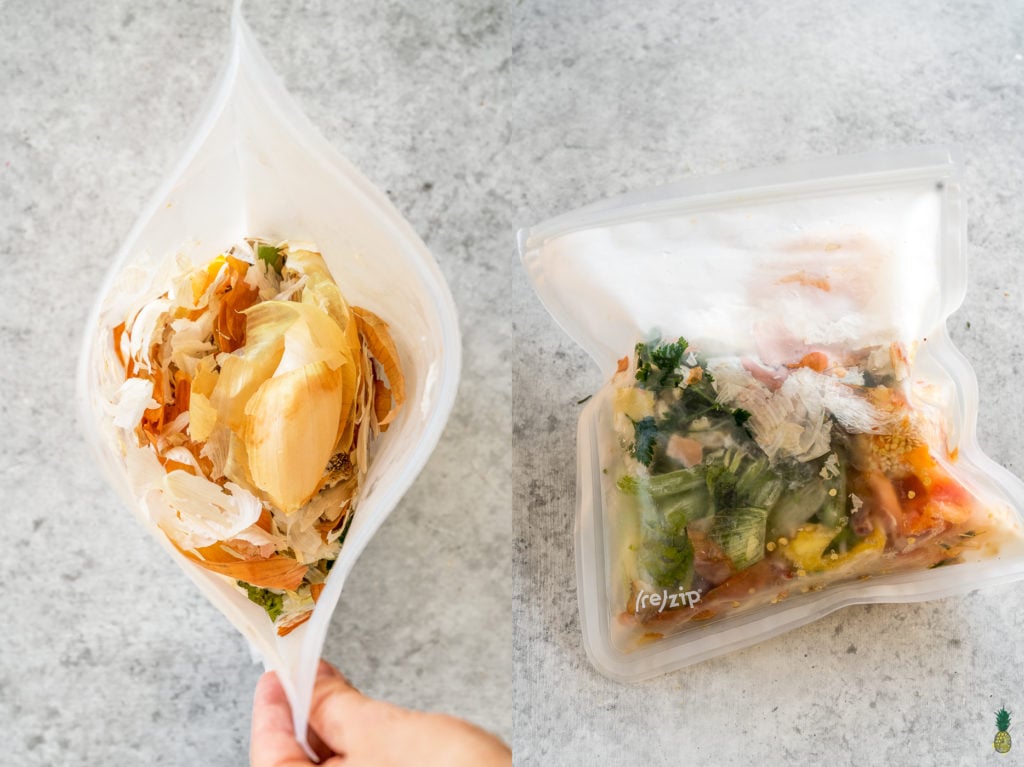
- If you are going to make your broth at a future time (or in longer than a week), store them in the freezer. We store ours in a reusable bag (pictured above) and we highly recommend it!
Scraps You Should Save
There are a ton of vegetable scraps that you can save to include in your vegetable broth to bump up the flavor.
- Onions, carrots, celery, leeks, scallions, garlic, potatoes, parsnips, green beans, pea pods, zucchini and other squash, bell peppers, eggplant, mushrooms, asparagus, corn cobs (think sweet!), winter squash skins, lettuce
- Herbs (such as dill, rosemary, thyme, parsley, cilantro, sage, and basil) should be included in small amounts (about 1/5 of the ingredients) and should be kept in mind when included in broth. We try to avoid using too many varieties of herbs in one batch of broth as we feel it begins to become overpowering and yields undesirable results.
- Kale may cause your broth to become bitter. What we like to do is remove the stems of the kale for compost and include only the greens in our broth. We also prefer curly kale over dino kale as it is less bitter.
- Include fennel, chard, and beet greens in small amounts as they have strong flavors.
- Beets are great if you love their flavor but keep in mind that they will affect the color of the broth. We have read that beet skins shouldn’t be included in the broth. We personally avoid beets as we don’t enjoy their flavor.
Scraps You Should Skip
There are certain vegetables that we recommend you don’t include in your broth (and compost instead). We have found that these vegetables overpower the stock with a bitter and undesirable flavor.
- Cabbage, kale stems, Brussels sprouts, broccoli, cauliflower, turnips, rutabagas, and artichokes.
- Be sure to skip anything that is rotten or moldy.
Check out this blog post for more information! We have found it to be very helpful 🙂
Storage Tips
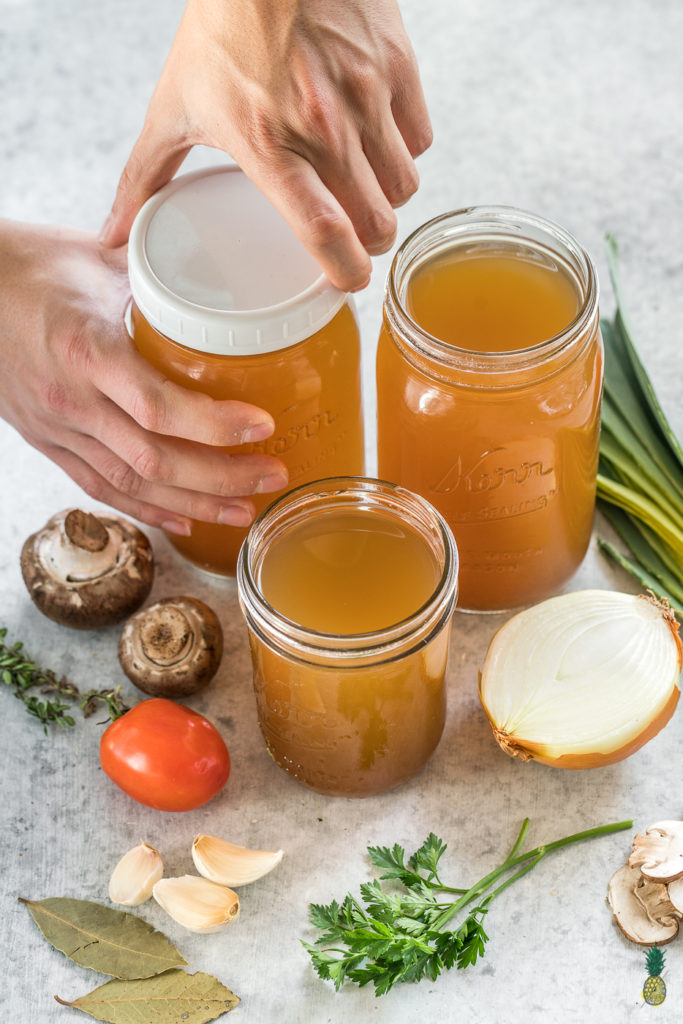
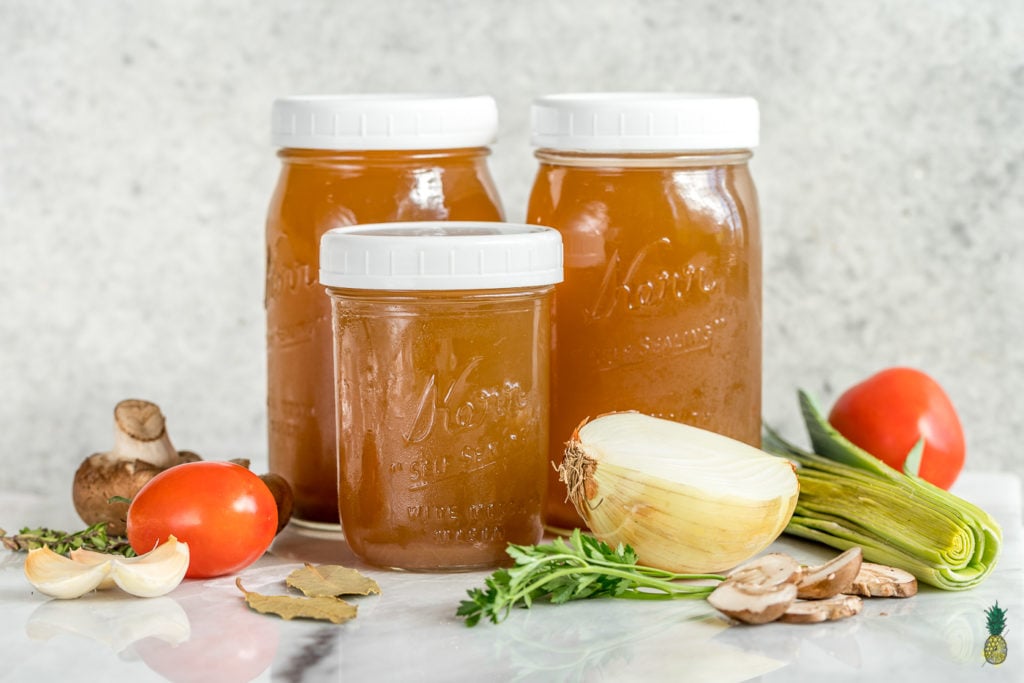
We store our broth in large quart jars in our refrigerator or freezer, depending on when we are going to use it. We found these awesome BPA-free lids for the mason jars that we use as well! They are way better than the metal lids as they rust easily. Did you know that the metal lids they come with aren’t meant to be reused?
You can also freeze your vegetable broth in an ice cube tray or two. If you’re like us, you won’t be using the whole bag or jar at once, so this allows for you to use smaller amounts of stock at a time and not have to defrost the entire container.
Make sure you tag us on Instagram @sweetsimplevegan and @consciouschris and hashtag #sweetsimplevegan if you use this guide to make your own broth or recreate any of our other recipes– we love to see your creations and they truly make our day!
Print
Homemade Vegetable Broth – Easy, Cheap & Low-Sodium!
- Total Time: 1 hour 10 minutes
- Yield: ~3.5 quarts (112 fl oz.)
Description
No need to buy vegetable broth from the store ever again! This step-by-step guide to making it at home is easy, cheap AND low-sodium!
Ingredients
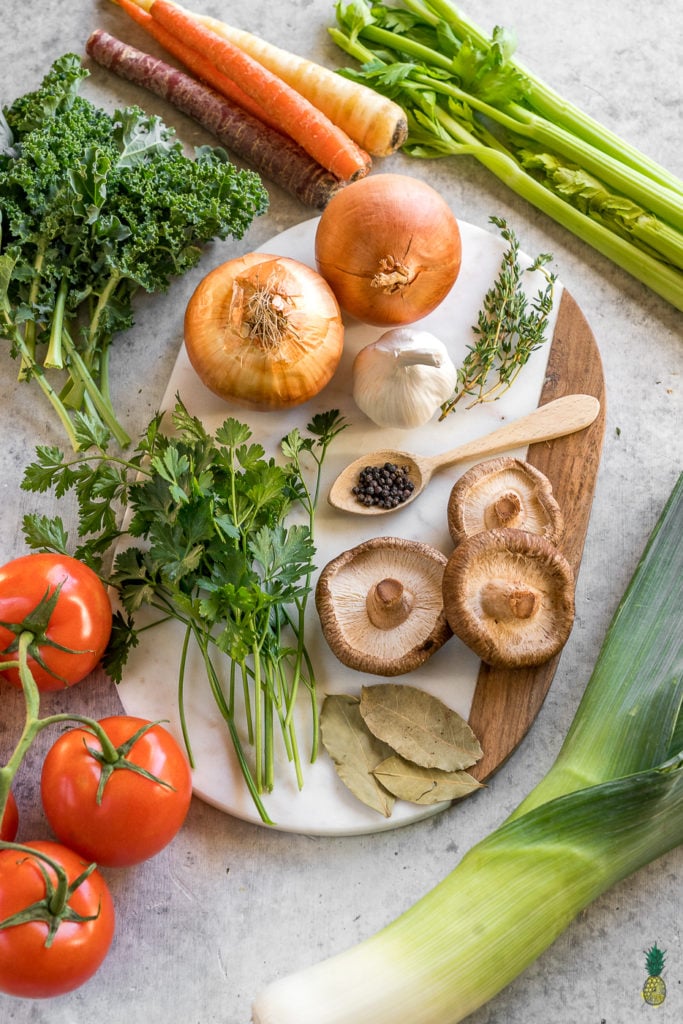
- 2-3 cups saved vegetable scraps*
Optional Ingredients (if you don’t have scraps/want to add more flavor):
- 1 onion, roughly chopped with skin
- 2 carrots with skins, finely chopped
- 3 cloves garlic, roughly chopped with skin
- 2 stalks celery, chopped
- 1/2-1 pound tomatoes, roughly chopped
- 1/2 cup greens, roughly chopped
- 1/2 cup mushrooms, roughly chopped
- 3 sprigs fresh thyme
- 1/2 small bunch parsley, roughly chopped
- 1/2 teaspoon whole peppercorns
- 1/2 teaspoon sea salt (or as desired)
- 2 bay leaves
- 8-10 cups filtered water*
- Optional: 1/2 leek, roughly chopped
Instructions
- Add all of the ingredients into a large pot. Add more water as needed to reach about 1″ above the vegetables.
- Bring the water to a boil and then cover and lower to a simmer for 45 minutes to 1 hour. The longer the better as it will deepen the flavor!
- Allow the broth to cool for about 20 minutes and then adjust salt to taste.
- Strain through a fine-mesh strainer, being sure to press the vegetables up against the side of the strainer to squeeze out as much liquid as you can. The vegetables can then be used for compost!
- Allow the broth to cool completely before transferring to storage containers. Store in the refrigerator up to 5 days or in the freezer up to 1 month (sometimes longer)*
Notes
- You can make vegetable broth solely from your scraps. This is what we usually do as we have so much that accumulates in our freezer, but for the sake of this blog post and for those just starting out that may not have scraps saved, we purchased produce and put together this recipe. There are vegetables that we do and do not recommend be saved for scraps, and to help you our we have included a list below along with tips for storage!
- We store our vegetable scraps in this reusable bag (pictured above) and we highly recommend it!
- Feel free to exclude any ingredients you don’t like or even add vegetables in that you feel like would enhance the flavor for your taste buds
- For a pressure cooker: Cook on high pressure for 15 minutes.
- For a slow cooker: Cook on low heat until vegetables are tender, about 6 hours.
- The water may also depend on the size of the pot you are using, vegetables, etc. — just try to make sure the water line is above the vegetables!
- We store our broth in large quart jars in our refrigerator or freezer, depending on when we are going to use it. We found these awesome BPA-free lids for the mason jars that we use as well! You can also freeze your vegetable broth in an ice cube tray or two so you can use smaller amounts of stock at a time and not have to defrost the entire container.
- Prep Time: 10 minutes
- Cook Time: 1 hour
- Category: Soup
- Method: Stovetop
- Cuisine: Vegan
Disclaimer: This is not a sponsored post. However, this page may contain affiliate links, thank you for supporting Sweet Simple Vegan!






Made this for the second time last night. The first time, I froze my scraps as I thought it’d take forever to accumulate enough to make broth. Boy how wrong I was! So this time, I simply put them in a container that’s about 3 cups, and it filled up in less than a week. I omitted eggplant this time, as I felt it overpowered the broth the first time around. Also added loads and loads of rosemary, thyme, and parsley. It’s SO GOOD!!! I freeze it in souper cubes and then thaw it in a saucepan as needed. My new favourite thing in the world, as I use lots and lots of broth for recipes and storebought options tend to be very high in sodium. Thank you!
Made this for the first time today using did scraps we’ve been saving in the freezer. It is really good and I can’t wait to start using it in recipes!
The recipe reads well however, you fail to indicate the sodium and calorie numbers.
Although we use a nutrition calculate those numbers and it will always be an estimate, we did not include it for this post as it would be extremely hard to determine via the internet. Because of the large amount of inaccuracies, we left it out.
I just leave out the salt and pepper when preparing it, then add what I like upon serving (for me it’s kosher salt, fresh ground pepper, and a dash of chili powder. Hope that helps you out..