This post may contain affiliate links. Please read our disclosure policy.
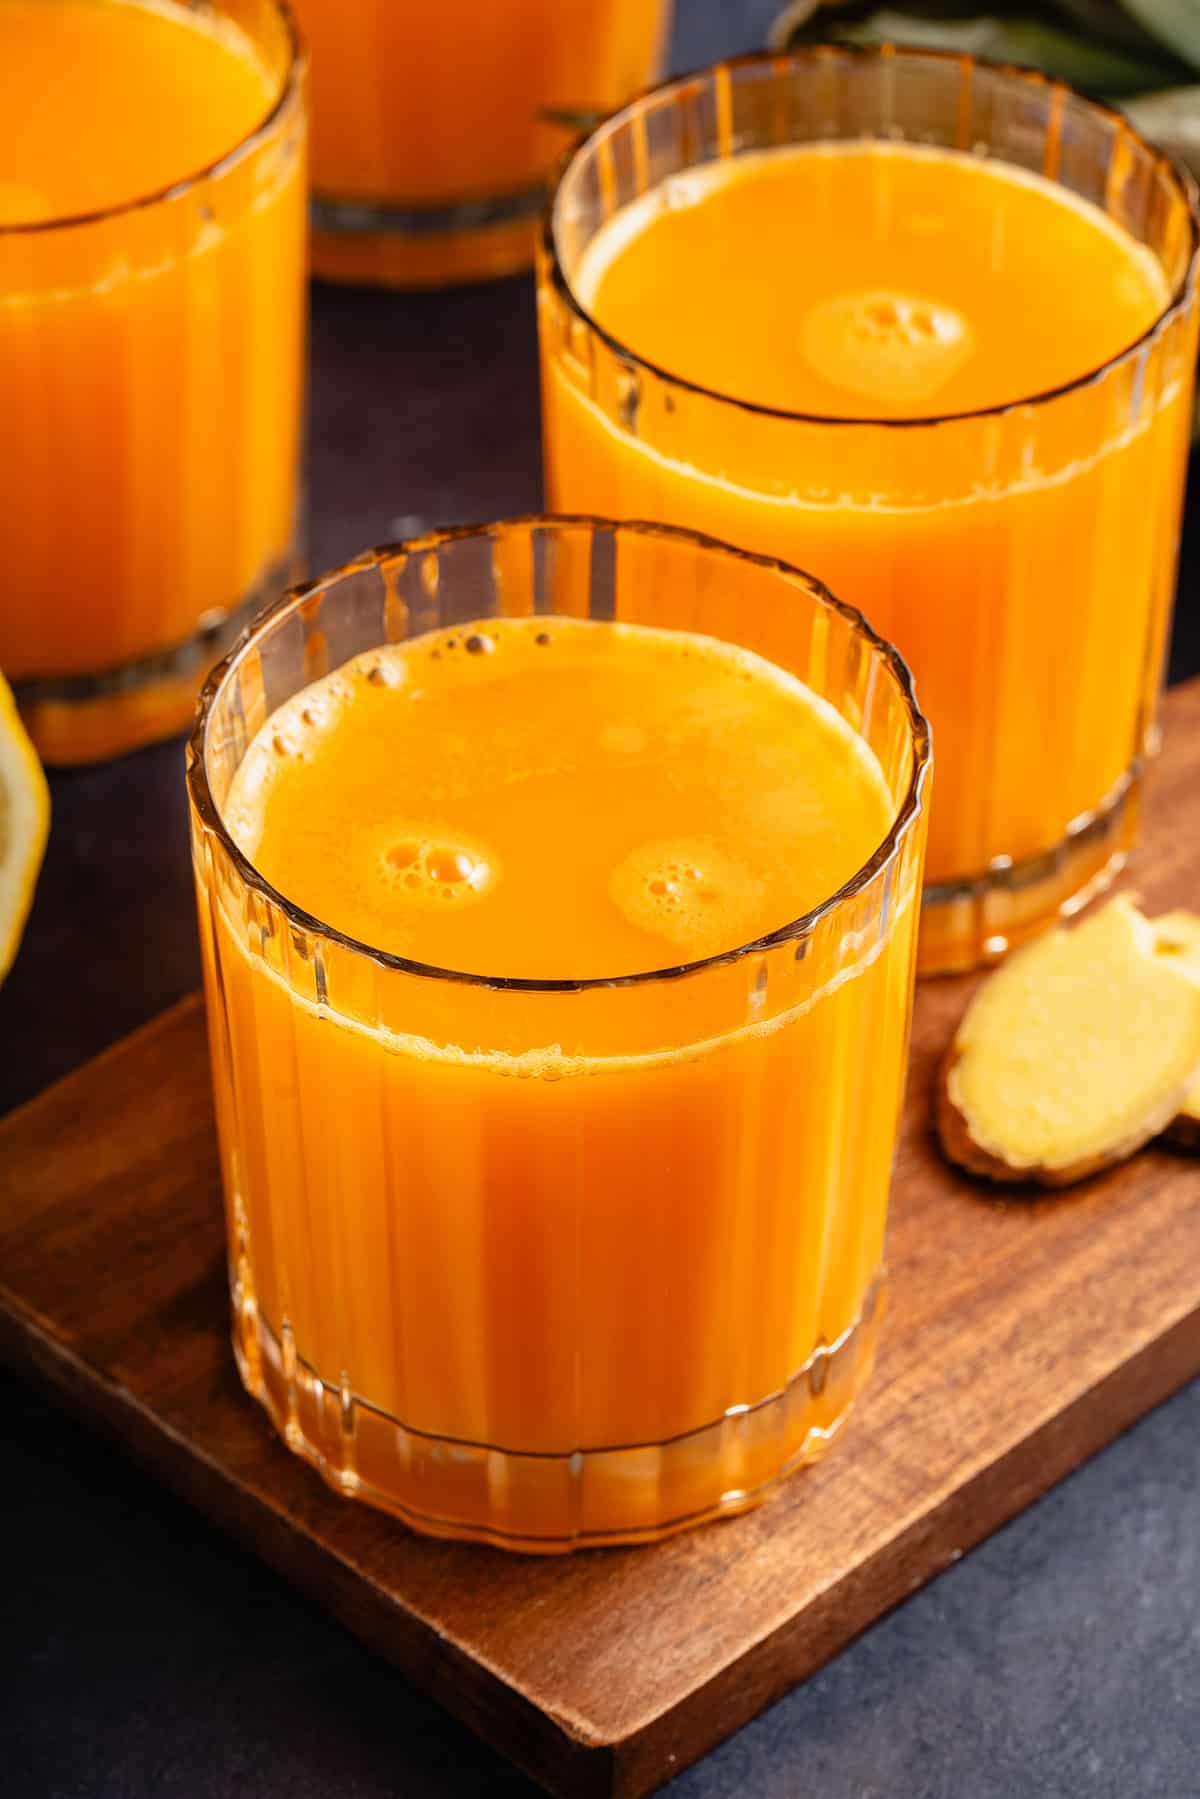
Start cold and flu season on the right foot with this homemade Immunity Juice! It’s filled with Vitamin C, antioxidants, and anti-inflammatory ingredients that will provide the whole family with superior immune support. Enjoy fresh, or freeze and defrost whenever you feel a sniffle coming on!
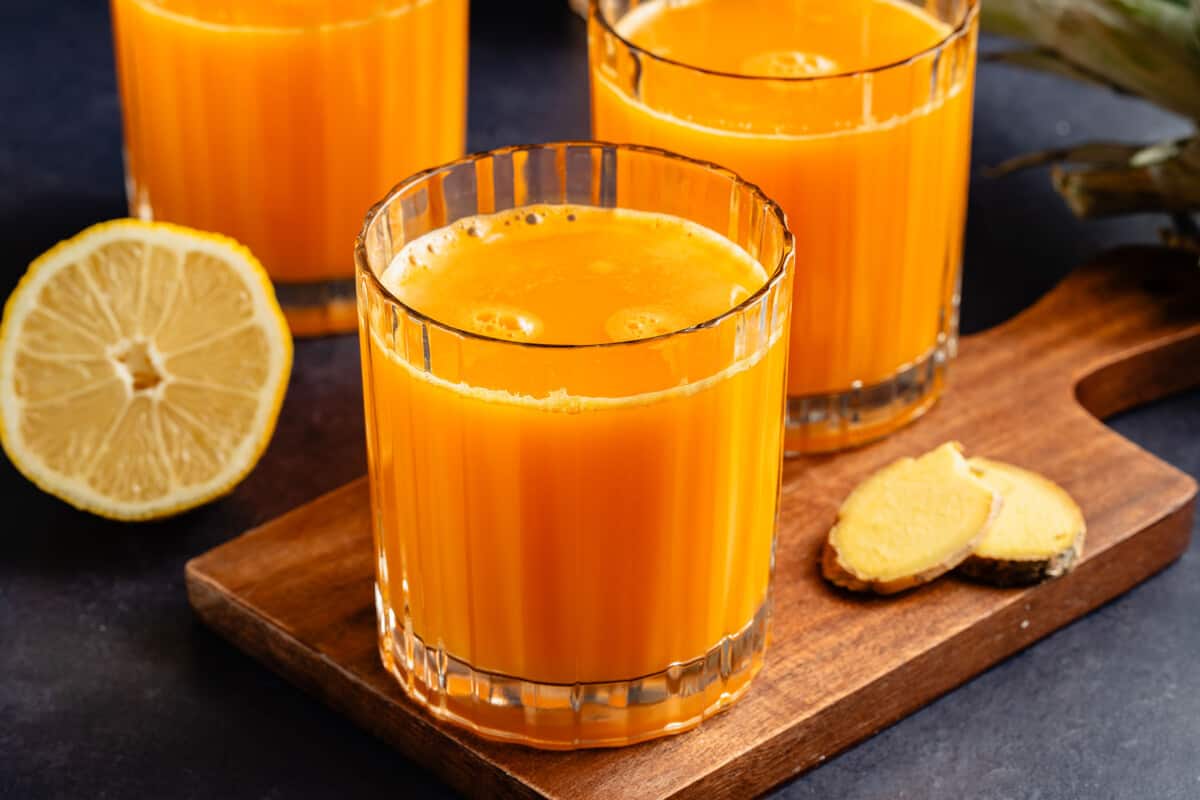
Table of Contents
If fiery immunity shots are too strong for you, you’re going to love this Immunity Juice. It contains an equal amount of good-for-you ingredients and health benefits but is watered down enough to be palatable for both kids and adults. No need to feel the burn in your esophagus to reap the benefits!
Best yet, you can make this immunity juice at home without a juicer and use our genius freezer method to always have these wellness juice shots on hand at all times. Get ready to beat sickness and feel your best all season long.

Ingredients You’ll Need
- Pineapple: Fresh pineapple is rich in Vitamin C as well as bromelain, an enzyme full of anti-inflammatory properties. For this recipe, you’ll need a full pineapple. To learn how to cut a pineapple, follow this Step-by-Step Guide.
- Fresh ginger+ turmeric: This powerhouse duo is well known for its potent anti-inflammatory and antioxidant effects. Make sure to use fresh knobs of ginger and turmeric (with skin on!) – powdered versions won’t have the same effect!
- Orange: Similar to the pineapple fresh orange juice is another great source of Vitamin C, which is key for a healthy immune system.
- Lemon: Another boost of vitamin C. Fresh lemon is best – avoid the pre-bottled stuff.
- Carrot: Orange carrots are high in beta-carotene, which turns into Vitamin A and offers additional immune system support. Carrots are also slightly sweet, which helps to balance the spicier flavors in the ginger and lemon juice.
- Garlic: It may seem odd to add fresh cloves of garlic to a homemade juice, but garlic cloves are popular for their antimicrobial and antibacterial effects. Adding a few cloves to a juice can help to fight off cold and flu!
- Ground black pepper: Contains piperine, which helps with the absorption of other nutrients such as turmeric.
- Water: Helps to blend the juice in a high-speed blender and makes the juice as a whole more mild and palatable.
- Liquid sweetener: We used agave, but vegan honey or any liquid sweetener of choice would also work well.
Equipment Needed
- High-speed blender
- Large bowl or measuring cup
- Fine mesh strainer, nut milk bag, or cheesecloth
- Ice cube tray or silicone molds (if freezing)


How to Make an Immunity Juice
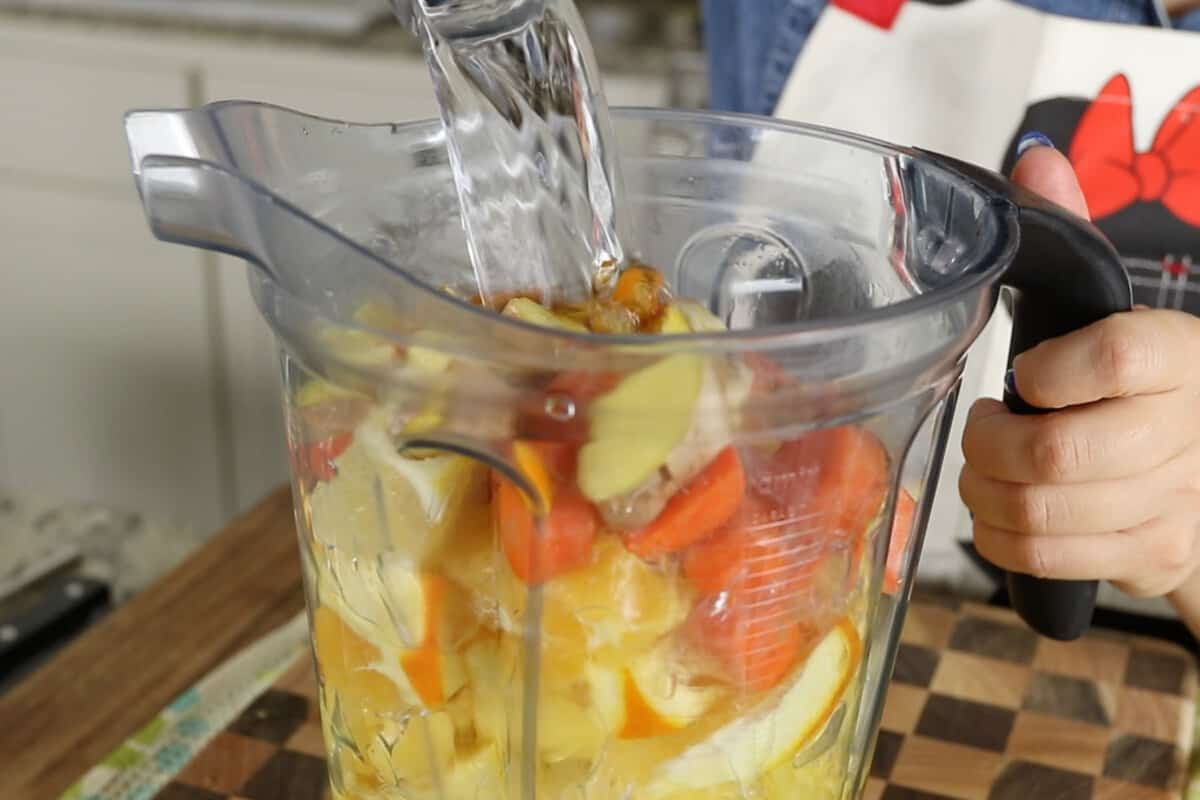
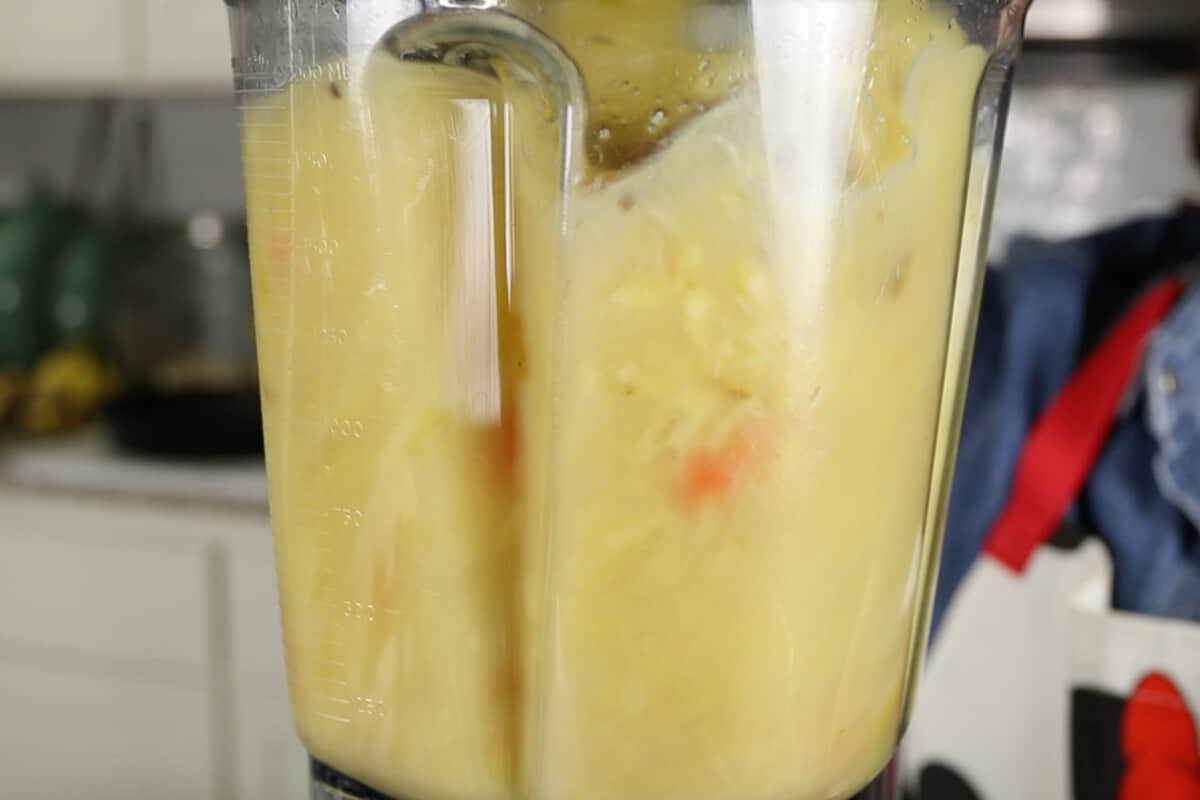
- Blend the ingredients. In a high-speed blender, add all of the immunity juice ingredients and blend until smooth, about 2 minutes.
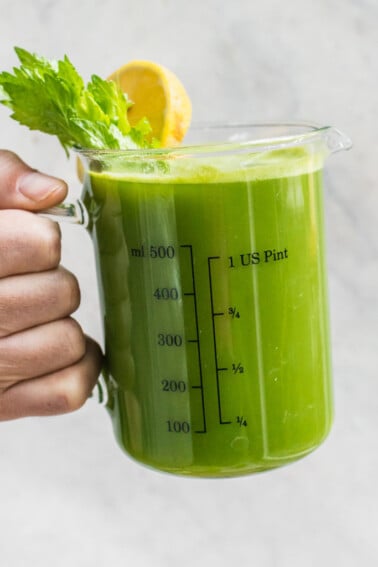
- Strain the juice. Place a fine mesh strainer or cheesecloth directly over a large bowl or measuring cup. Pour the juice over the strainer or cheesecloth to remove the pulp.
- Serve. Serve immediately as is or refrigerate to chill.


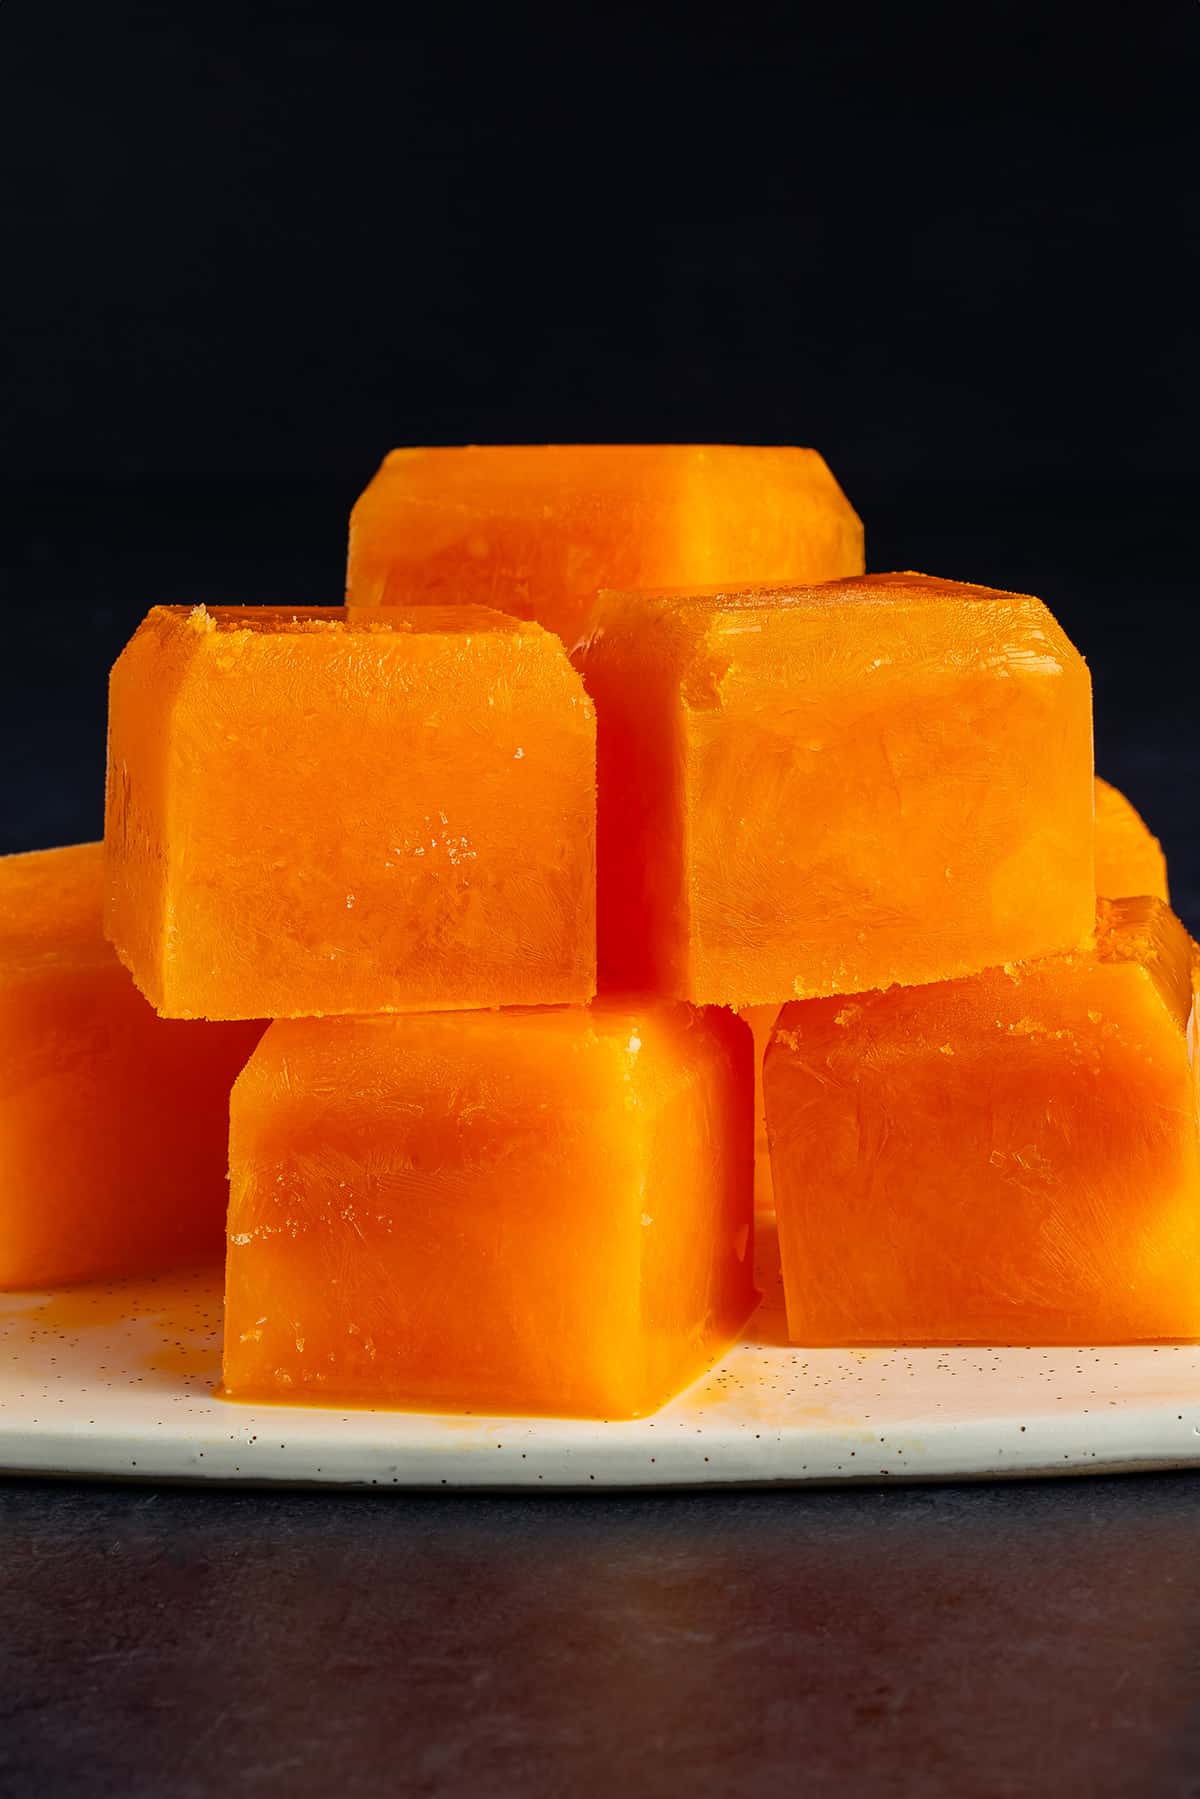
How to Freeze
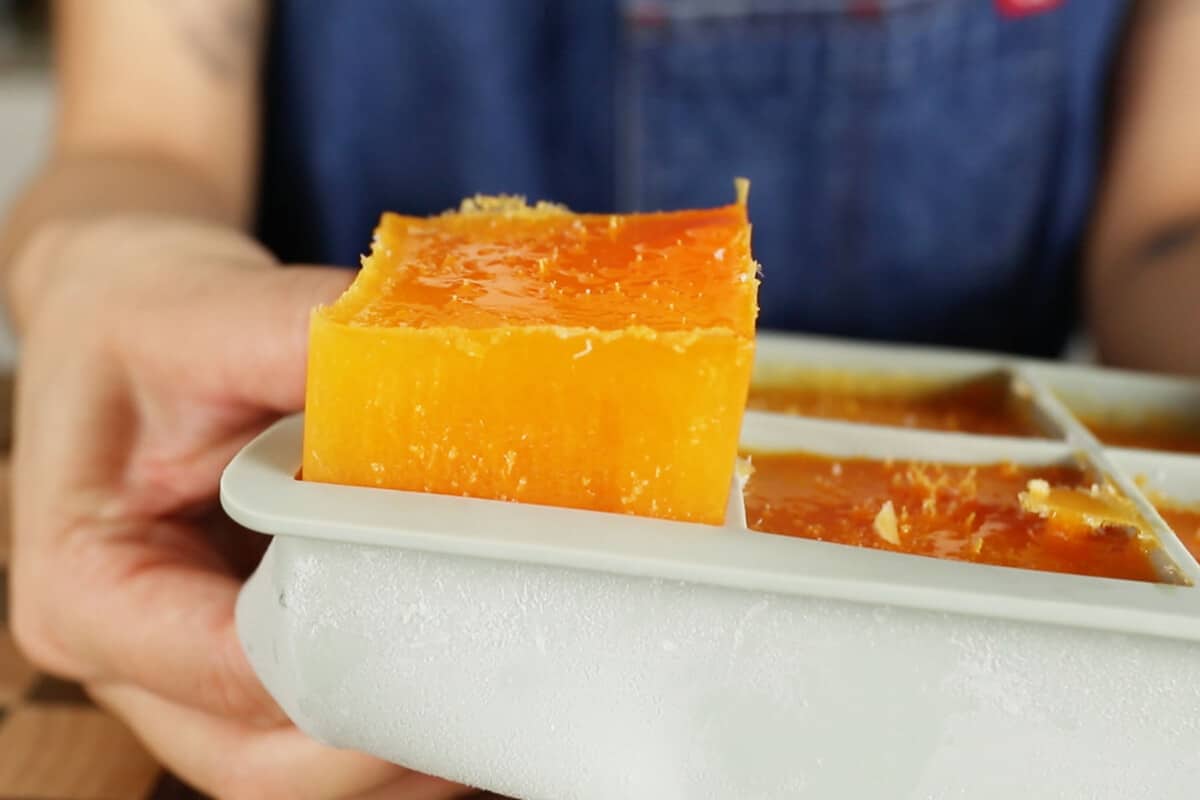
- Pour the juice into ice cube trays. Follow the instructions above, then pour the immunity juice between ice cube trays. You’ll likely need 2-3 trays if you’d like to freeze the entire juice recipe.
- Freeze for 6-8 hours. Transfer the ice cube trays to the freezer and freeze for 6-8 hours, or until set. Once frozen, transfer the ice cubes to a freezer-safe bag or airtight container for storage for up 2-3 months.
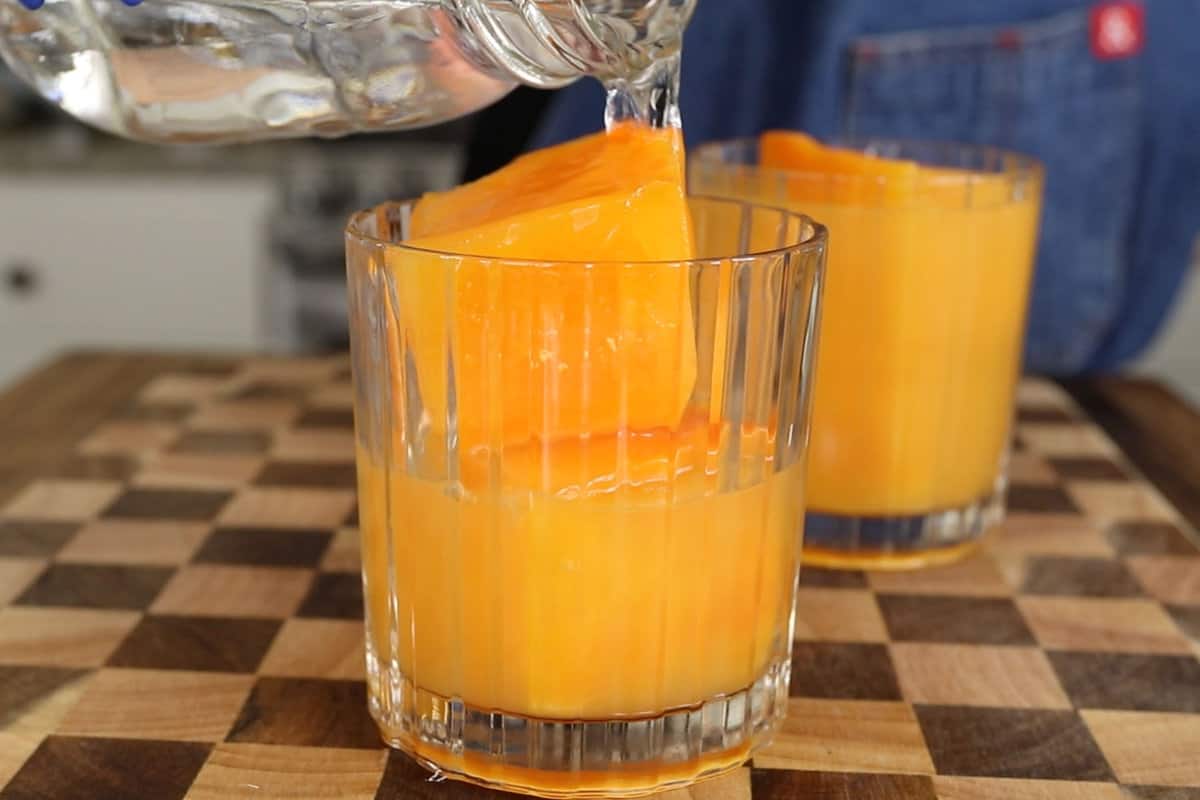
- Defrost. When ready to serve, remove the desired amount of cubes from the freezer and place them into a drinking glass. Cover the ice cubes with lukewarm water and allow the mixture to melt. Then stir, and enjoy!
Recipe FAQs
Definitely! The biggest difference between an immunity juice and an immunity shot is the level of concentration and the serving size. If you’d like to turn this immunity juice into a stronger, more concentrated shot, reduce the water to just 1/2 cup.
Begin to blend and use the tamper to push the fruits and vegetables down into the blade. If the mixture is too thick, add up to another 1/2 cup water, or enough water to encourage blending. Strain, then enjoy in 2-ounce servings.
Feel free to enjoy a small cup of this juice daily, or a few times of day while actively fighting a cold and flu. It can be used as both a preventative measure and an aide to help improve active cold and flu symptoms. Use as needed!
Yes, to make this immunity juice in a juicer, feed all of the ingredients through the juicer, then transfer to a storage jar along with 3 cups of water. When using a juicer, you can skip straining the juice, as the juicer will automatically do this for you during the juicing process.
It can be composted, or added to a smoothie for an extra boost of dietary fiber. You can also use it to make this Leftover Juice Pulp Granola! If you’d like to save it to use later, transfer it to a freezer bag or airtight container and freeze for up to 1 month.
Storage Instructions
Fresh, homemade juice spoils quickly because it does not contain any preservatives and has not been pasteurized. For this reason, we love to use our ice cube method for this recipe and defrost a little at a time when needed.
If you’d like to keep it refrigerated, it will keep well in an airtight container for up to 3 days.
More Immune-Boosting Recipes You May Enjoy:
Make sure you tag us on Instagram @sweetsimplevegan and @consciouschris and hashtag #sweetsimplevegan if you make this recipe. We love to see your photos!
Print
Immunity Juice Recipe (without a juicer!)
- Total Time: 20 minutes
- Yield: About 60 fl. oz 1x
- Diet: Vegan
Description
Start cold and flu season on the right foot with this homemade Immunity Juice! It’s filled with Vitamin C, antioxidants, and anti-inflammatory ingredients that will provide the whole family with superior immune support. Enjoy fresh, or freeze and defrost whenever you feel a sniffle coming on!
Ingredients
- 1 pineapple, peeled and chopped
- 2 knobs fresh ginger, peeled
- 1 knob fresh turmeric, peeled
- 1 orange, chopped
- 1 lemon, chopped
- 1 large carrot, chopped
- 2 cloves garlic, peeled
- 1/2 teaspoon ground black pepper
- 3 cups water
- Agave or vegan honey, to taste (optional)
Instructions
How to Make the Juice
- Blend the ingredients. In a high-speed blender, add all of the immunity juice ingredients and blend until smooth, about 2 minutes.
- Strain the juice. Place a fine mesh strainer or cheesecloth directly over a large bowl or measuring cup. Pour the juice over the strainer or cheesecloth to remove the pulp.
- Serve. Serve immediately as is or refrigerate to chill.
How to Freeze
- Pour the juice into trays. Follow the instructions above, then pour the immunity juice between ice cube trays or silicone molds. You’ll likely need 2-3 trays if you’d like to freeze the entire juice recipe.
- Freeze for 6-8 hours. Transfer the ice cube trays to the freezer and freeze for 6-8 hours, or until set. Once frozen, transfer the ice cubes to a freezer-safe bag or airtight container for storage for up 2-3 months.
- Defrost. When ready to serve, remove the desired amount of cubes from the freezer and place them into a drinking glass. Cover the ice cubes with lukewarm water and allow the mixture to melt. Then stir, and enjoy!
Notes
- Storage: If you’d like to keep it refrigerated, it will keep well in an airtight container for up to 3 days.
- Prep Time: 20 minutes
- Category: Beverages
- Method: Blender