This post may contain affiliate links. Please read our disclosure policy.
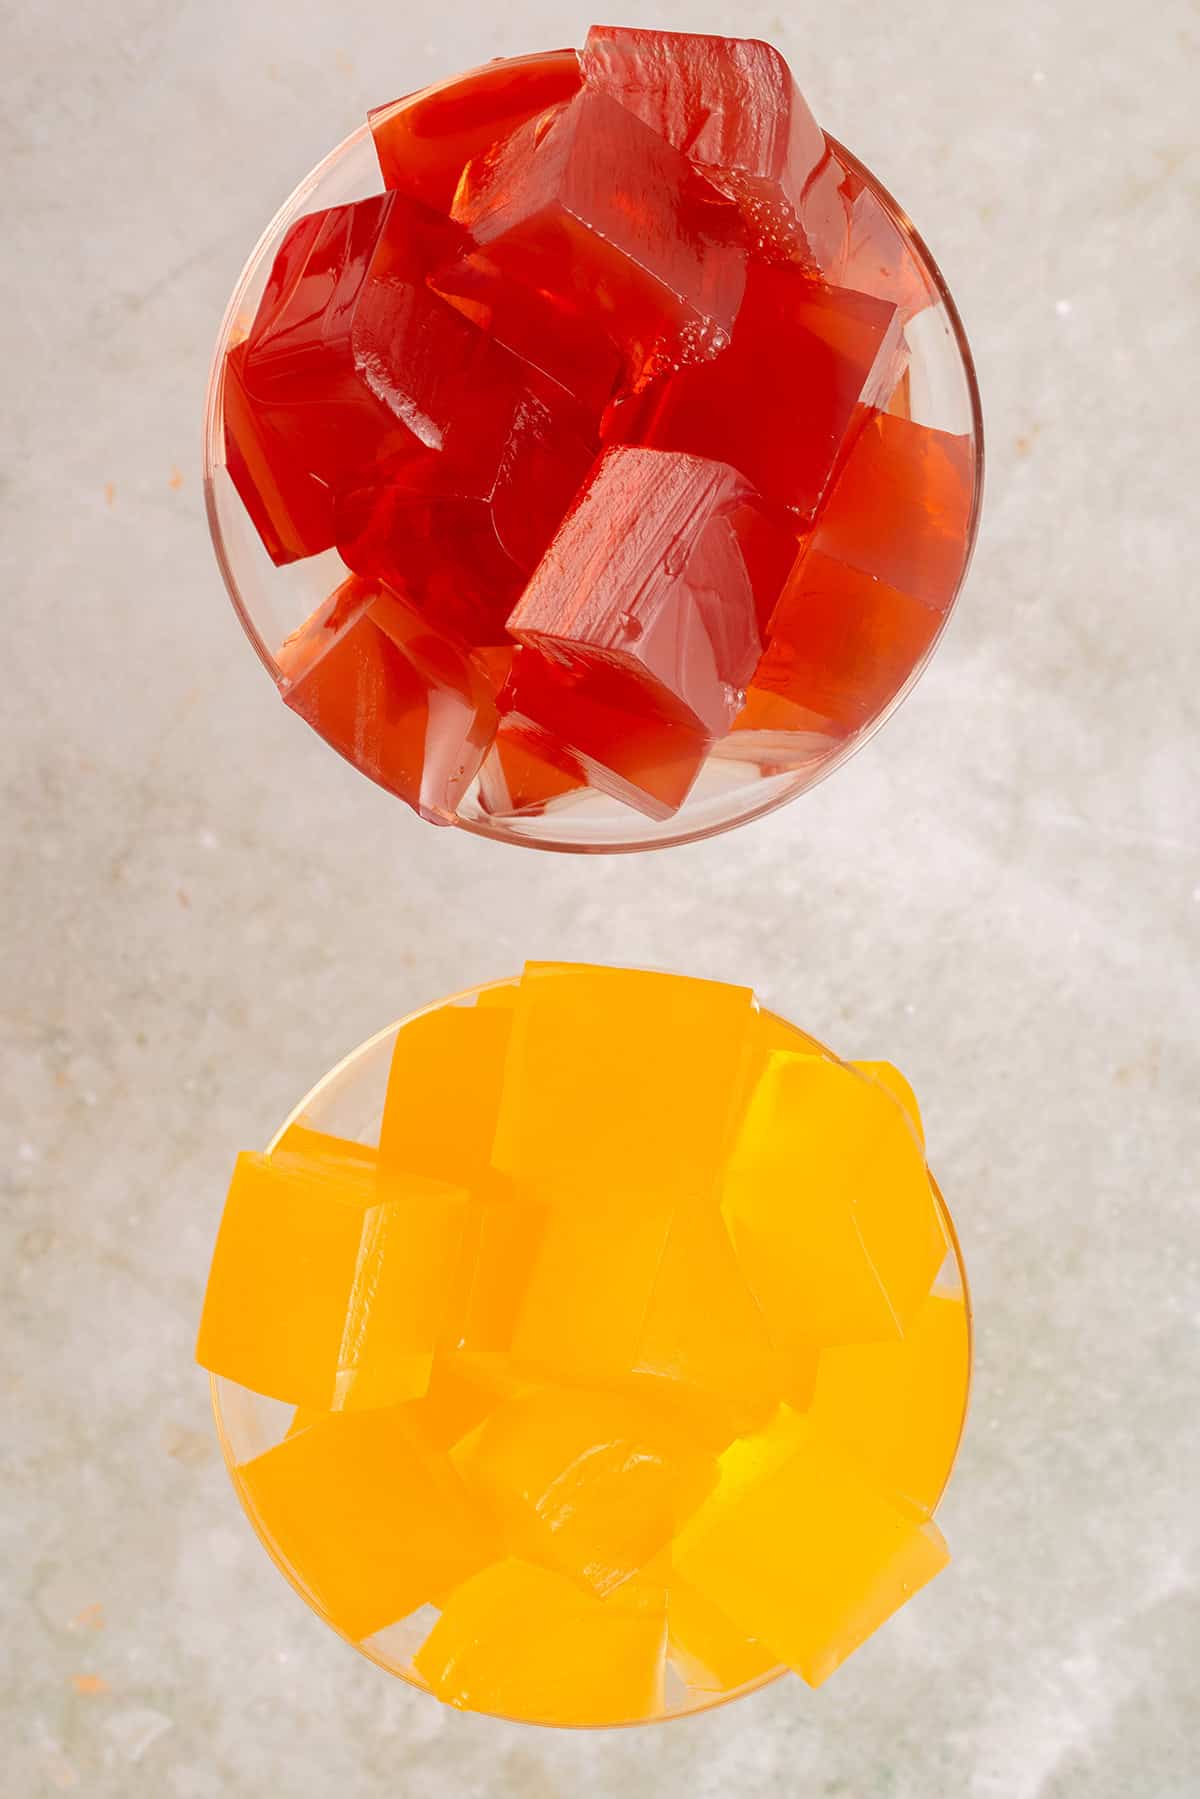
Learn how easy it is to make a fruity vegan jello from scratch with just a few ingredients in your home kitchen. It’s an easy dessert to be enjoyed by kids and adults alike!
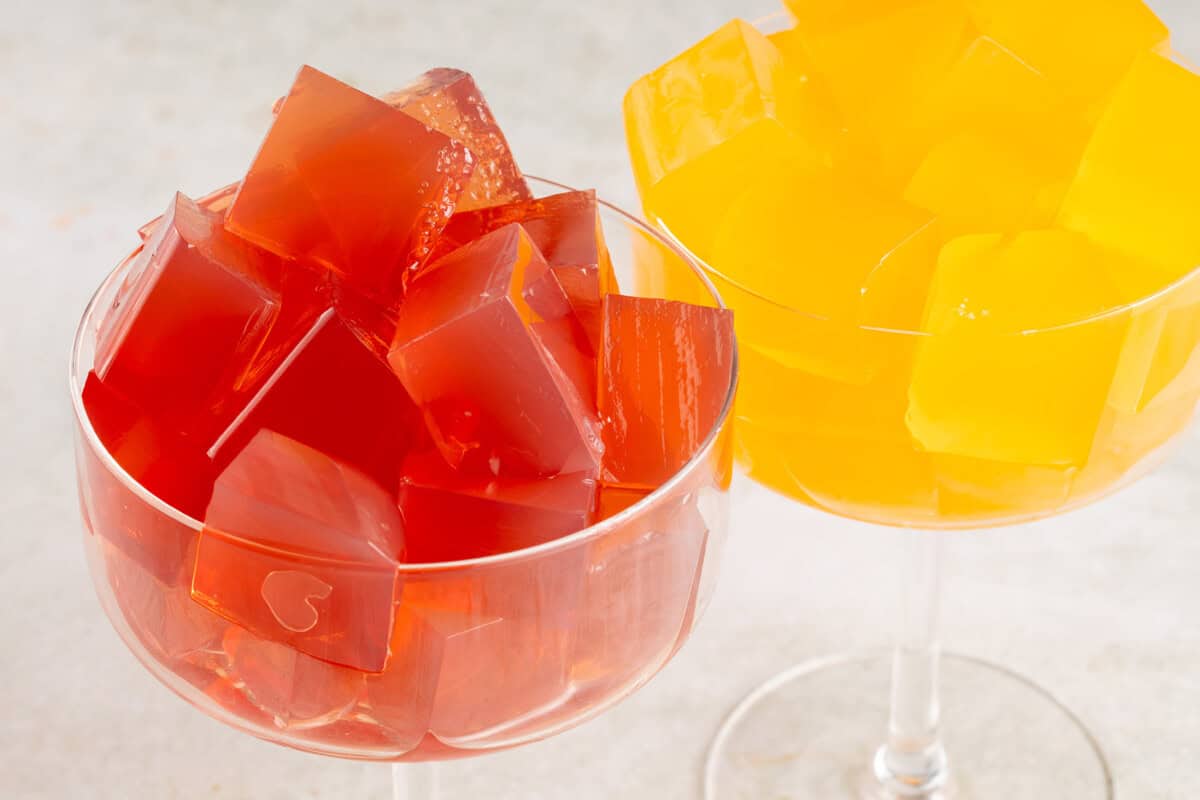
Table of Contents
Is Jello Vegan?
If you’ve recently adopted a plant-based, vegan diet, you might be wondering…why isn’t regular jello vegan? It’s a good question and typically comes down to one ingredient – gelatin. Gelatin is a popular ingredient in traditional jello recipes, gummy candies, and marshmallows, and is made from animal collagen, particularly the bones, skin, and connective tissues. Ick!
To avoid this and make our dessert recipe free of animal products, it is, of course, 100% gelatin-free and instead made with agar agar powder. So gather the few ingredients you’ll need and prepare to satisfy a jello craving!
Ingredients You’ll Need
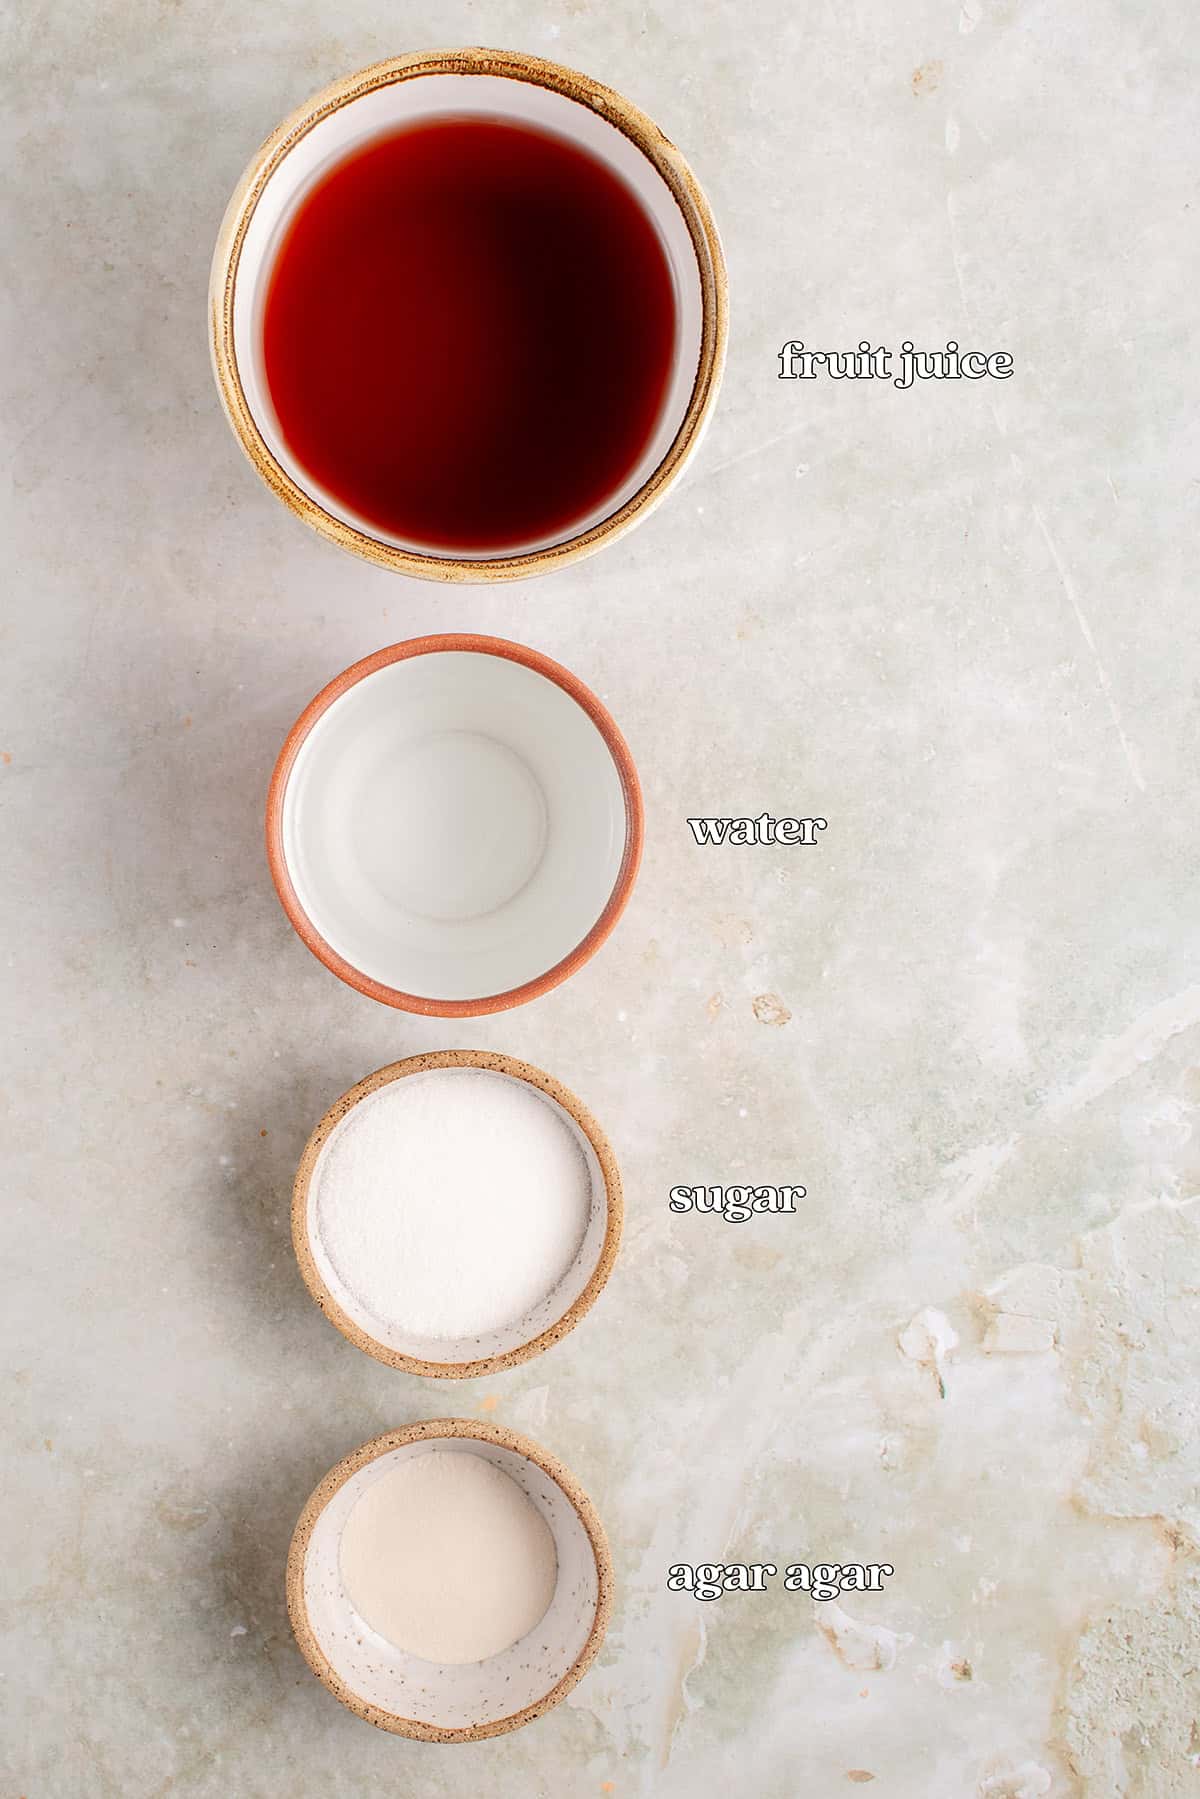
- Fruit juice: Any 100% real fruit juice of choice will work in this recipe, except for fresh pineapple juice (canned pineapple juice is okay). Grape juice, orange juice, or cherry juice are all fantastic! Pineapple juice contains enzymes that can prevent the agar agar from setting properly.
- Granulated sugar: Regular white sugar will perfectly sweeten the vegan jello without changing the natural color of the fruit juice. You can use alternate sugars such as brown sugar or coconut sugar, but these sugars will make the overall color darker.
- Agar agar powder: The perfect vegan substitute for the more traditional gelatin. Agar agar powder is derived from seaweed and has the ability to turn a liquid into a gel-like consistency. Agar agar is also odorless and flavorless and won’t alter the flavor of your homemade jello! We find it easiest to buy on Amazon, but you can also check for it at your local health food stores.
Full measurements and instructions for each ingredient are in the recipe card at the bottom of this post.
Equipment Needed
How to Make Vegan Jello with Agar Agar
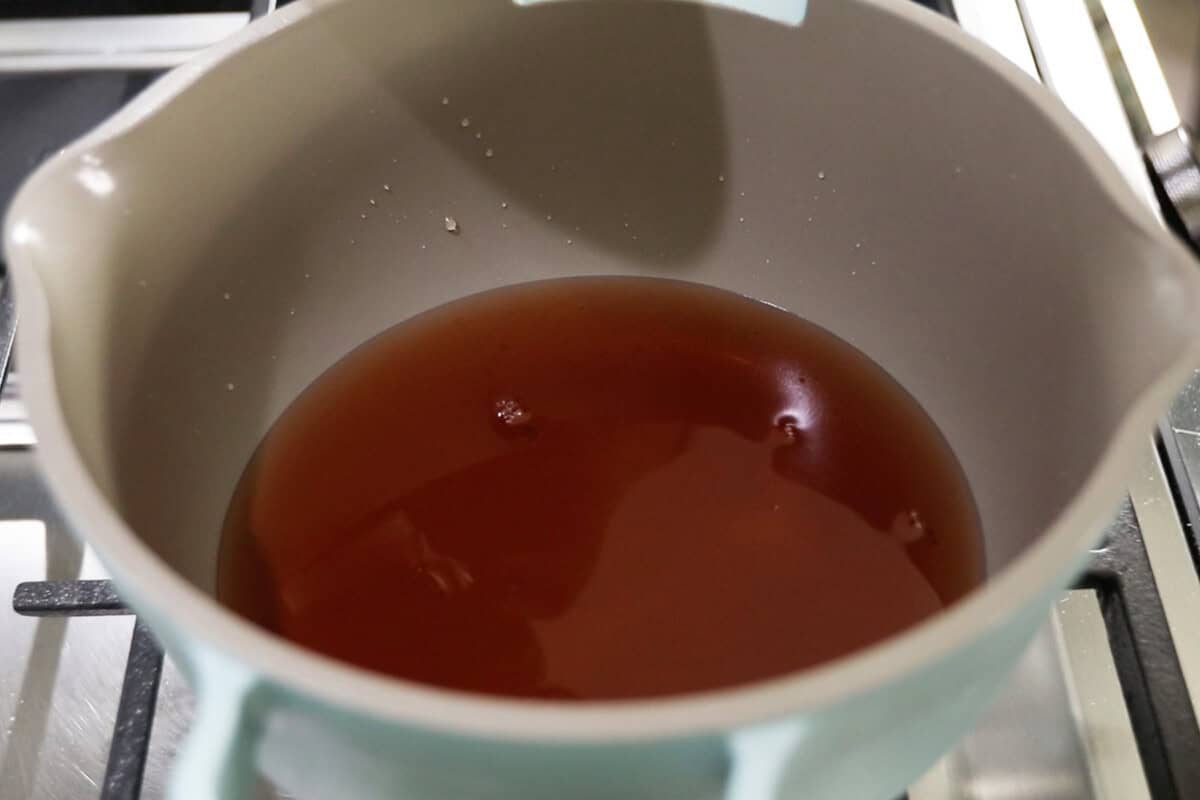
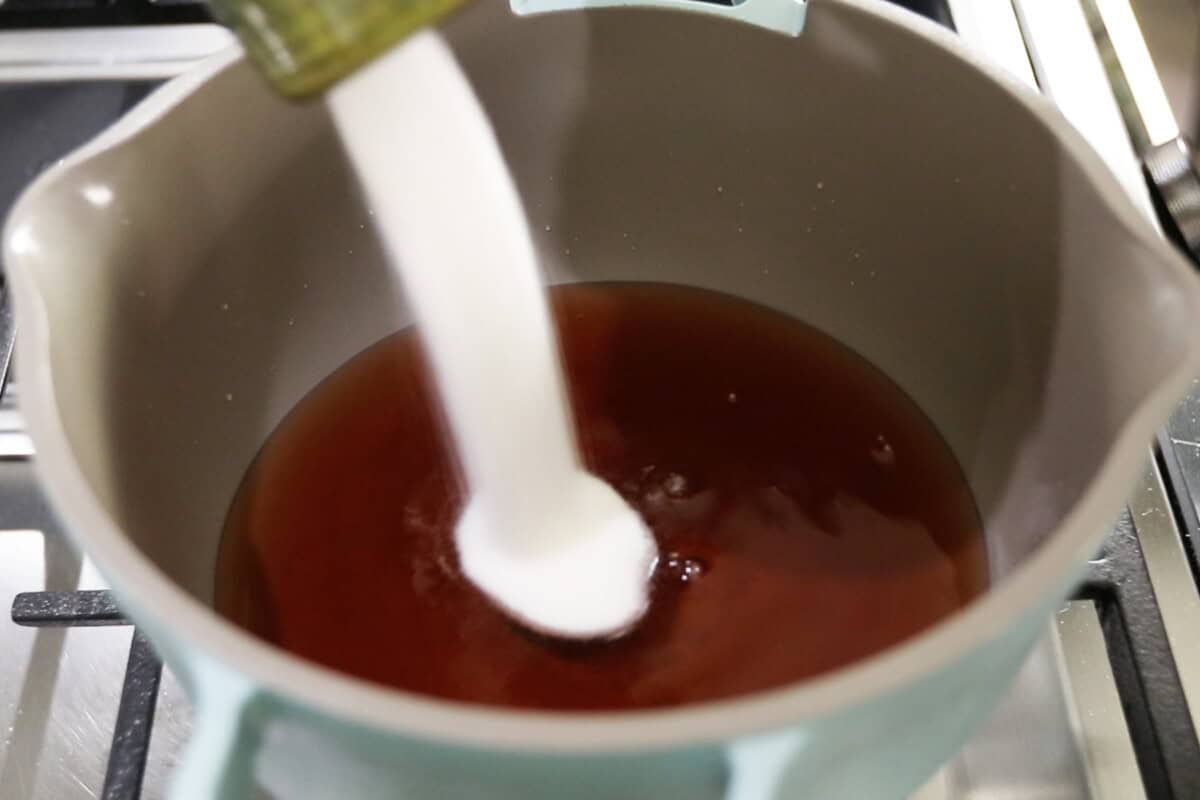
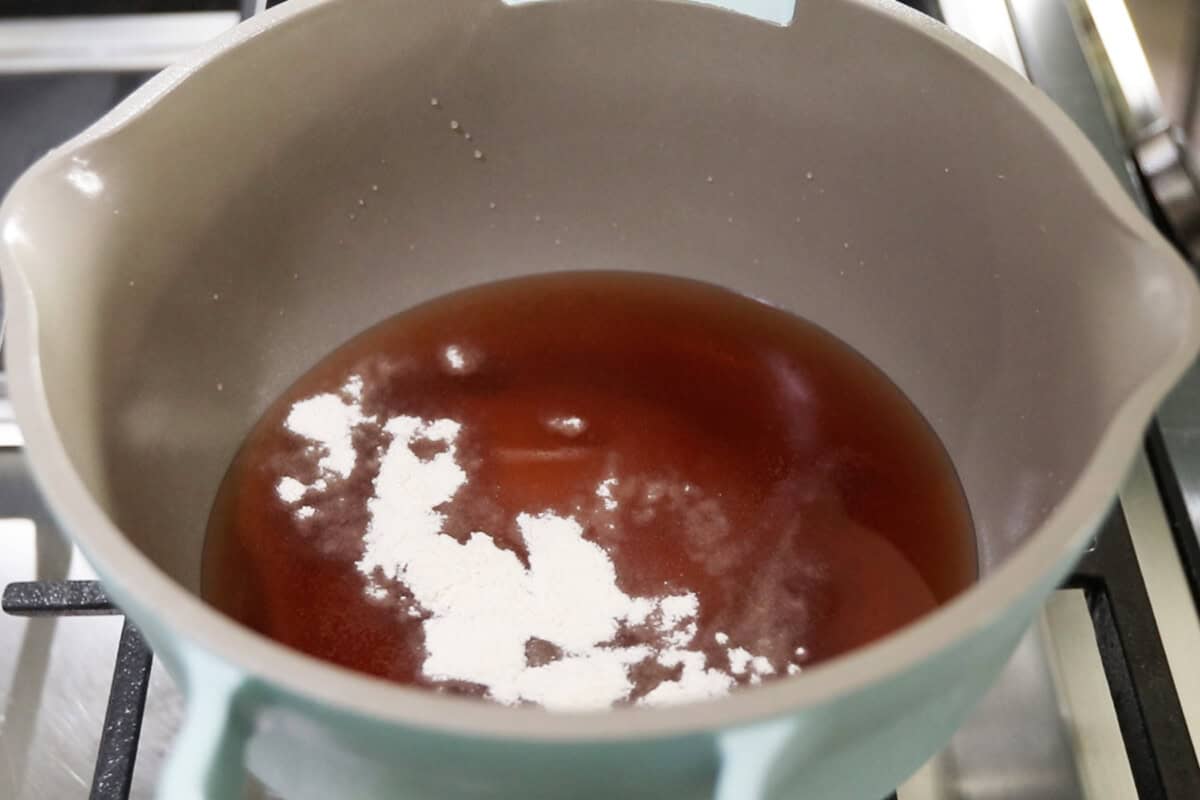
- Bring the agar agar to a boil. Add the juice, granulated sugar, and agar agar to a small saucepan. Whisk together until the agar agar and sugar is completely dissolved. Bring the mixture to a boil over high heat, whisking frequently.
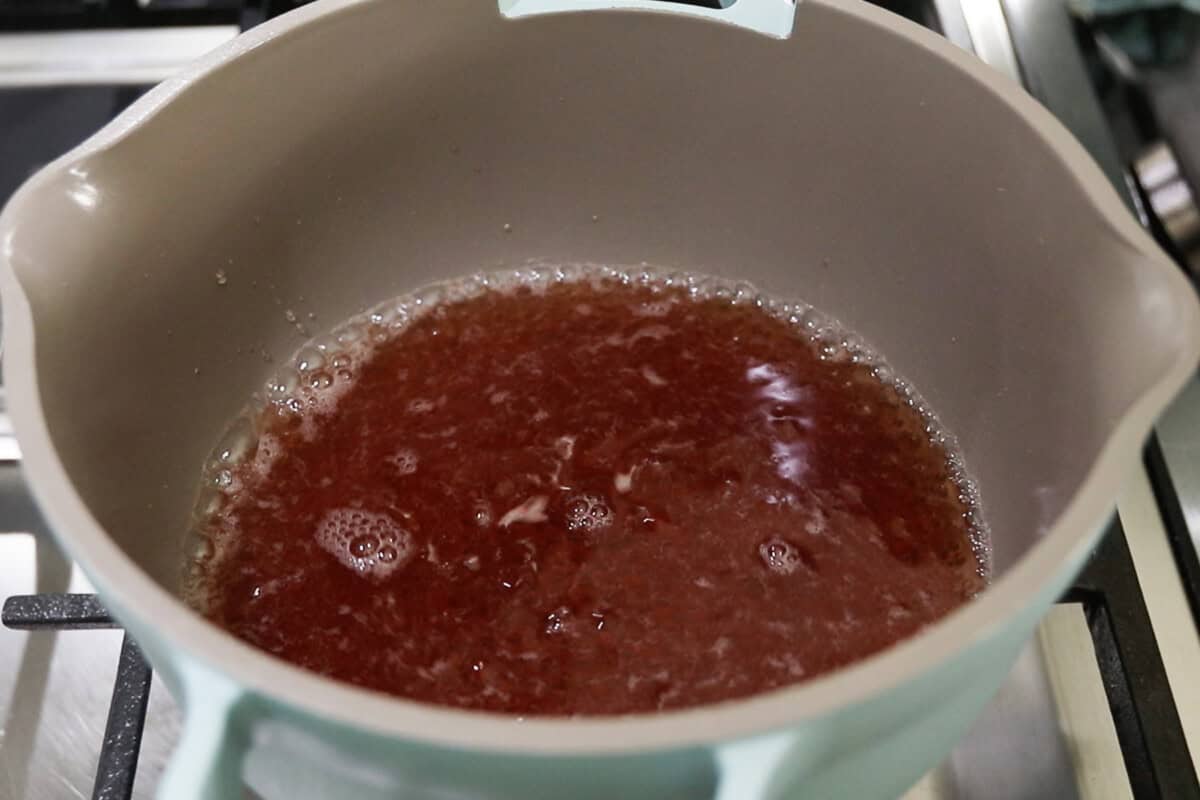
- Boil for two minutes. Once the jello mixture reaches a boil, lower the heat to medium heat and continue boiling for 2 minutes, whisking constantly.
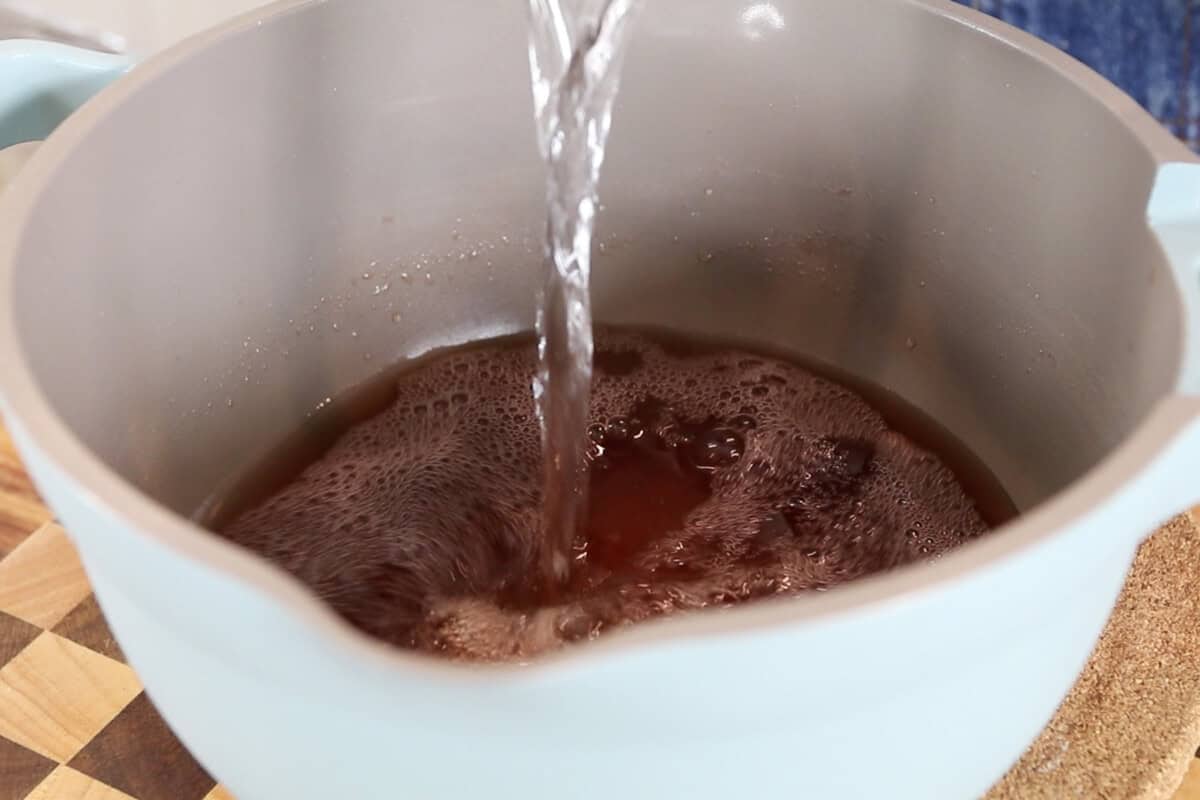
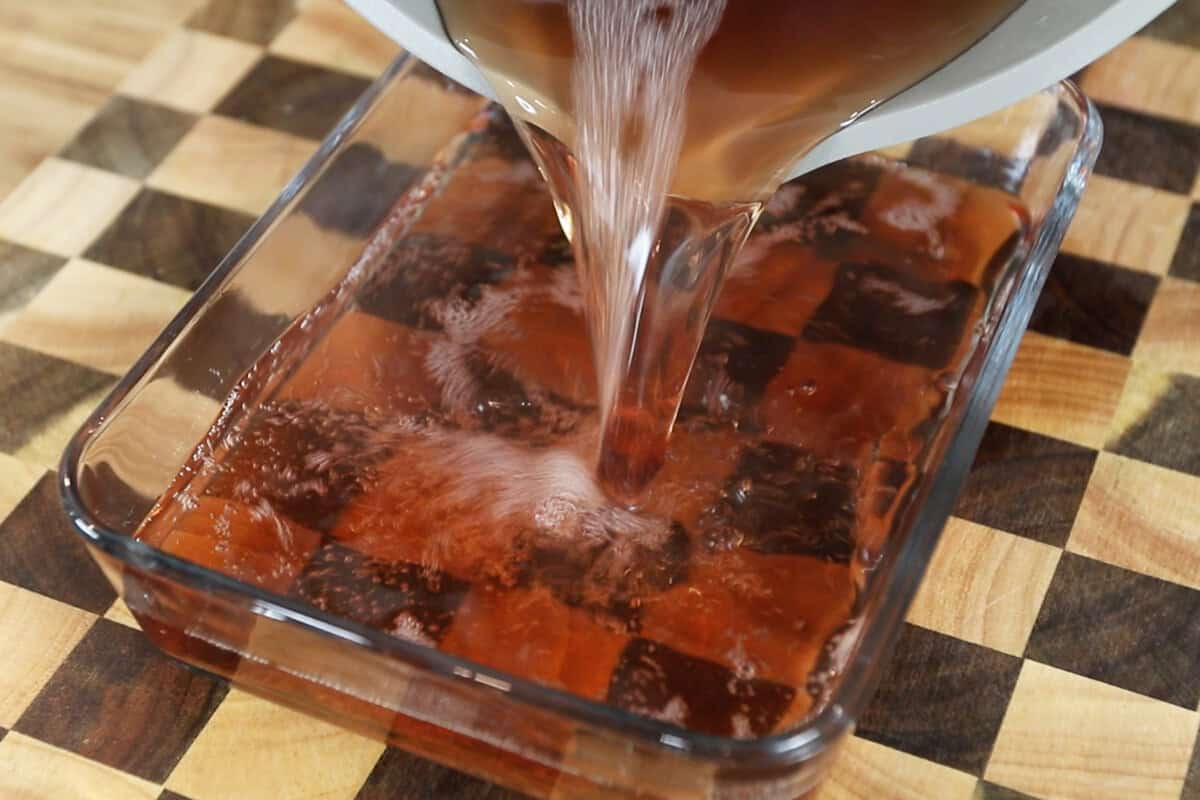
- Whisk in the cold water. After two minutes, remove the pot from the heat and whisk in the cold water. Pour the mixture into a jello mold, serving dish, or an airtight container of choice and allow it to cool for 10-15 minutes.
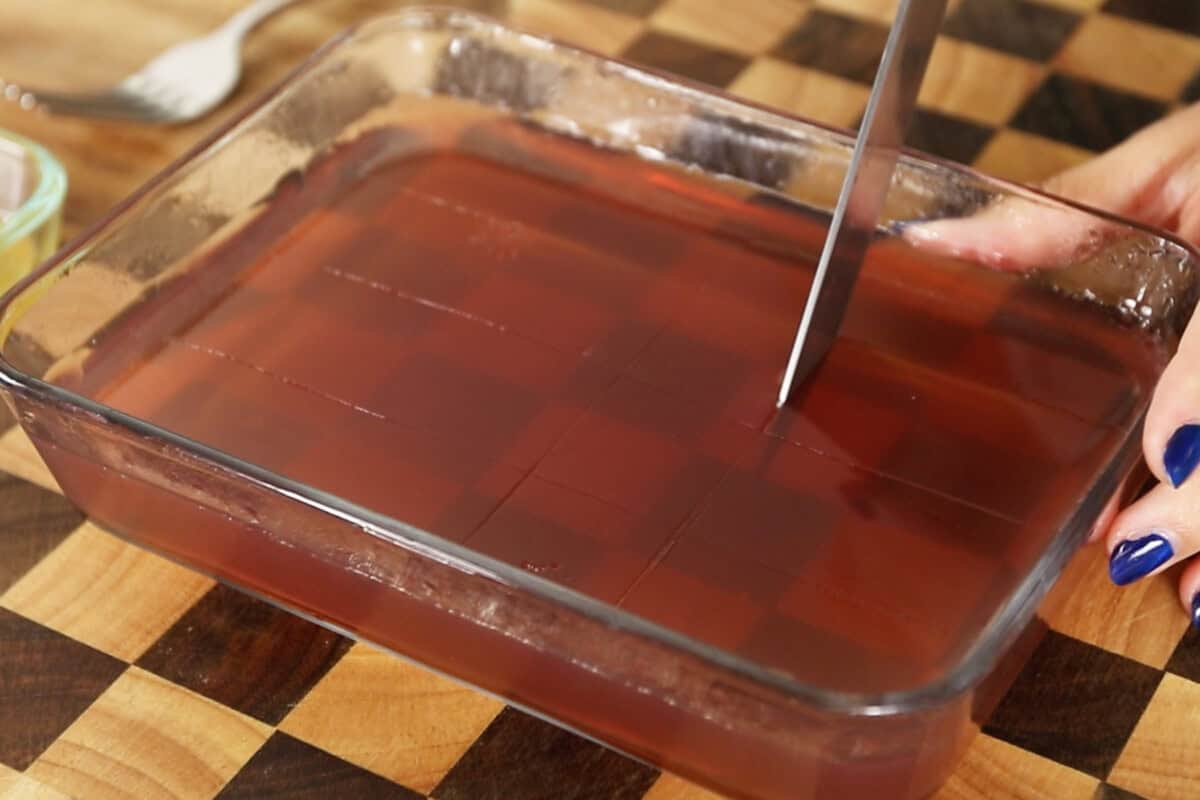
- Refrigerate for 1 hour. Cover the jello and refrigerate for at least 1 hour to set.
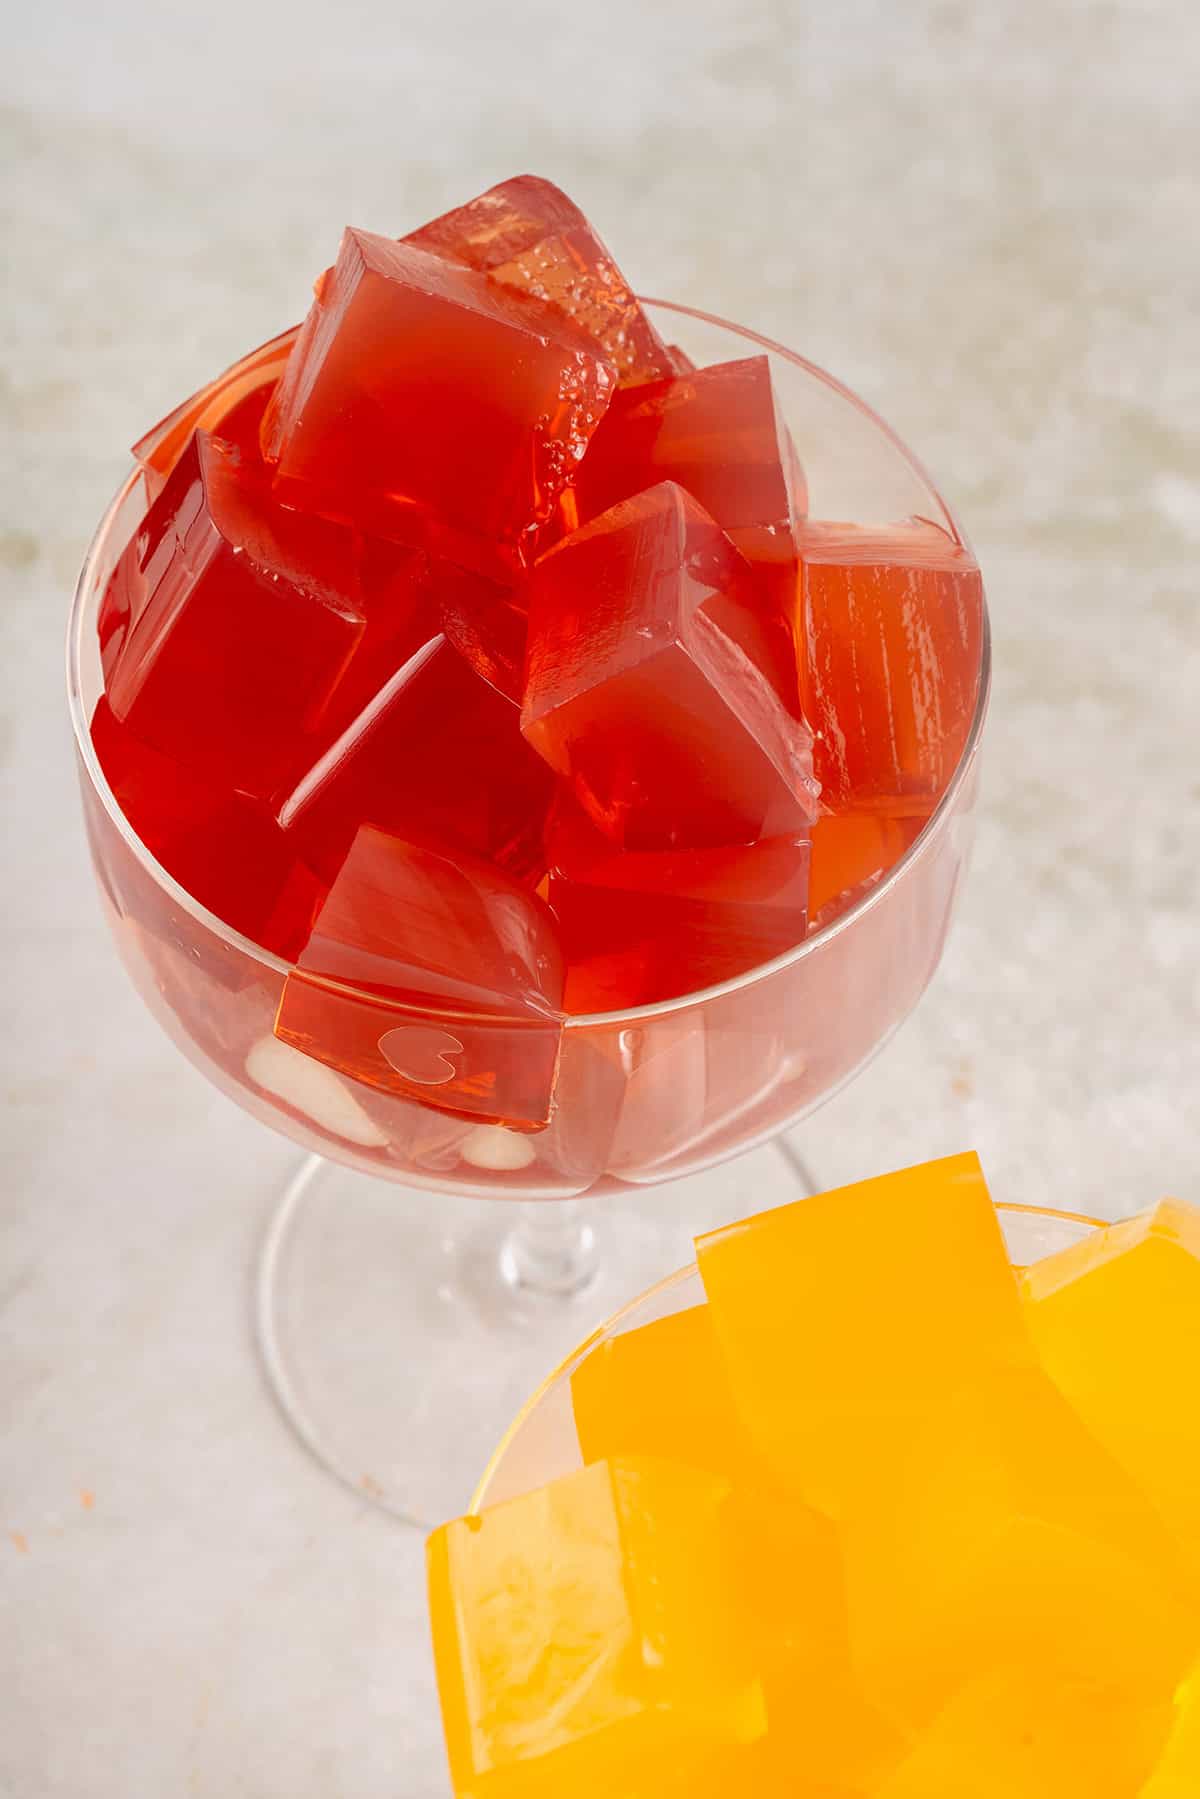
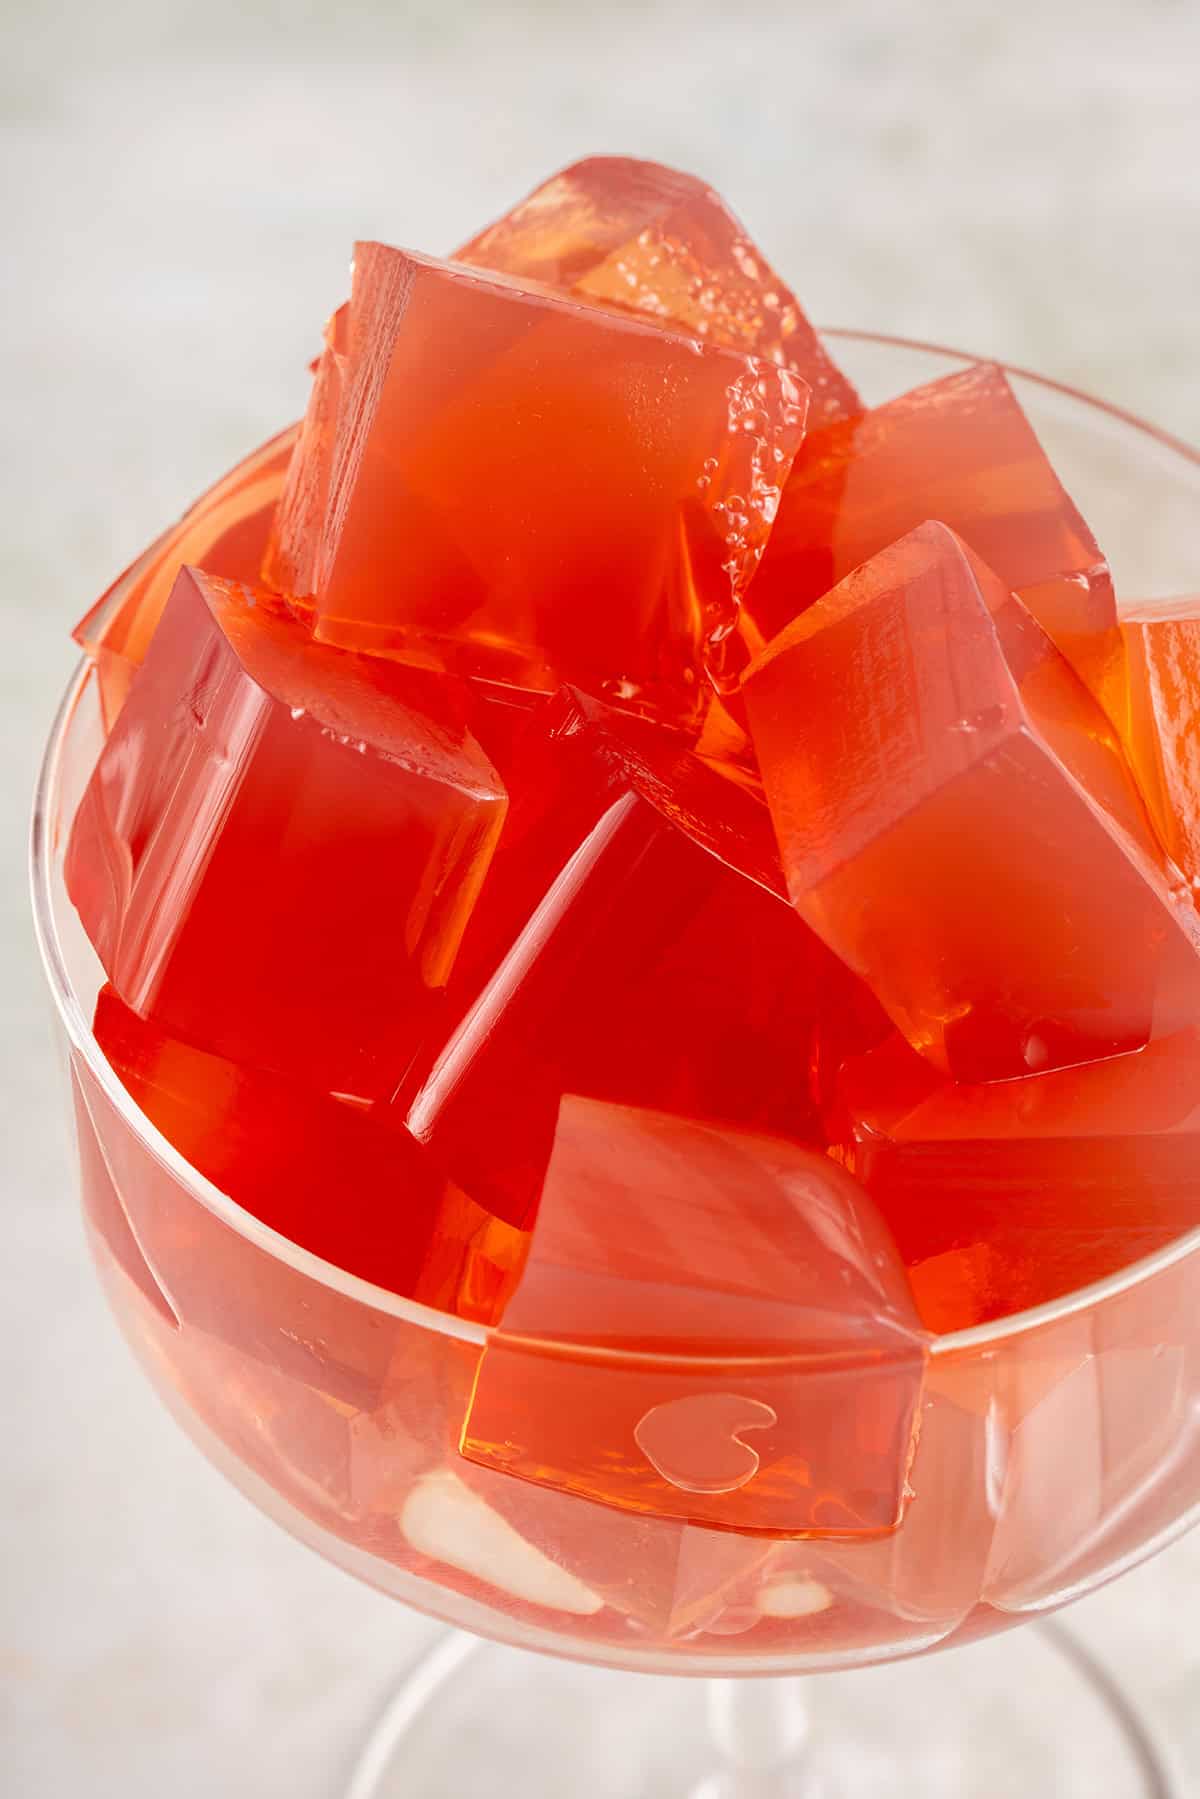
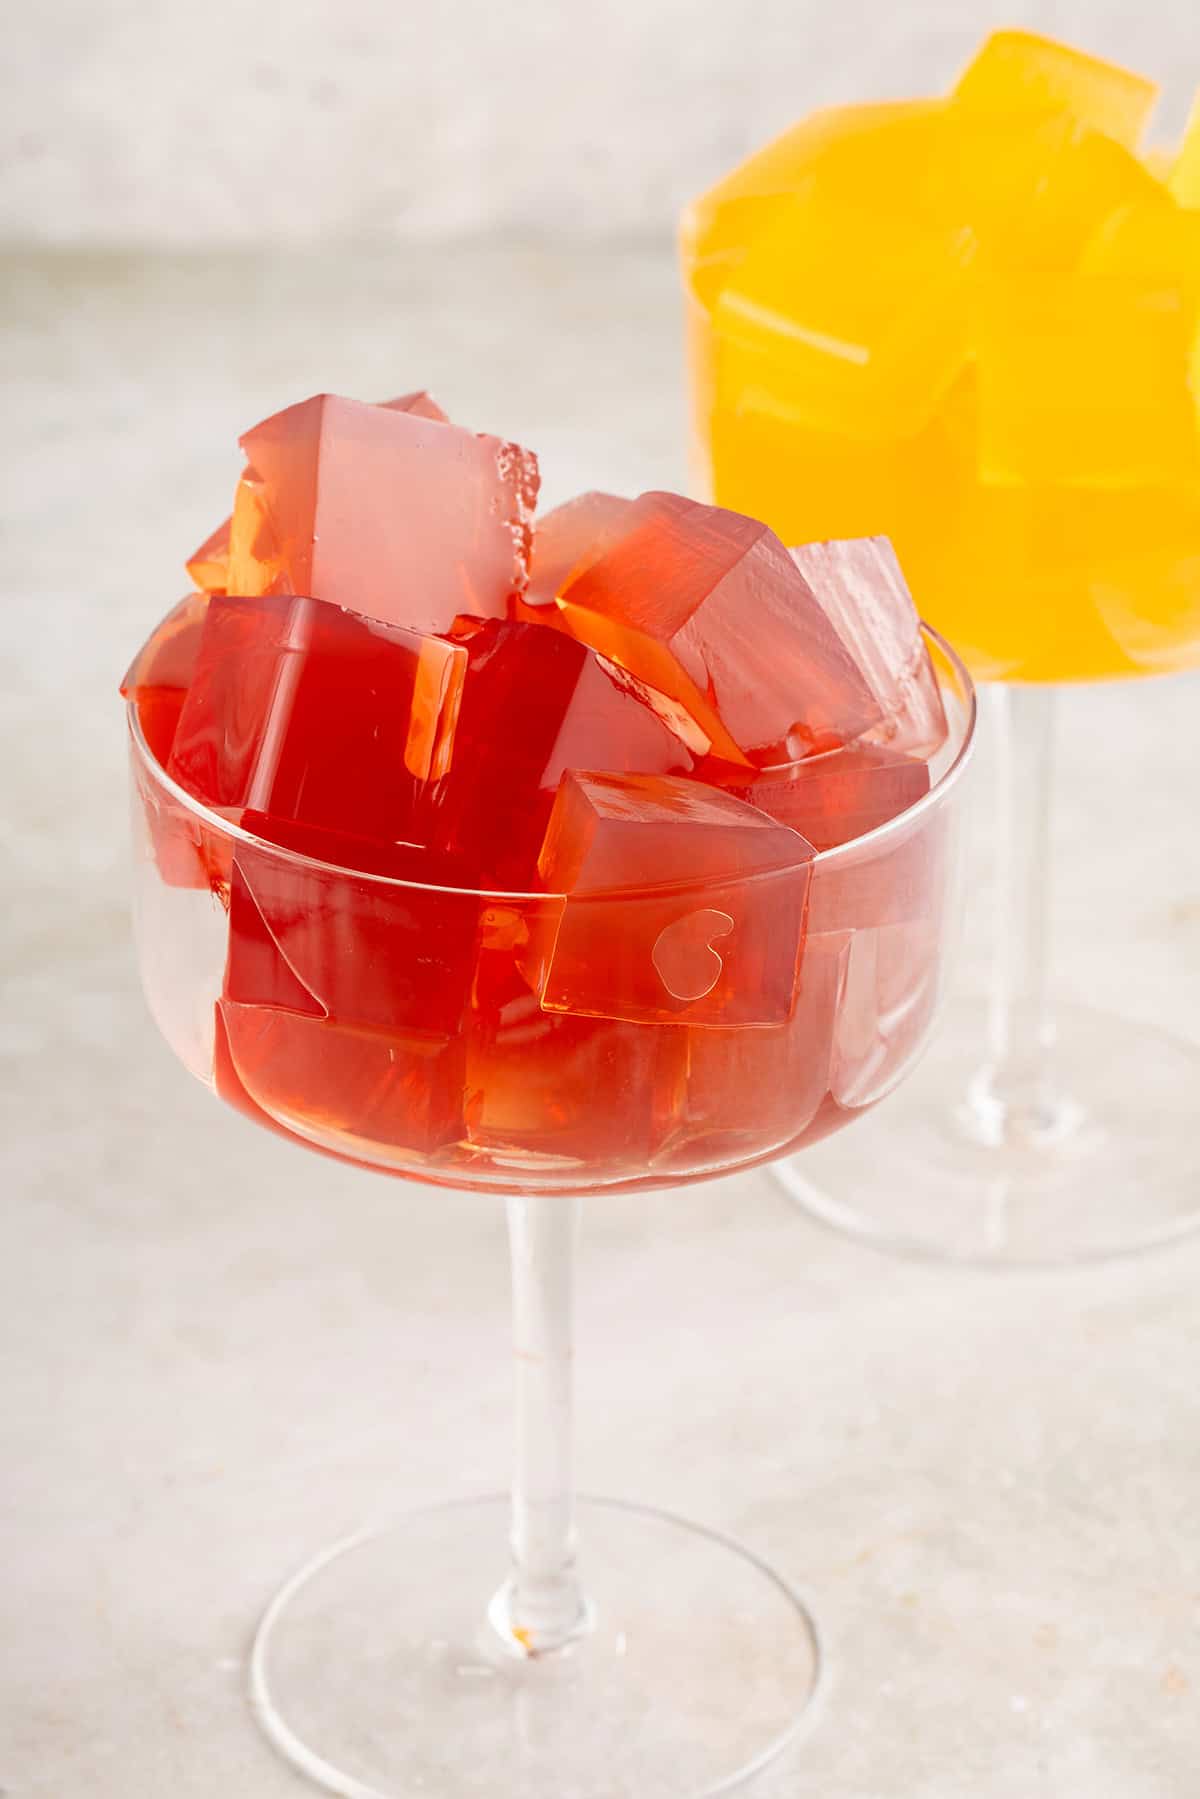
- Serve. Once sufficiently chilled, serve as desired. Enjoy!

Recipe FAQs
Yes! Try adding fruits such as sliced strawberries, sliced peaches, raspberries, or blueberries.
Unfortunately, agar agar is an essential ingredient in this vegan jello recipe. It’s key for causing the jello to firm up and form the right consistency. There is no alternate ingredient that would create the same results.
Great question! In addition to making vegan jello, agar agar is a helpful ingredient in making homemade vegan cheeses. We use it in our popular Vegan Mozzarella Cheese Recipe to help make it a sliceable texture.
We developed this recipe using powdered agar agar. We don’t have experience working with agar agar flakes, but if you’d like to experiment with it in this recipe, we recommend substituting the powder with 1 tablespoon of agar agar in flake form.
Yes! This vegan jello is naturally gluten-free and suitable for gluten-free diets.
Storage Instructions
Leftover jello will keep best in a tightly covered storage container in the refrigerator for up to 1 week.
Freezing this homemade jello recipe is not recommended, as this causes the texture to change dramatically.
Quick Tips
Working with agar agar can be tricky, but with these quick tips, you’re guaranteed the best success.
- Whisking frequently will prevent clumping. In order to keep your jello mixture a smooth, even consistency, its important to whisk very frequently while it heats.
- Agar agar needs to be brought to a boil in order to activate its gelling properties. We find boiling the agar agar mixture for 2-3 minutes to be the perfect amount of time.
- Refrigeration will yield the best texture. This jello recipe will technically set at room temperature, but the texture is much more jello-like and firm after refrigeration. Plan to refrigerate for at least 1 hour before serving!
More Vegan Dessert Recipes You May Enjoy:

Make sure you tag us on Instagram @sweetsimplevegan and @consciouschris and hashtag #sweetsimplevegan if you make this recipe. We love to see your photos!
Print
Vegan Jello with Agar Agar Recipe
- Total Time: 1 hour 10 minutes
- Yield: 4–6 servings 1x
- Diet: Vegan
Description
Learn how easy it is to make a fruity vegan jello from scratch with just a few ingredients in your home kitchen. It’s an easy dessert to be enjoyed by kids and adults alike!
Ingredients
- 1½ cups fruit juice of choice
- 2 tablespoons granulated sugar
- 1½ teaspoons agar agar powder
- ½ cup cold water
Instructions
- Bring the agar agar to a boil. Add the juice, granulated sugar, and agar agar to a small saucepan. Whisk together until the agar agar and sugar is completely dissolved. Bring the mixture to a boil over high heat, whisking frequently.
- Boil for two minutes. Once the jello mixture reaches a boil, lower the heat to medium heat and continue boiling for 2 minutes, whisking constantly.
- Whisk in the cold water. After two minutes, remove the pot from the heat and whisk in the cold water. Pour the mixture into a jello mold, serving dish, or an airtight container of choice and allow it to cool for 10-15 minutes.
- Refrigerate for 1 hour. Cover the jello and refrigerate for at least 1 hour to set.
- Serve. Once sufficiently chilled, serve as desired. Enjoy!
Notes
- Whisking frequently will prevent clumping. In order to keep your jello mixture a smooth, even consistency, its important to whisk very frequently while it heats.
- Agar agar needs to be brought to a boil in order to activate its gelling properties. We find boiling the agar agar mixture for 2-3 minutes the perfect amount of time.
- Refrigeration will yield the best texture. Although this will technically set at room temperature, the texture is much more jello-like and firm after refrigeration. Plan to refrigerate for at least 1 hour before serving!
- Gluten-free: This vegan jello is naturally gluten-free and suitable for gluten-free diets.
- Storage: Store leftover jello in a tightly covered container in the refrigerator for up to 1 week.
- Freezing: Not recommended, as this causes the texture to change dramatically.
- Prep Time: 65 minutes
- Cook Time: 5 minutes
- Category: Dessert
- Method: Stovetop


I love how simple this is! I made it for the first time today and decided to omit the sugar. It was sweet enough just using a store bought juice and the suggested amount of water.
I doubled the recipe and it fit nicely in a 9×13″ pan, yielding squares about 1/2” thick. If I had used the recipe we written I would have used an 8×8 or 9×9 pan.
Hi, where do you buy white sugar that’s okay? Isn’t white sugar bleached using bone char? (animal bones)
Any organic sugar will be free from bone char!