This post may contain affiliate links. Please read our disclosure policy.
Last weekend, on July 12 & 13th, I was fortunate enough to have been able to attend two Weekend Intensives at Matthew Kenney Culinary of Santa Monica. I attended both the Essentials of Raw Cuisine and the Advanced Raw Cuisine courses.
Matthew Kenney Culinary is the world’s first and only classically structure Raw and Living Foods educational center. As some of you may not know of the school, I will gladly share information I have sourced from their site, explaining who they are and what they do. First off, it is only appropriate to begin with an introduction of the man himself, Matthew Kenney. Matthew Kenney is the world’s leading raw food chef. He is the writer of best selling cookbooks, a culinary educator, and an entrepreneur specializing in the plant-based lifestyle. He graduated from the French Culinary Institute, opened a number of highly regarded restaurants along the east coast of the United States, and has earned multiple awards for his work. He even delivers lectures on health and has given a lecture for Tedx Talk in 2011, titled “Crafting the Future of Food” that I would recommend you watch. And in 2009, he created the world’s first classically structured raw food culinary academy. 🙂
Throughout my journey being vegan, I have dabbled in and out of a fully raw lifestyle. I have attempted high carb low fat raw vegan, gourmet raw vegan, and I eventually came to the conclusion that my lifestyle is more compatible with a high carb low fat “Raw Till Four” type as Freelee the Banana Girl has named it. It is more practical for me as a busy student on a budget, and has, for the most part, been easier to adopt. Anyways, I say that because I want to mention that I have never looked at anything other than the dietary and ethical aspects of raw and vegan foods. What Matthew Kenney Culinary introduced me to was the A R T of raw foods. I was able to gain a new perspective on food that allowed for me to actually develop a new relationship with it. It made me realize just how beautiful not only each and every dish was that we constructed, but actually each and every ingredient, and appreciate food in a different light.
I want to share my experience to give all of you a sense of what Matthew Kenney Culinary is. Keep in mind, however, that I attended the Weekend Intensives, and not the month long culinary courses. Not to say that I did not learn a lot, because I did, but just to put into perspective how much was learned in TWO days and how much could be learned in the months or years of attending the regular courses. I plan to, someday, attend the courses. My schedule as a student currently does not allow for it, but it is definitely something that I will complete later on in my life 🙂
Unfortunately, I cannot share any of the recipes of the dishes I learned how to make or too much of the information covered, but I have contacted Matthew Kenney Culinary and they have told me to tell those interested to contact anna.baird@matthewkenneycuisine.com! She can provide course information or if you give her referrals she can email you a PDF copy of one of their books that includes their recipes.
July 12: Essentials of Raw Cuisine, Weekend Intensive
This was the first day of my courses. I was so nervous and had no idea what to expect. I actually ended up arriving an hour early as I had no idea what time the course was to start and went off of a time I found online. I’m glad I was early rather than late but I really wish I had received an itinerary or something of that sort. But I do not want to bring a negative light onto that. I should have been more responsible and on top of things.
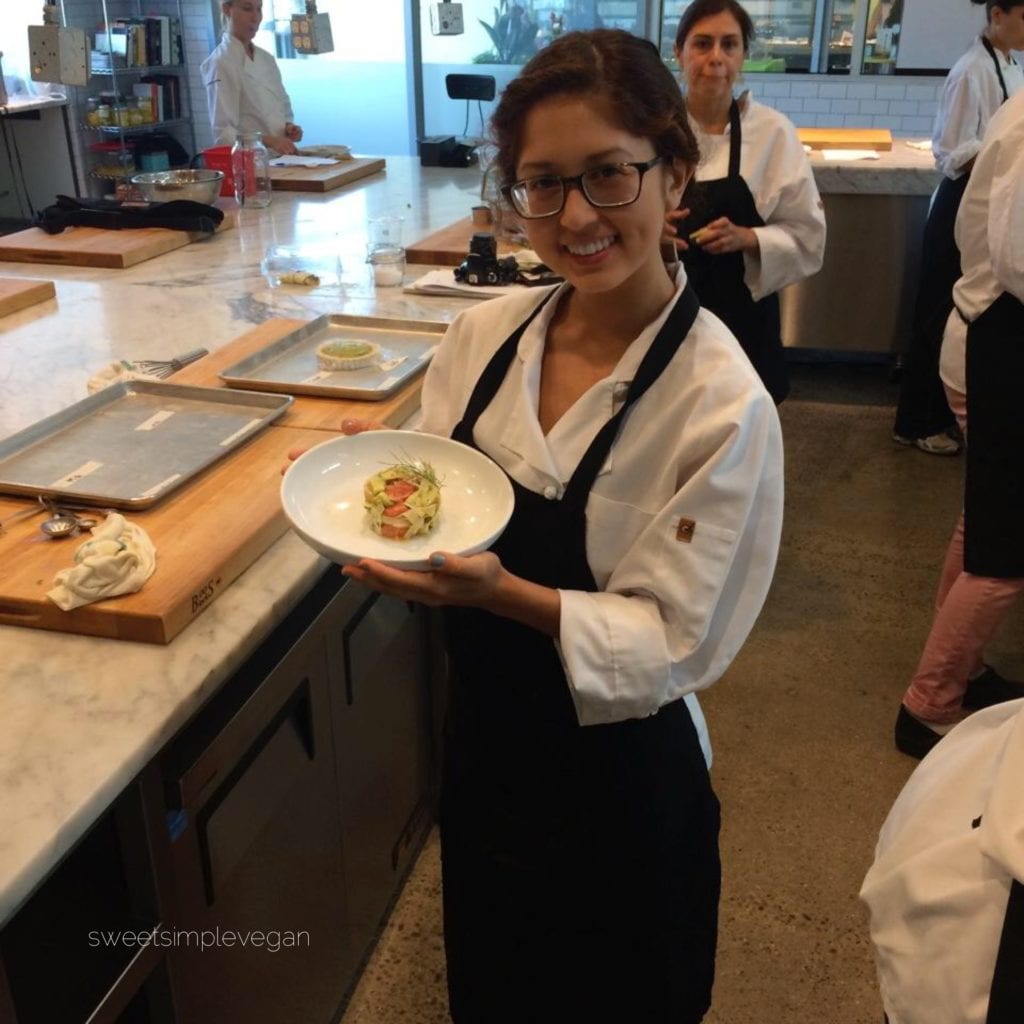
I arrived to be given my own chef’s coat and apron. A bit big on me, but the sizes were really random and it wasn’t really important to me how I looked anyways. When putting on my uniform, I felt like a big deal! It made me so much more excited for my day to start.
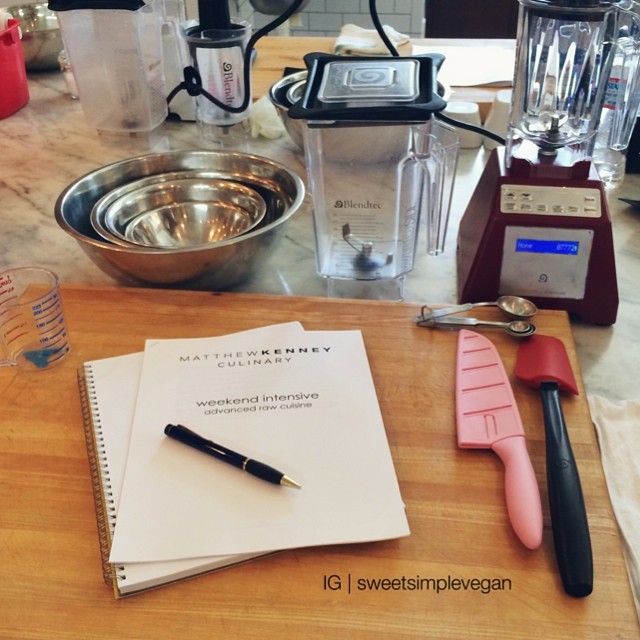
Chef Sean was my instructor for the day, along with 2 female assistants who’s names I unfortunately do not remember. Every student was given their own station, stocked with pretty much everything we would need for the day + tools for if we wanted to get creative and branch out of the basics we were taught. My station had a Blendtec blender (with a regular blender jar and the twister jar), food processor, knife, measuring utensils and cups, mandolin slicer, cutting board, fridge + etc. You can see a shot of my station below in the photo included in Day 2. (The photo does not show all that were provided, as I had drawers stocked as well)
Topics Covered and Included in our Manual
- Ingredient List: Produce, Liquid Ingredients, Dry Goods and Spices
- Equipment List and Information: Blenders, Dehydrators, Food Processors, Mandolins, Juicers and Spiral Vegetable Slicer
- Foundations
- Ingredient and Quality Selection: Fresh Foods and Seasonings
- Flavor Balancing
Recipes and Exercises Covered and Included in our Manual
- Soaking Nutes and Seeds
- Nut Milks
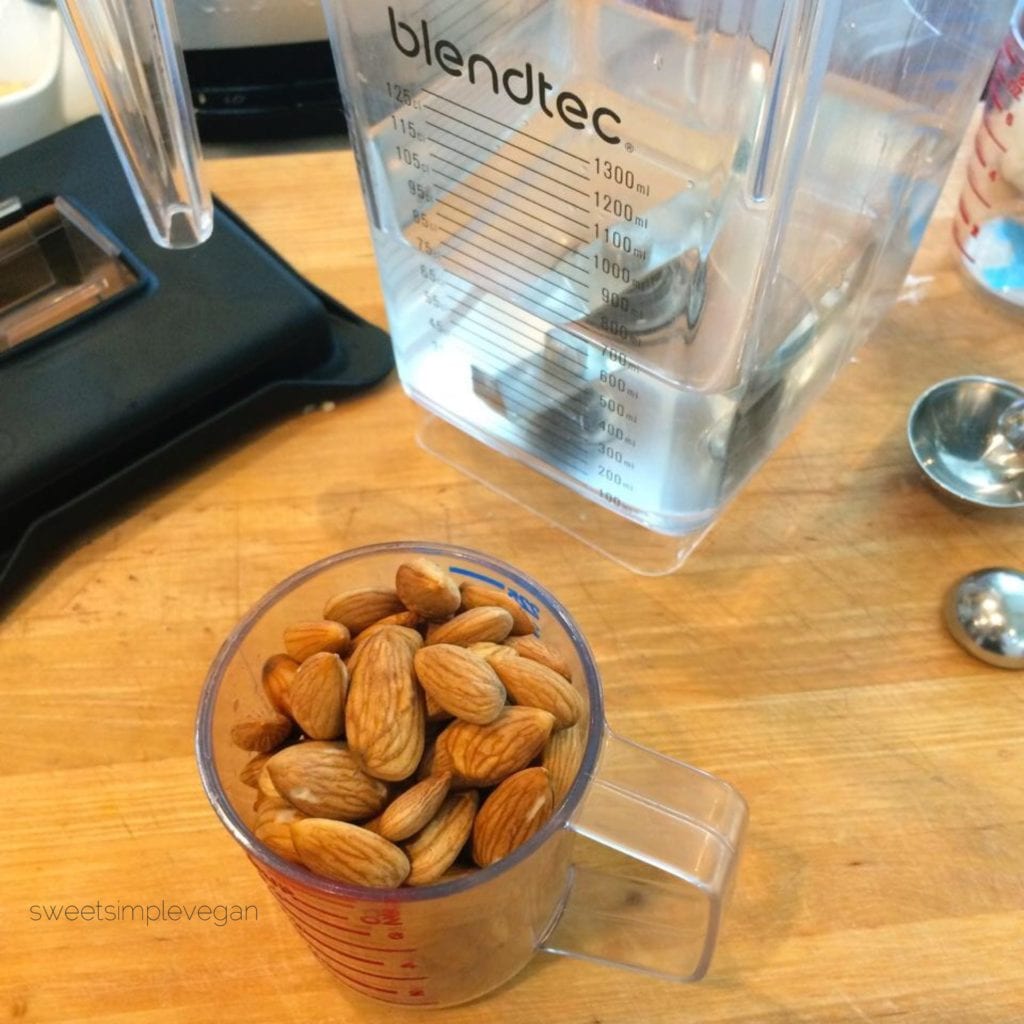
- Almond Milk
- Green Mango Smoothie
- Chocolate Banana Shake
- Clean Green Juice
- Spice-C
- Sweet Cream
- Zucchini Cannelloni
- Arugula-Mint Pesto
- Macadamia Ricotta
- Beet Ravioli
- Pea Puree
- Herb Oil
- Grapefruit Fennel Salad
- Zucchini Tartare
- Young Tomato Gazpacho
- Avocado Salsa
- Creamy Carrot Soup
- Chipotle Kale Salad
- Green Market Salad
- Pistachio Puree
- Tarragon Vinaigrette
- Warm Fudge Brownie
- Key Lime Tart
- Date Paste
Soaking Nuts & Seeds + Fresh Almond Milk
Have I made nut milk before? Yes. Did I make it in the best way? With what was demonstrated this day, I learned that I had not. There is more to making a simple nut milk than you think…
Why soak nuts and seeds?
- Neutralizes enzyme inhibitors to ease digestion and provide the most nutrients to the body
- Eases blending so that you end up with creamy goodness rather than butter!
- Neutralizes flavors in certain cases
What to do BEFORE working with nuts and seeds? One must take into consideration the varying soaking times of each individual ingredient to ensure the best flavors and avoid fermentation (as well as the proper procedures to take before AND after soaking nuts and seeds). What to do when you accidentally soak too many? He gave us ideas in those cases that I took note of and will definitely be using!
Ratios are key! The role of the nut milk will vary in every recipe, so the ratios of nuts/seeds to water will fluctuate throughout all of the recipes you will create. Sometimes you will need to make a cream, while other times you want milk.
After the nut (in our case, almond) milk has been made and strained, what you are left with is the milk/cream and pulp. Now, what to do?
Almond flour is NOT almond meal, so definitely be careful with that when a recipe calls for one or the other. (Almond meal is NOT stripped of its fats, whereas almond flour is) What to do with the leftover almond pulp? Chef Sean gave us so many different recipes that I had never thought of! The simplest things to do is to dehydrate it and make almond flour. Something that I have made with my leftover pulp is raw almond “cereal”. It was so good but I have not remade the recipe, and I have no idea why I haven’t! He definitely reminded me of it and I will get on it ASAP to share with you all.
The flavorings you can add to the nut milk are almost endless. We used our almond milk to integrate two topics into one lesson. We flavored the almond milk and discussed different ways to utilize it in our raw vegan kitchens, and we also used it as means of understanding flavor balancing (below). What is also something to keep in mind is that you can add your flavorings to the blender WITH the almonds you will be making milk with. This way, you will not only have flavored milk, but also flavored pulp that you can use for other recipes.
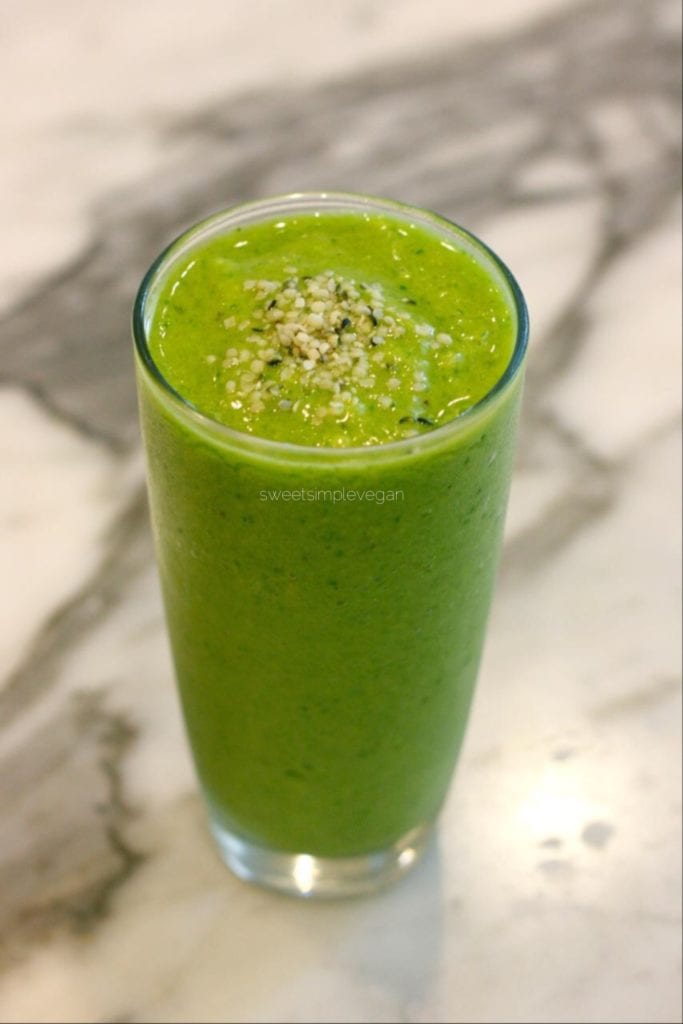
We used the almond milk to make this yummy Green Mango Smoothie, and got to take home our leftover milk to share with our families!
Smoothies 101
I know what you’re thinking, and I was thinking the same thing…What could you possibly need to learn about smoothie making? Well, I actually ended up with a page full of notes on the topic. Not only did we discuss flavor combinations and balancing, we also discussed how to properly load your blender, what to blend and what not to blend, and how to operate the blender in a way to ensure the most enjoyable, silky smooth, cold refreshing smoothie.
An important topic we discussed was ‘Superfoods vs. Bioavailability’. Chef Sean went over a few important points that are often overlooked. ‘Superfoods’ are great, yes, but that does not mean you should overload your smoothies/dishes with them. They will, for one thing, drown out the flavor of the whole thing. If your smoothie is largely comprised of one ingredient, your smoothie will taste mostly like that ingredient. Well, that is makes sense. But, another things to consider is the amount added. The amount affects how well our bodies will absorb each individual ‘superfood’. We learned just how much the ‘proper’ amounts are so we will always obtain not only the best flavors but also the most nutritional value. An example I will give is Maca. Maca powder is a superfood that is great for enhancing energy, stamina, athletic performance, memory, and fertility. Too much maca, however, will send you to the restroom and come right back out your upper end, defeating the purpose of its consumption altogether. TMI to some of you, I know, but I just want to give an example so you will be encouraged to research and fully understand the ingredients you would like to include in a recipe both in taste and nutrition.
Flavor Balancing
Ever mess up a recipe and throw it out because it is “unsalvageable”? Next time, think twice before doing so! More often than you think, the recipe you ‘mess up’ can actually be fixed with a few small changes and a proper understanding of flavor balancing.
In class we received different lists of ingredients for each of the following: salty, sweet, acid/tart/sour, pungent/spicy, bitter and fats.
Along with these lists, we also received a list of which categories counteract with one another, as well as which ingredients to use to balance another. This was actually quite interesting. Yes, I knew the basics such as if something were too spicy to add something sweet to counteract the spice, but I never really knew WHICH ingredients to use, and what other modes of improvement could be used.
In our exercise, we flavored our almond milk to perfection. Literally, PERFECTION. I swear in the end our almond milk tasted like liquid ice cream without any of that bad stuff you would find in dairy ice creams. We learned how to merry base fats, sweeteners, salt, delicate fats, emulsifying agents + other ingredients with distinct flavor profiles in order to create specific flavors for different dishes.
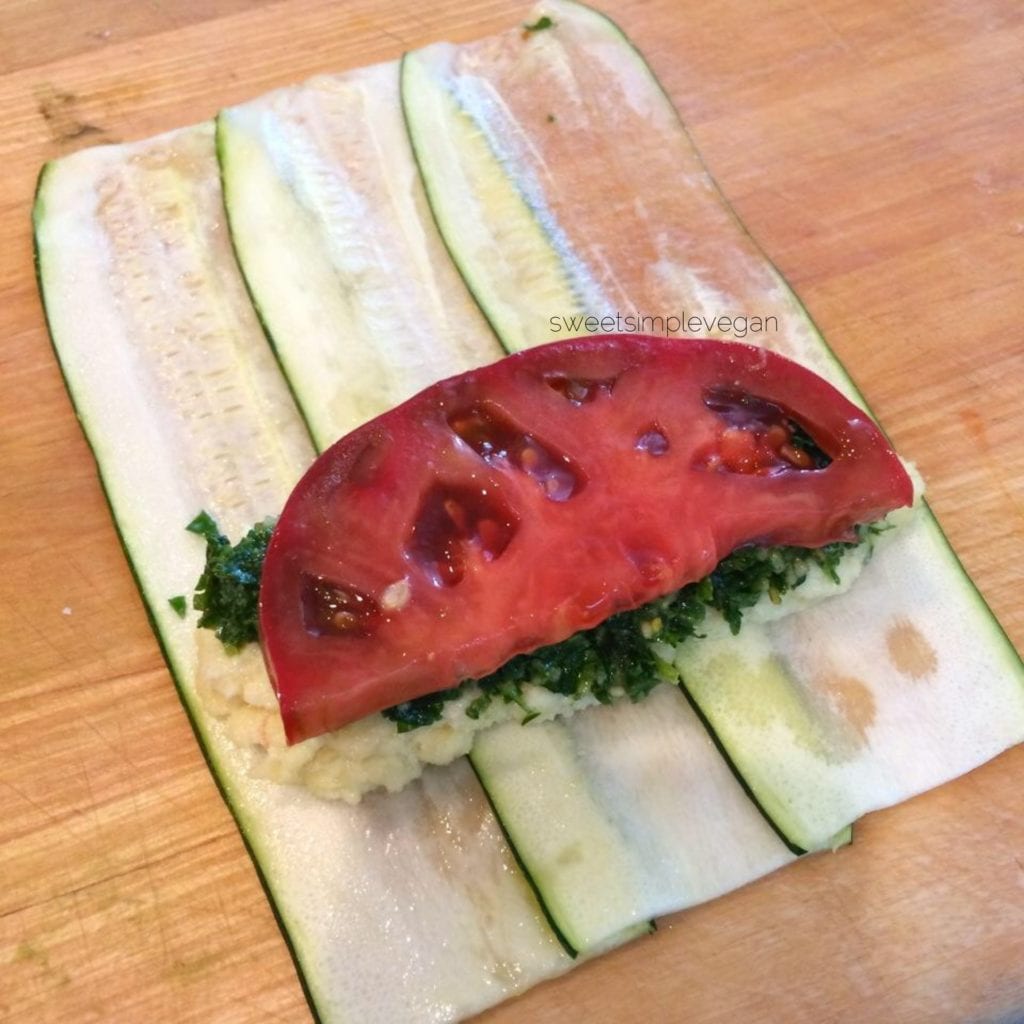
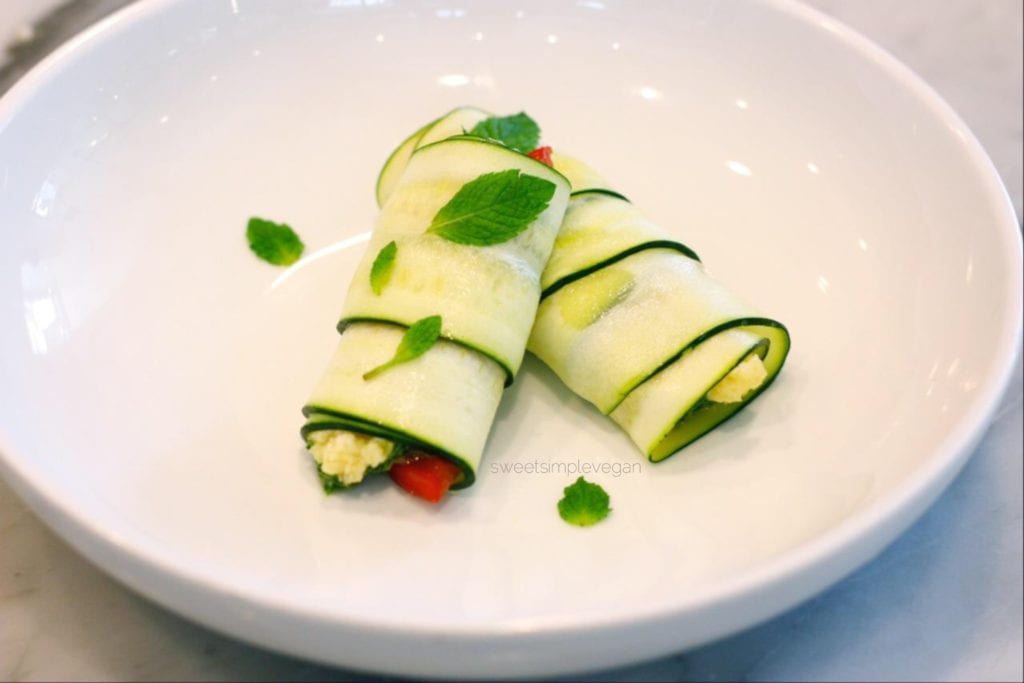
This, by far, was my favorite dish that I learned how to make this day. The three herb pesto inside of the cannelloni was phenomenal!
Pesto
You must must must take into consideration the proper steps called for in the recipe to create the perfect pesto. You should NOT add all of the ingredients at the same time, and you should NOT over process the herbs.
Slice the herbs with the tip of your knife only, to prevent bruising. Not all recipes will need to you cut the herbs, as they will be processed, but if the recipes does call for it, keep this in mind.
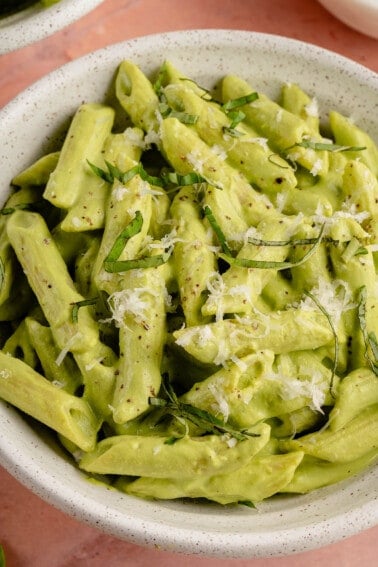
Pesto does not mean pine nuts and basil. A lot of people have only tried this ‘traditional’ combination and wrongly associate all pesto with this flavor combination. You can use any and every herb that you wish and also any nut/seed you feel would pair well.
We used three different herbs in our pesto, and two different nuts. I was a bit skeptical at first, as I had felt we were adding TOO MUCH flavor to it, but oh my goodness, was I wrong. I think the pesto recipe that we learned to make will always and forever be my number one.

I finally learned how to properly segment a grapefruit. As easy as it may be I never actually tried it and now I feel like a professional. I enjoyed plating this dish, as we got to use a ring mold, which I have never worked with before. It is a simple and easy tool to use to make any dish look professional and presentable.
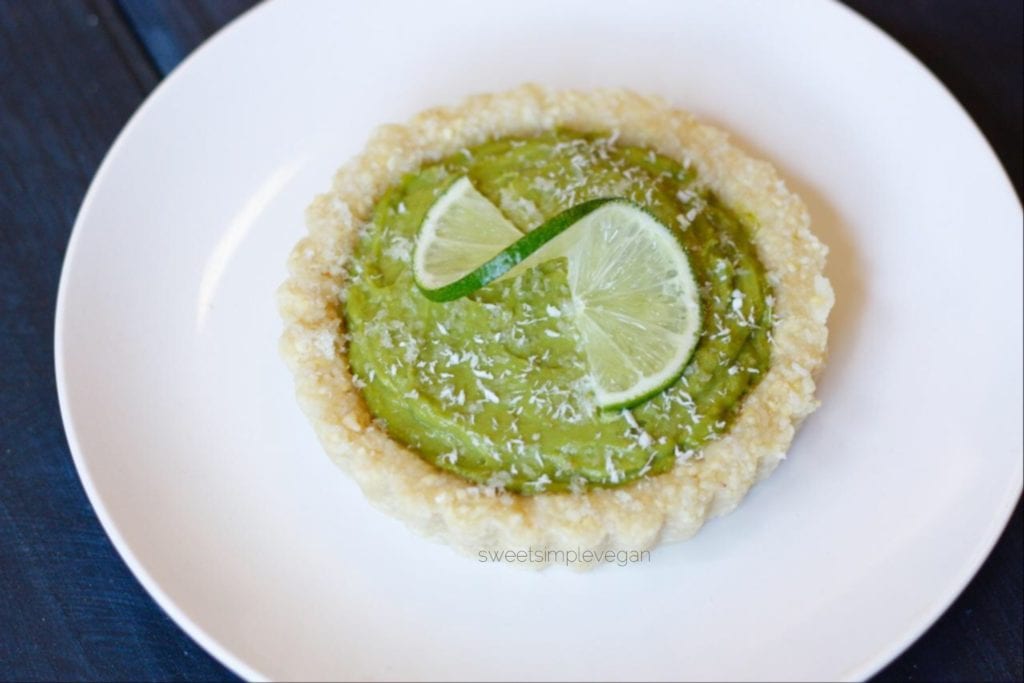
I’ve never actually tried key lime tarts/pies so I’m not sure what flavor to compare this to, but I assume that they are delicious because this was!
Making Crust
We had to make sure to PULSE PULSE PULSE rather than straight process the ingredients and put them in a specific order to make a crumbly crust rather than a nut butter. Pulsing prevents the breakdown of fats that would be necessary to make a butter. Don’t have a dehydrator for your crust? No problem! Add a natural solidifier (that also pairs well with the ingredients used) to achieve the perfect crust.
Pie Filling
All I need to say is Avocado makes everything better. But who didn’t know that already? The avocado was the star of the show. It added a smooth fluffy texture, a beautifully bright green color, and a healthy boost of vitamins, minerals and protein!
The best part of it all? Digging into all of our yummy creations and being able to bring every bit of our leftovers home for our families to try. I had enough to make a second mini tart at home for my family, and shared with them my leftover cannelloni, which they loved. Not only that, but we went home with a recipe book AND raw food manual that includes everything we learned + more to master the essentials of raw cuisine.
July 13: Advanced Raw Cuisine, Weekend Intensive
My second day at Matthew Kenney Culinary was a lot more comfortable for me. I not only was used to the environment in the classroom, but the class was also smaller than my Saturday class. The advanced course only had 4 students, 3 of which were with me the previous day in my essentials course, so it was easier to connect with one another. Also, since it was a smaller class, there was more room for one-on-one time with the instructor. It felt a little bit more relaxed and with that, it was easier for me to grasp on to the information shared with us.
My instructor, Chef Nicole, began the course with a lesson on working with what is present, rather than thinking of the future, past, or what could have been in the situation. She emphasized the appreciation of the “organic” qualities of all the work we would be doing in not only the course but in our future work as well. With this being said, she also carried our her class in less of a ‘structured’ manner, and went with everything in a go with the flow type of way. Nothing against the instructor of my previous course, but I feel that not all teaching styles and environments are compatible with every student, and I felt this was more suitable to my way of learning.
Not everything will come out as we had expected, but that is the beauty of it all. Learning to work with what you got is what makes you a true artist in all of this. Our discussion on the ‘organic’ actually expanded my views on my food as art, and helped me truly express myself through my work. Our instructor also gave us the option of using different shapes and sizes in our serving dishes for each of our recipes, which was not offered to us in the essentials course. I felt that my dishes this day were, not only in taste but also appearance, the better of the two days.
Topics Covered and Included in our Manual
- Essential and Optional Equipment: Anti-Griddle, Blenders, Dehydrators, Food Processors, Juicers, Mandolins, Pacojet, Spiral Vegetable Slicer, Smoking Gun and the Sous-Vide
- Cutting and Slicing
- Hand Juicing
- Bags (Produce and Nutmilk)
- Measuring Tools
- Ingredient and Quality Selection
- Flavor Balancing
- Plating and Presentation: Balance, Knife Skills, Layering, Color, Texture, Garnished, Surprise, Portion and Temperature
Recipes Covered and Included in our Manual
- Smoked Tomato Soup
- Crème Fraîche
- Black Pepper Crisp
- Carrot Gnocchi
- Pea-Mint Pesto
- Horseradish Crumbs
- Arugula Salad
- Preserved Lemons
- Preserved Lemon Vinaigrette
- Preserved Lemon Ranch
- Black Olive Emulsion
- Carrot Soup
- Almond Shallot Milk
- Chili Oil
- Cilantro Pesto
- Sous Vide King Oyster Mushrooms
- Carrot Puree
- Mint Vinaigrette
- Sous Vide Stone Fruit
- Mint Syrup
- Oat Crumble
- Almond Gelato
- Banana Bread
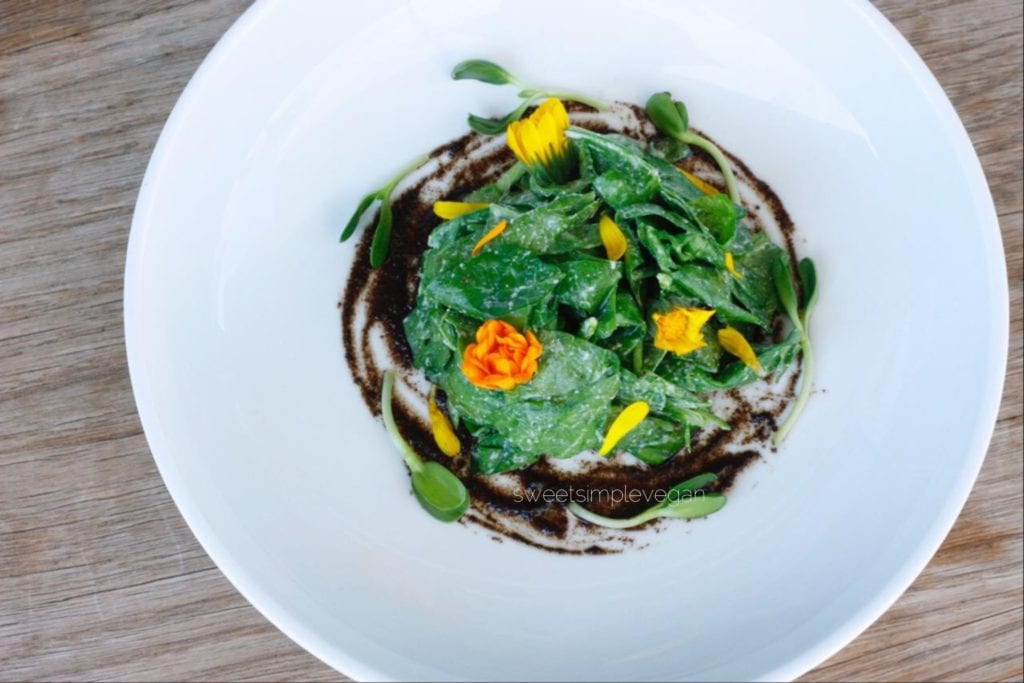
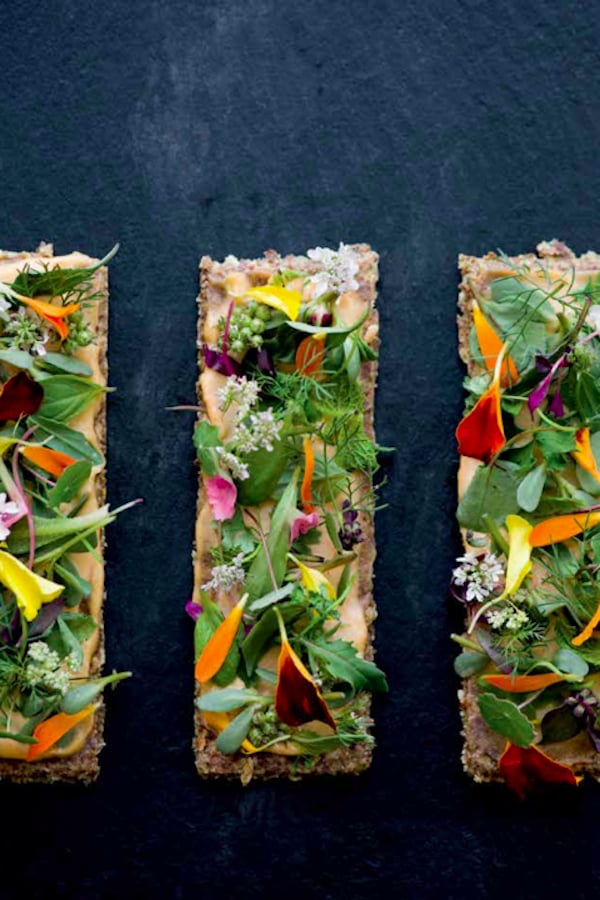
We had this for a late lunch and I loved it! I didn’t eat the flowers whole I just plated it like that because, well, it was cute 🙂
Preserved Lemons
My family and I have a humongous lemon tree that always brings us into panic every season. It overflows with lemons and since we do not like wasting them, we give baskets and baskets away and we try to preserve our lemons in every way possible. I have made lemon curd in the past, as well as frozen lemon ice cubes for our morning lemon waters, but there is only so much room in our fridge and what seems to be a short amount of time to use these lemons before the go bad.
Fortunately, M.A.K.E taught me a new and exciting way to preserve my lemons, and shared an amazing recipe to utilize them. We learned how to preserve lemons, rind and all, how to store the lemons, and even how to STYLE the preserving containers within our homes. With the preserved lemons, we made a preserved lemon vinaigrette and a preserved lemon ranch dressing. It was sweet, salty, and tangy all at the same time. We were originally supposed to serve it with an arugula salad (as the recipe called for), but we had to compromise and use spinach instead, which was phenomenal none the less.
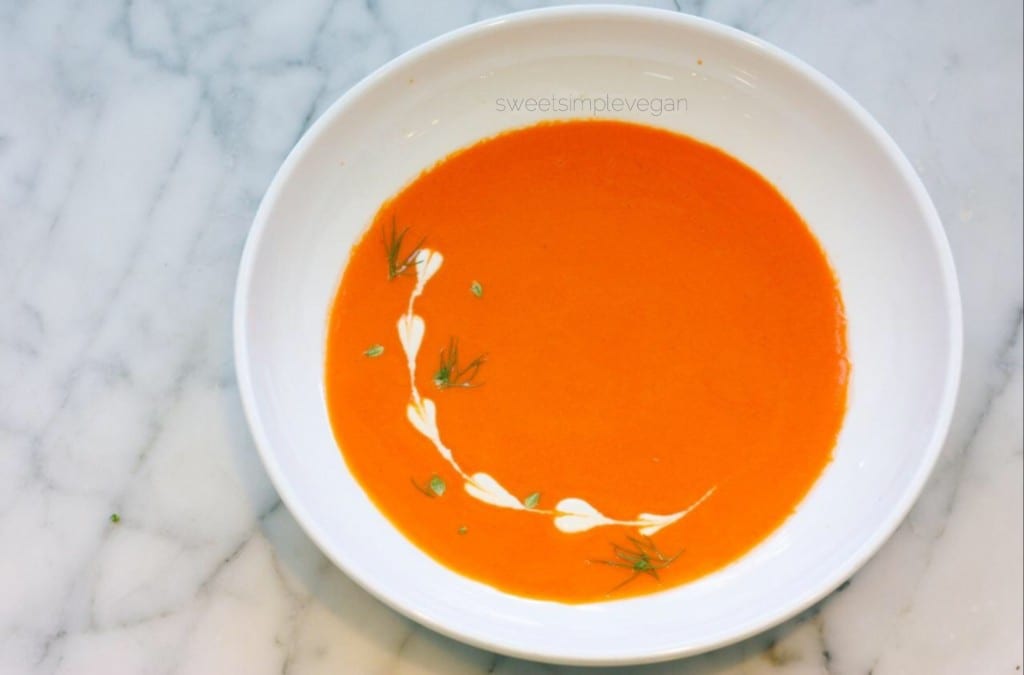
We also served our soup with a ‘Black Pepper Crisp’, which was a dehydrated cracker, but unfortunately we forgot to put it out when we plated/photographed our dishes.
Smoking
In order to smoke the tomatoes and peppers, I got to learn how to use a (non-carcinogenic) smoking gun! It brought another level of flavor to the dish that really made it such a beautiful piece. We discussed the different types of chips to be used (as well as which chips to use for which brand of smoking gun), and we also learned the proper technique in smoking ingredients. The screen in our gun was clogged up and in need of changing in the beginning, and we learned this only because of our initial failed attempts to smoke our tomatoes and peppers. This, however, made it much more of a learning experience. We worked as a group to figure out what the problem was, and with this, we all got to learn how to clean and replace the smoke screen.
Filleting
We also got a lesson on how to properly filet ingredients. This was key for me, as I have been doing it wrong all along. The instructor, as well as the interns, demonstrated the proper technique to take and the safety precautions that MUST always be kept in mind. We learned what the proper sizes were to cut our vegetables before filleting, and we also got a few tips on what to do with our leftover scraps in the end.
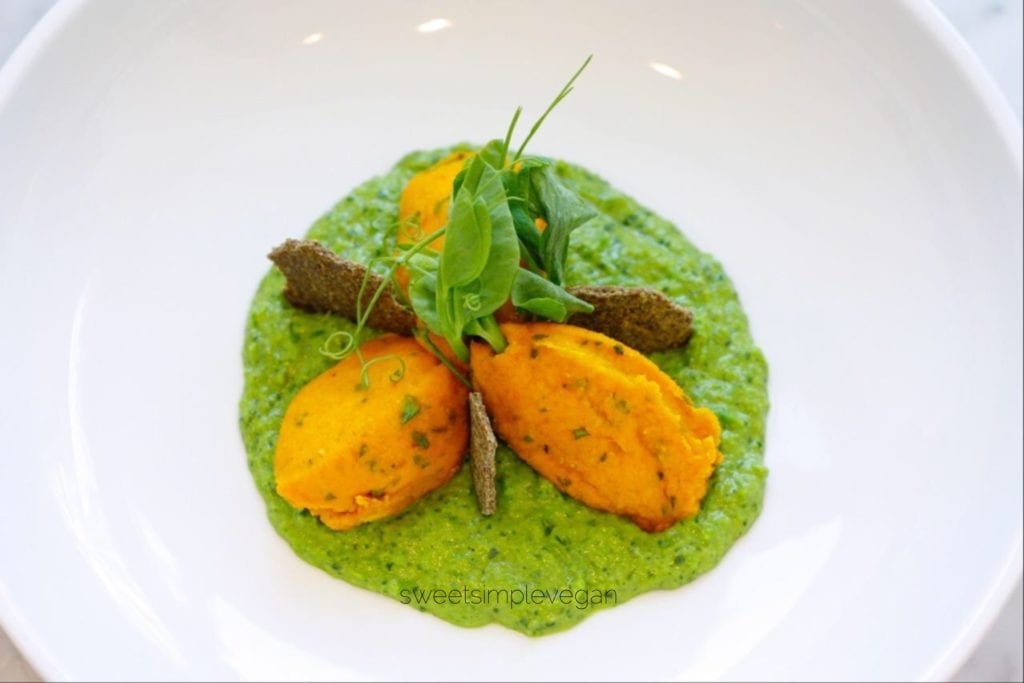
This was the hardest dish for me, as I struggled to quenelle the gnocchi, but I eventually somewhat got it (definitely still need practice). I ate so many pea tendrils as we were plating, they’re so yummy!
How To Create The Perfect Raw Gnocchi
Any root vegetable can be used for this, alone or combined with another. In our case, we used 2 root vegetables so that the gnocchi wouldn’t be so overwhelmingly ‘carrot’ flavored. Benefits of using a combination of root vegetables?
- Color
- Flavor
- Texture
Not only did we learn how to make the gnocchi, but were also given other recipe ideas that would use the EXACT SAME ingredients! It was awesome because it brought into perspective just how versatile raw food cuisine is. The flour and herbs are also very important to this recipe. Again, slice the herbs with the tip of the knife to prevent bruising. Mix in the herbs hand (do not blend them in!) , and use the appropriate flour for both flavor purposes and texture purposes. Some flours are too ‘creamy’, while others may be too ‘gritty’. A combination of multiple flours may actually be your best bet.
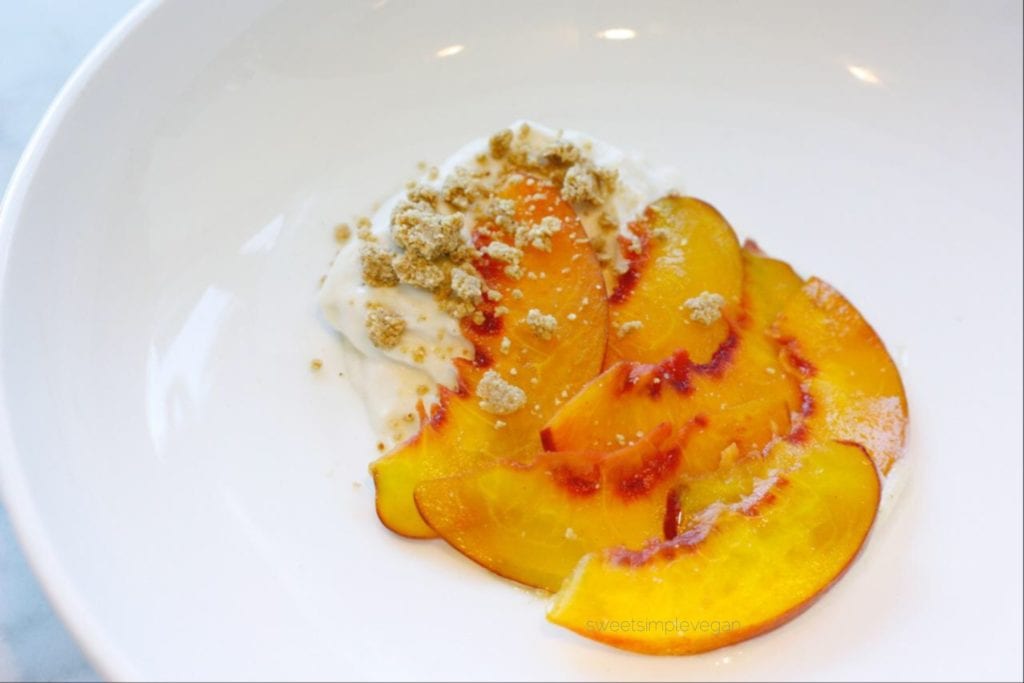
We learned how to use a sous vide! The stone fruit was placed the sous vide with a raw syrup for a few hours to get soft and “caramelize” as it would if it were baking with sugar. (We actually had forgotten to make the syrup and placed our stone fruit in the sous vide alone. When we moved on to the next dish, the interns were kind enough to reopen the stone fruit bags and toss them into the syrup for us, and replace them into the sous vide) This can also be done in a dehydrator 🙂
We also made a mint syrup to top it with but I felt this was sweet enough without it. This ice cream was the best raw ice cream I have ever had. Also, we used a PacoJet and the ice cream was ready in 2 minutes…it was insane!
Final Thoughts
Overall, I was very pleased with my experience at Matthew Kenney Culinary. It made me want to go back and learn even more when I have the time to. I had no problems with any of the instructors or staff, and I was treated with the utmost respect the whole time I was present at the school. This was seriously a life changing experience for me, and allowed me to realize that no matter how much I learn and believe I already know, there is ALWAYS something more that I can learn. Not only will this help improve my knowledge as a plant-based chef, but it also will allow me a larger variety of ideas to share with my family, friends, and online community to encourage you all to consider a plant-based diet.
For any of you who are interested in extending your knowledge in the art of Raw and Living foods, I suggest taking a look at Matthew Kenney Culinary and all it has to offer. Matthew Kenney Culinary has multiple locations around the country that provide different opportunities for you to further your knowledge, as well as career options at their restaurant M.A.K.E and M.A.K.E- Out locations.
Not located close to one of these locations? No problem! Matthew Kenney Culinary offers online courses guided by video instruction and a detailed curriculum. Take a look at their course offerings here, or send an email to anna.baird@matthewkenneycuisine.com for more information and instruction to sign up! And guess what? Matthew Kenney is offering 20% off of any online program of choice to my readers and followers! Simply mention my name!
